Thanks.
So finally managed to get around to doing some work on the car.
Had a hoard of parts stuck in the cupboard since about January been biding my time waiting for the weather to improve a little and get a decent day without having something planned.
Have to laugh at the "improved weather" when I woke up on Saturday...
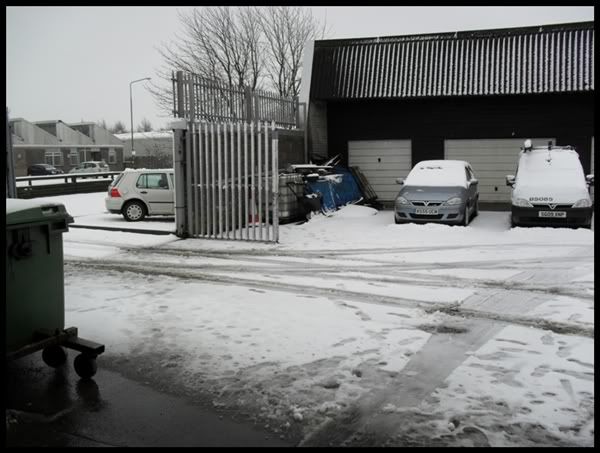
FML iirc. It's March and it's still fcuking snowing! Anyway the plan was made so cracked on some layers and popped down to work to get started.
With the car now 11 years old, the major components, bushes/struts/springs ect.. are obviously going to be past their best and although the car drove what I thought to be great I knew it would be even better after a good overhaul.
As with previous write ups you might want to grab a cuppa for this one.
So bit of prep work the week before fitting, popped down to work to give the suspension a good coat of some protection, deliberated what to use for a while, didn't need to last 10 years but at least give a couple of months protection from the salt and crap that are still around.
Decided after a bit of research to go for this...

Used on Motorcycles that are driven daily and throughout winter ect.. read good things about it and for the price/size I thought it was exactly what I was looking for.
So some pictures of the new bits...
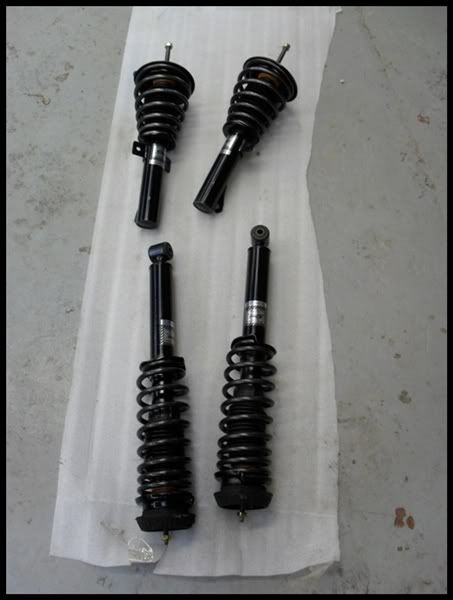

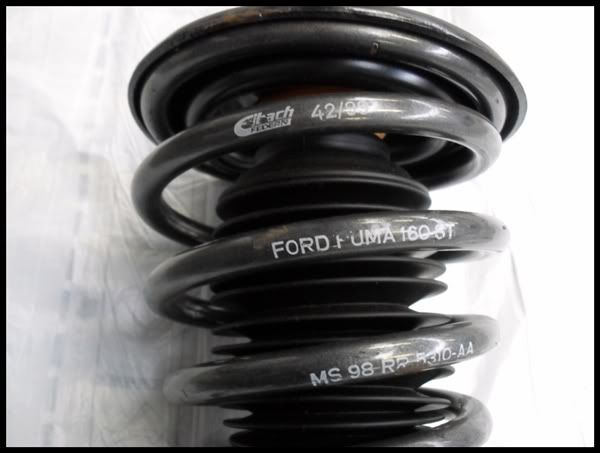
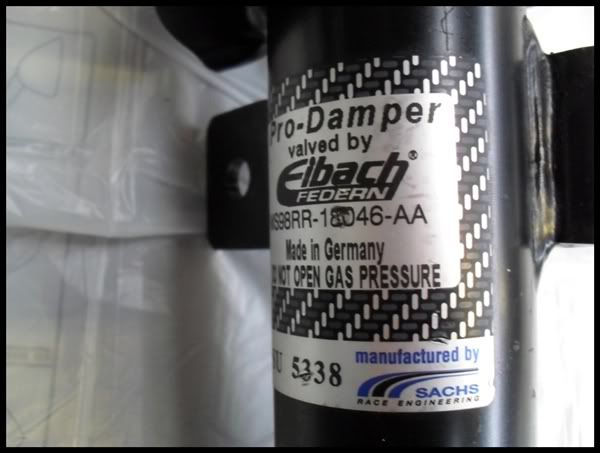
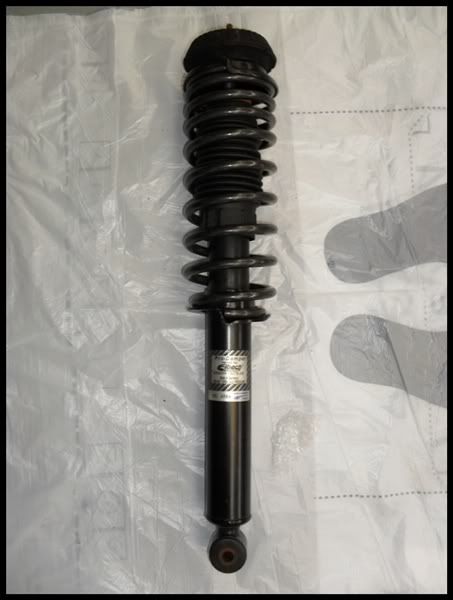

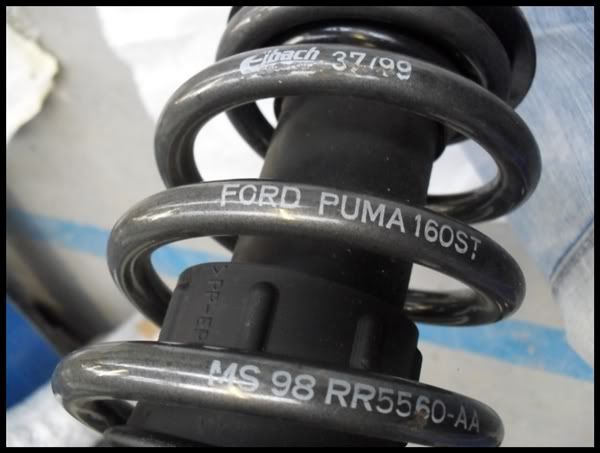
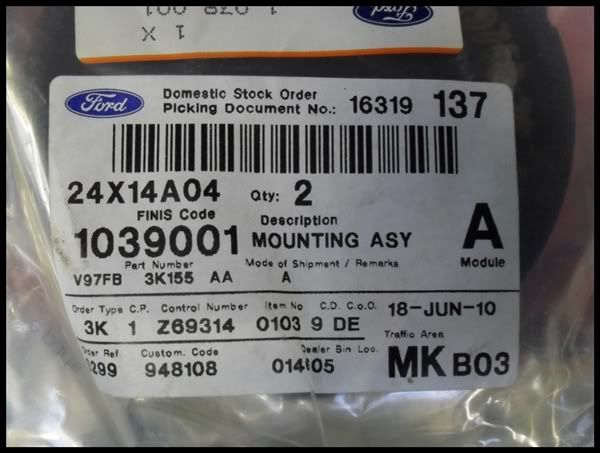
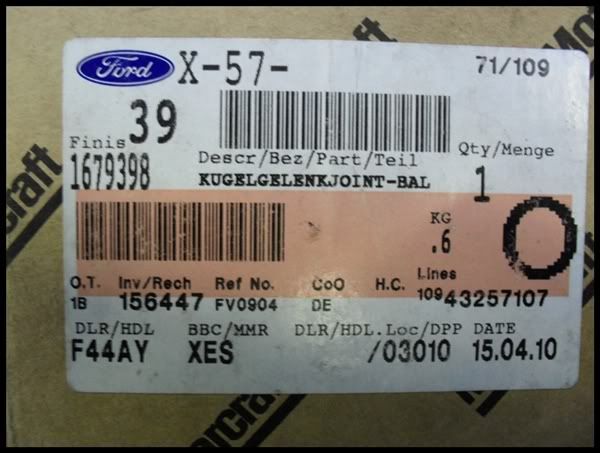
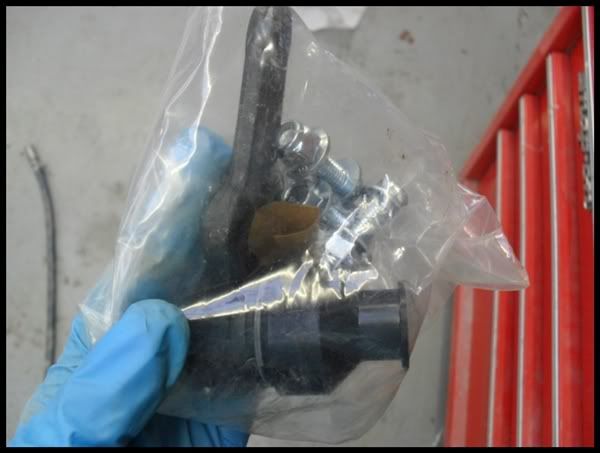
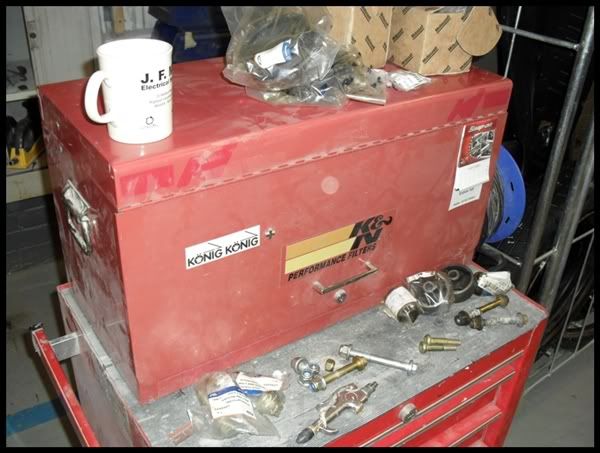
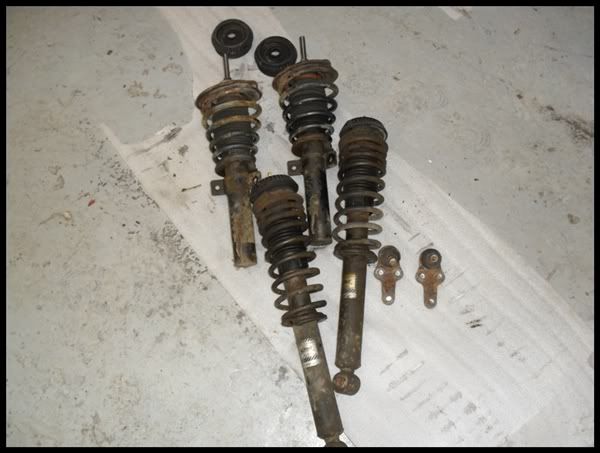
4x struts and springs, 4x top strut mounts, 4x front wishbone bushes, 2x balljoints, 2x front strut top bearings and all bolts from the front suspension components. Circa rrp of the parts £1100
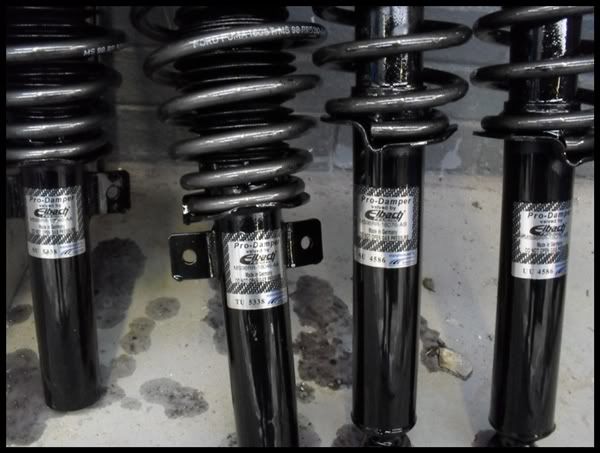
Suspension coated with protection, leaves a little film over the surface so gave it a few coats...
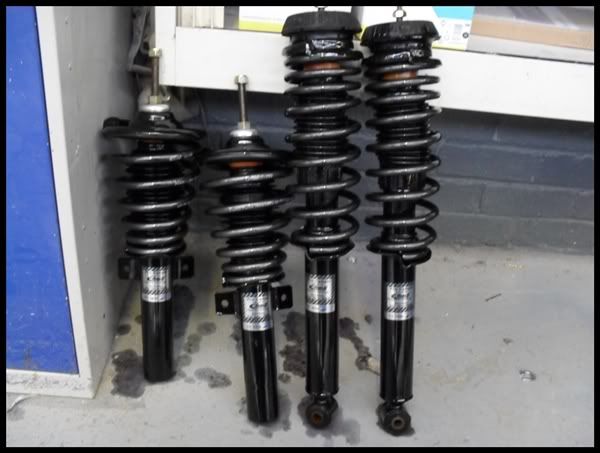
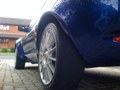
Looking at the rear struts the arch gap doesn't surprise me as much!
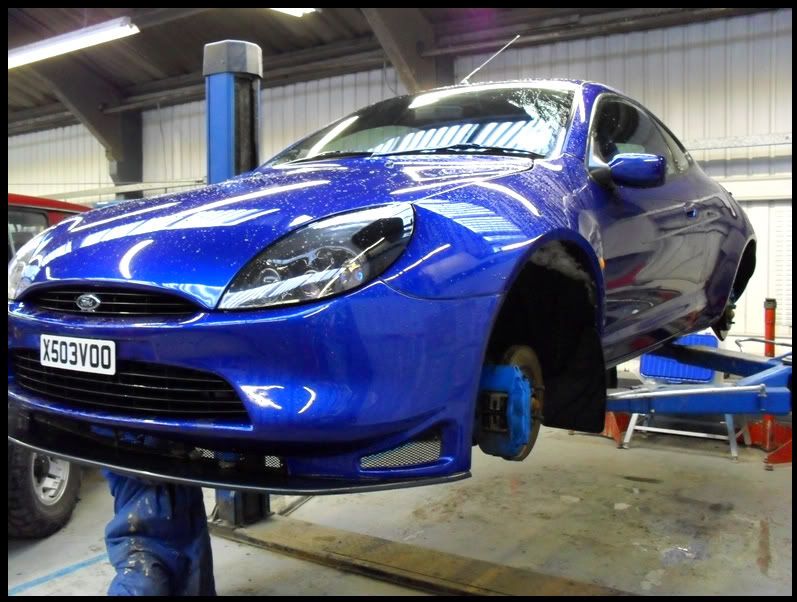
So onto the job in hand...
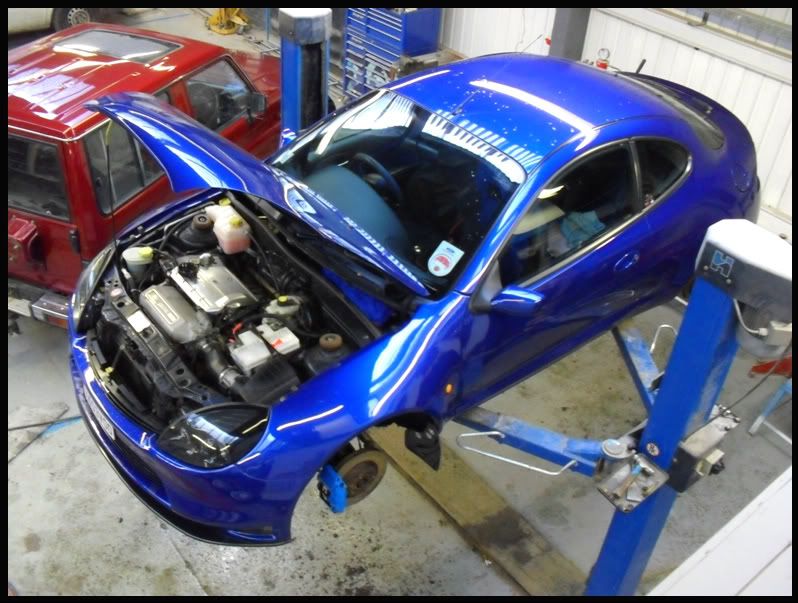
Stuck the car on the ramp (a god send) whipped the wheels off so I could get cracking on with them and Mick my work colleague could get stuck in about the suspension.
I'll come back to the suspension later.
Onto the wheels now.
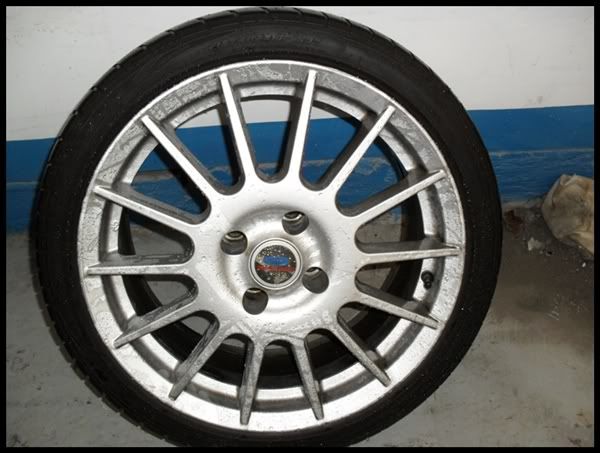
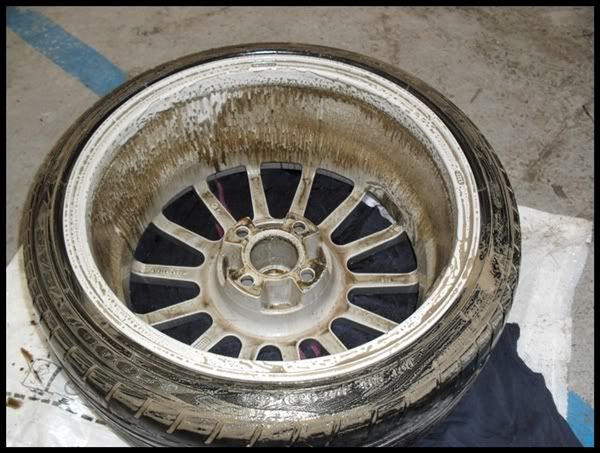
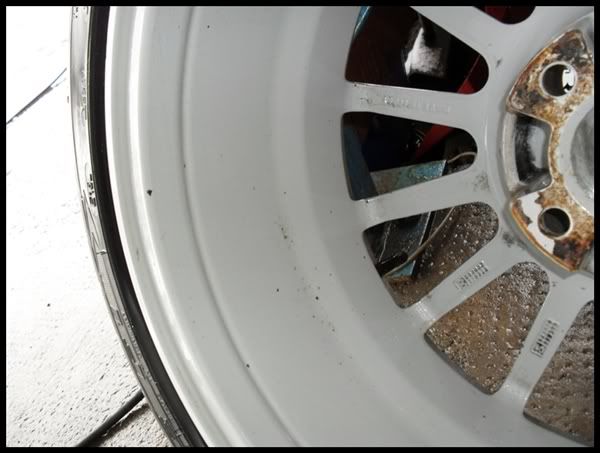
Although they could be doing with a tidy up refurb wise they are actually in pretty good condition given the state of the roads and the weather they have seen, also they see a lot of brake dust.

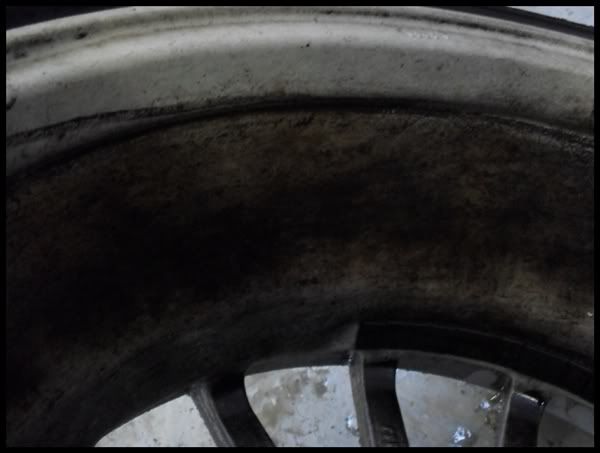
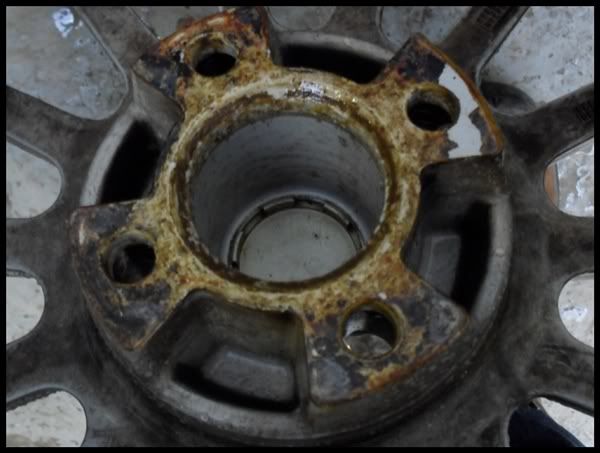
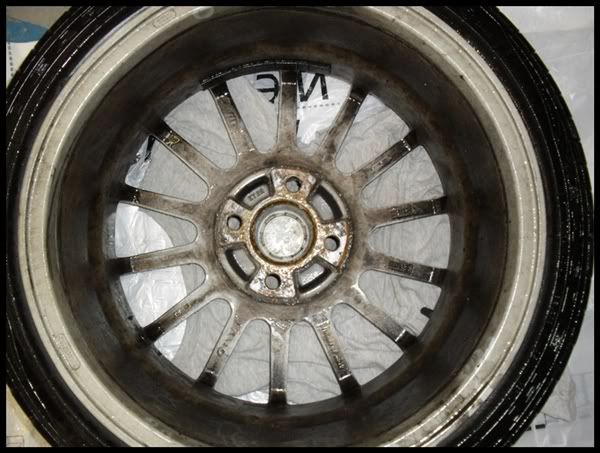
Front inners were looking erm... nice...
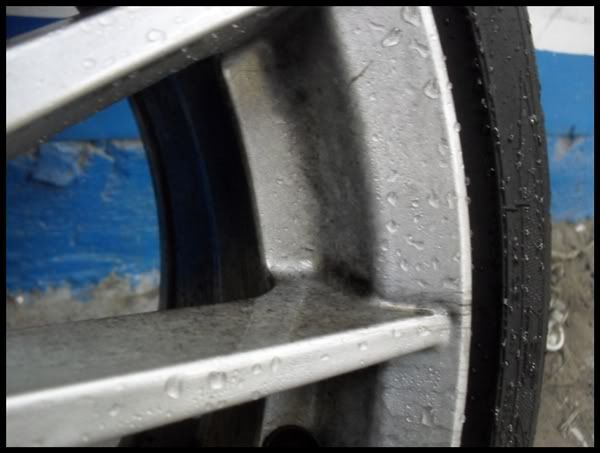
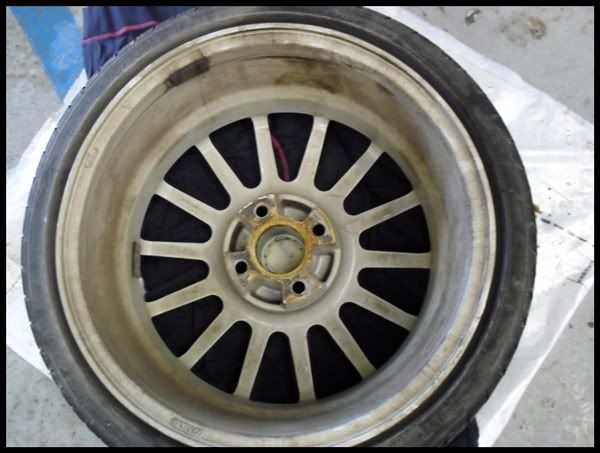
Rears as you would think were a little better...
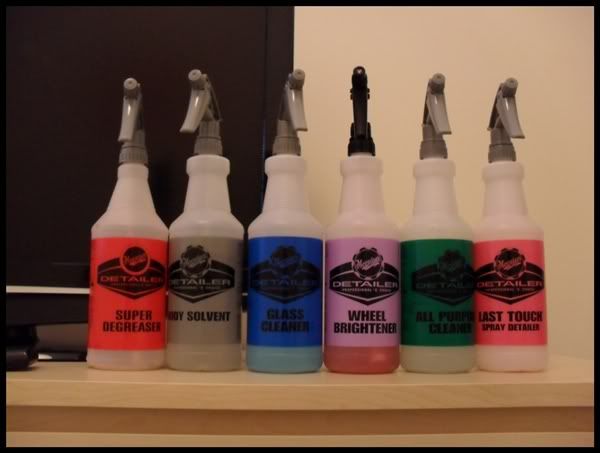
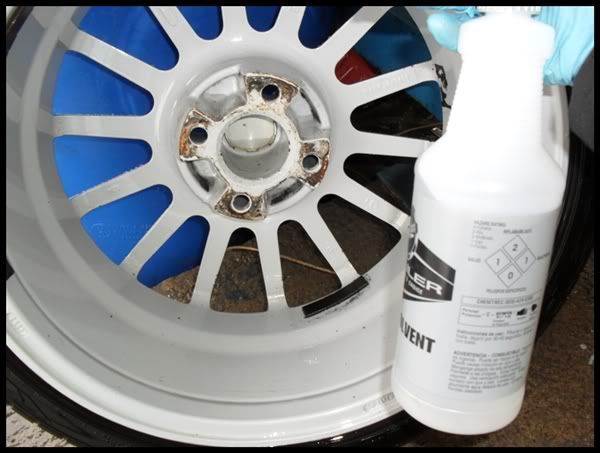
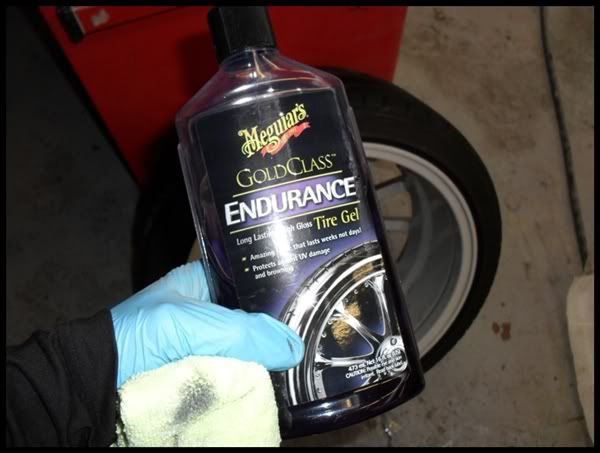
Products for todays task?
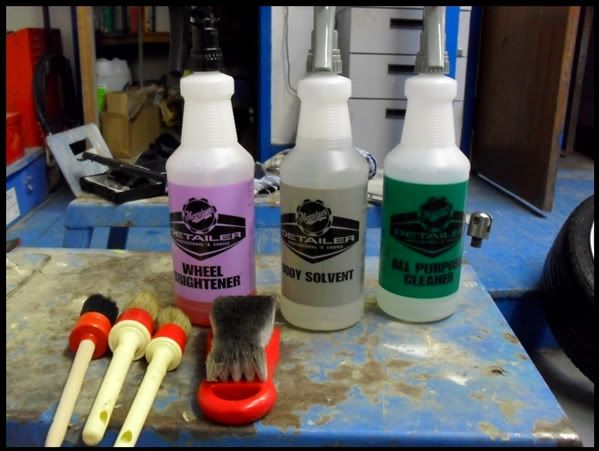
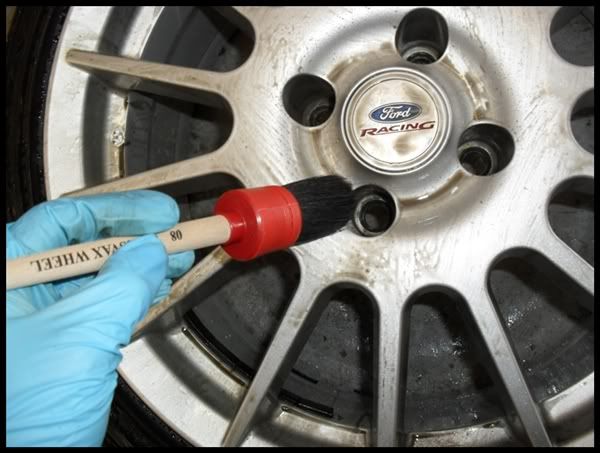
Swissvax wheel brush, 2 Raceglaze brushes, (for the inners) Scrubbing brush for the tyres. Wheel cleaner of choice (still) Autobrite's britegel (you'll see why) Tardis as standard and APC for today Bilt-Hamber's Surfex HD.
Take no notice of the bottles I just love the megs bottles, keeps things nice and tidy... (ocd)
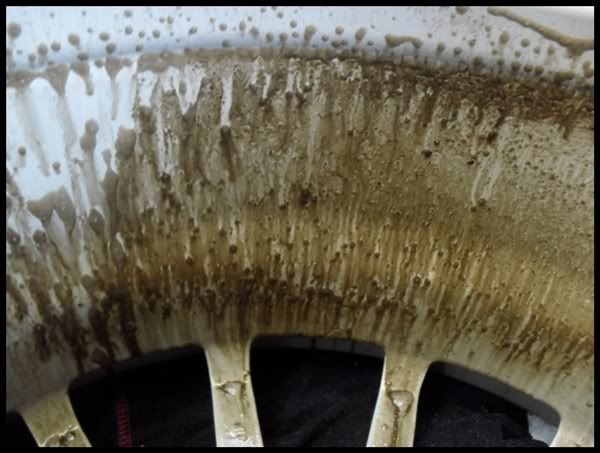
Ever since first using Britegel i've diluted it, sprays a lot easier and goes a lot further. I've honestly never seen such cleaning power from a non acidic wheel cleaner before even after dilution it brings my wheels up like nothing else.
Sprayed liberally around the inners, left for a minute without agitation and you can see it working already...
Agitated with the RG brushes, surfex sprayed on the tyres and scrubbed...
Nice...
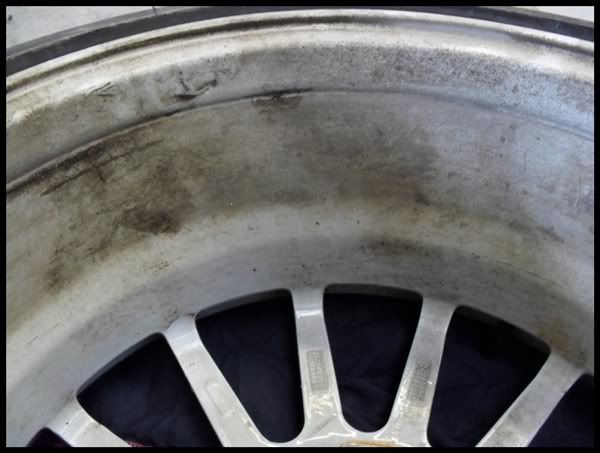
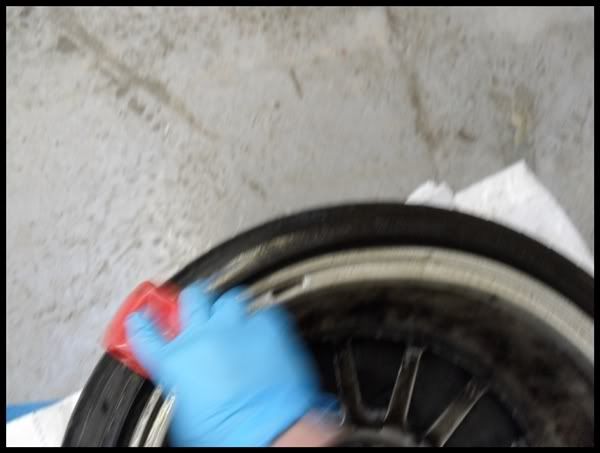
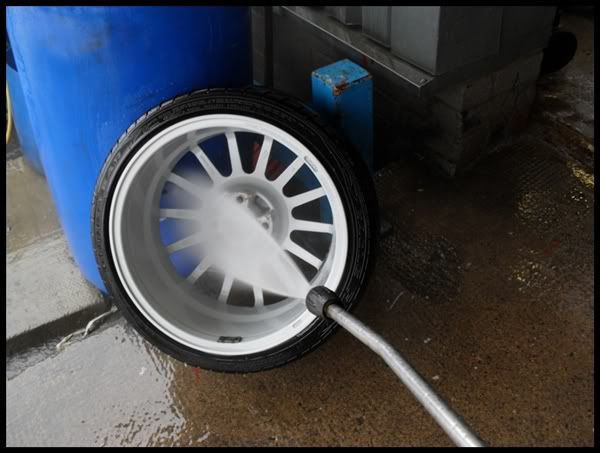
Swissvax brush used for the face of the wheel then pressure washed off...
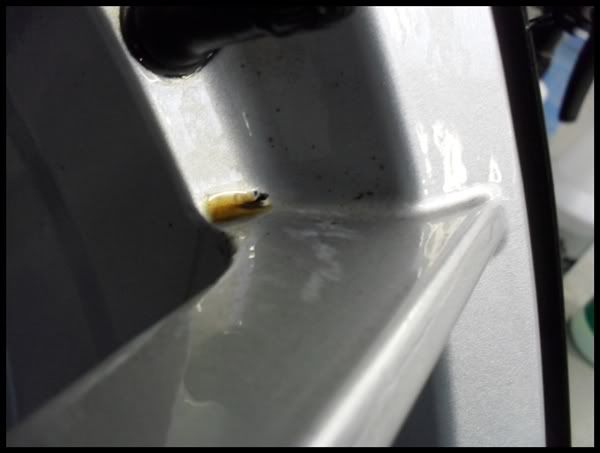
Just leaving some tar and stubborn marks that tardis will deal with...
Tardis working it's magic...
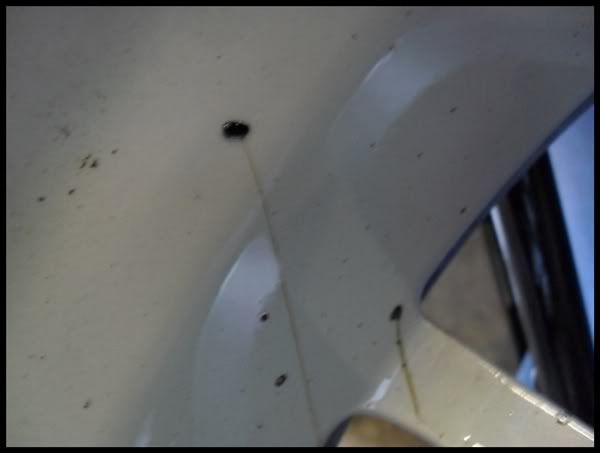
And on the faces...
Good wipe down with a work cloth and second coat of tardis applied...
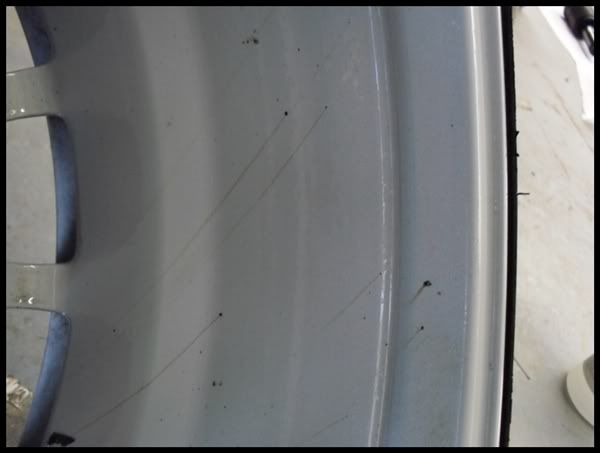
Even after 2 coats there was some little pits that I wasn't happy with, usually these would come off with clay no problem but given the weather and state of play I was happy with what I achieved.
I'll incorporate iron x into the wheel clean next time round (pre-summer) along with a good claying session.
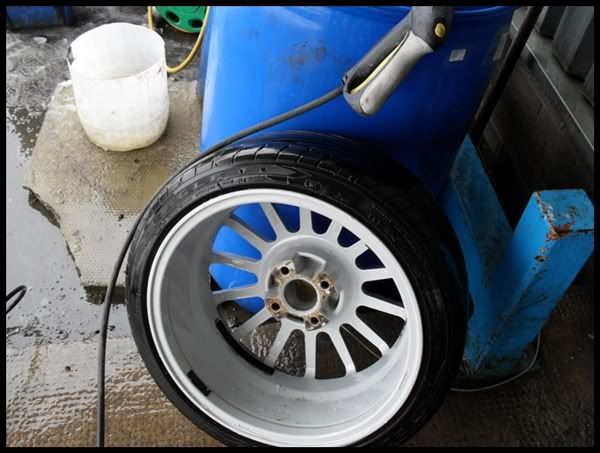
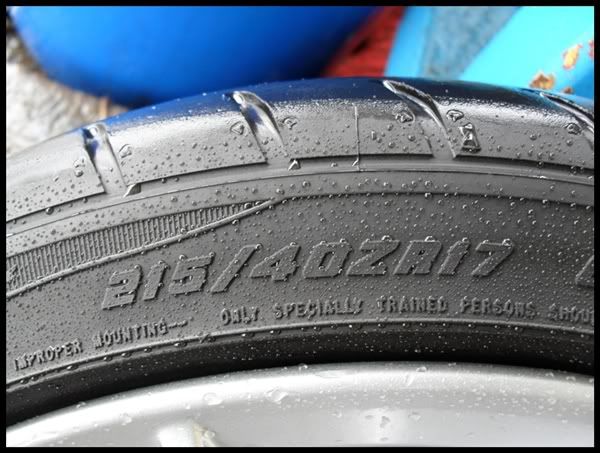
Nice clean tyre for dressing and a final shot of the wheel after another PW...

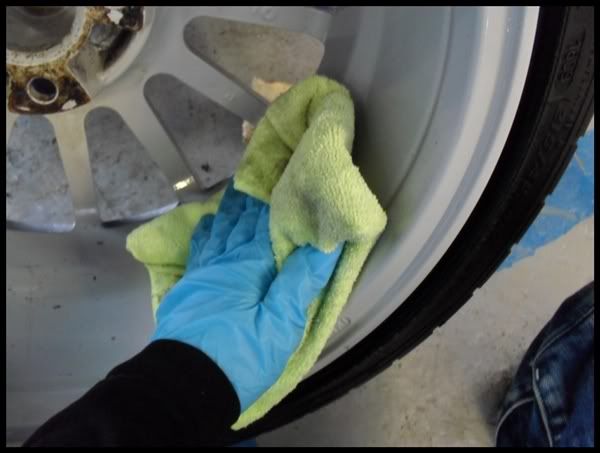
Back inside for a dry off, simple airline and couple of clean MF's to dry. Totally forgot I even had my wheel drying towel with me.
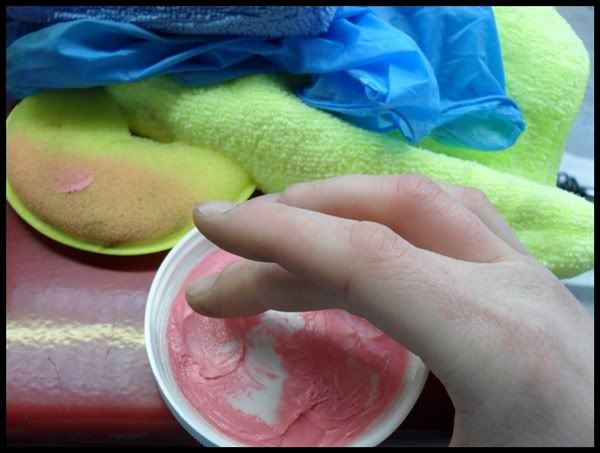
Time to get them sealed up. Products of choice today...
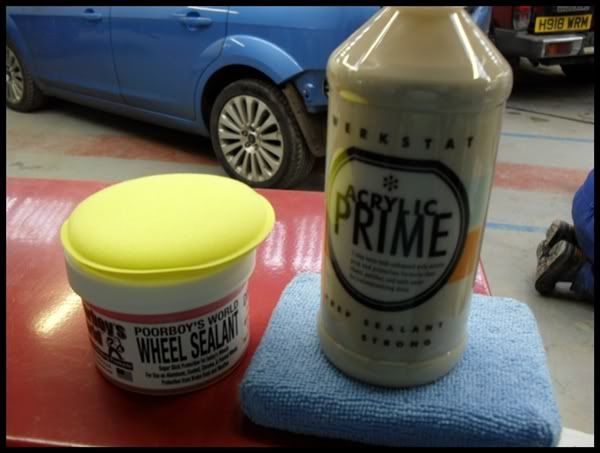
Big thanks to JD for the wheel sealant, I was in two minds what to buy use so JD helped me out on that front.
And what can I say about prime/strong, utterly fantastic. Used on 3 or 4 panels for testing before doing my wheels and just a wow product, really is.
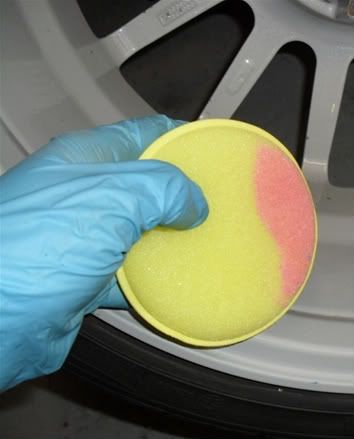
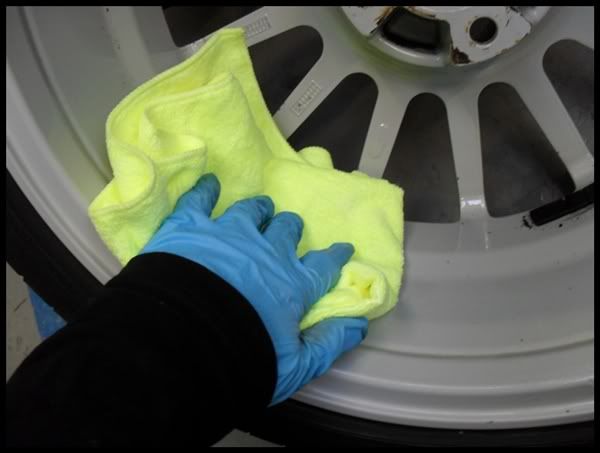
Applied and worked using an MF applicator, left for around 10 minutes then wiped down with a clean MF, wheel sealant applied with a foam app and left for 15 minutes before buffing off.
The garage was pretty warm inside so wasn't too bad for curing, few pics...

Incrediable cleaning ability...
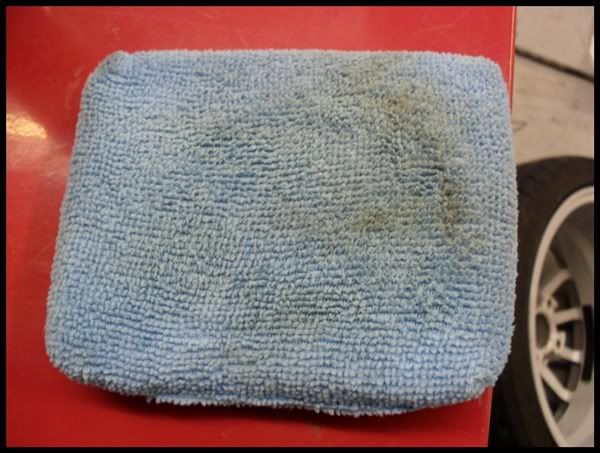
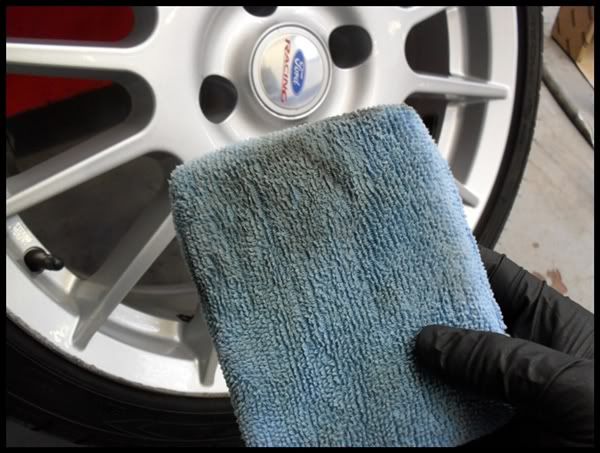
Wipe down, Sealed then another wipe down...
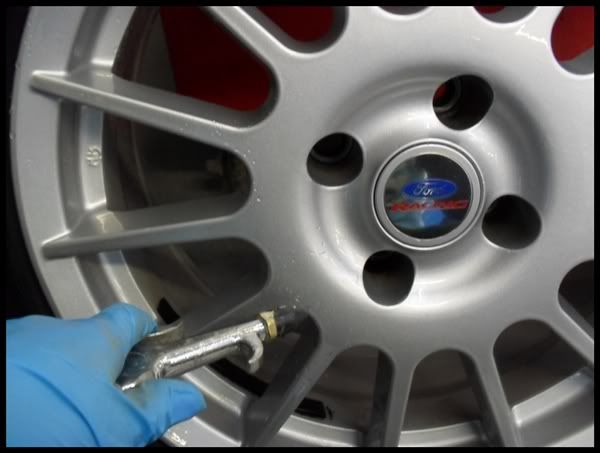
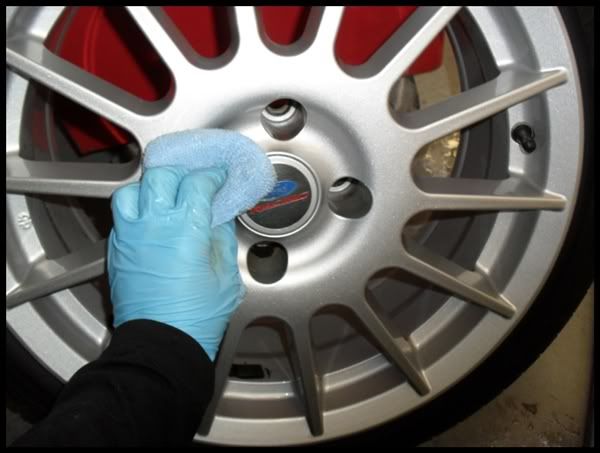
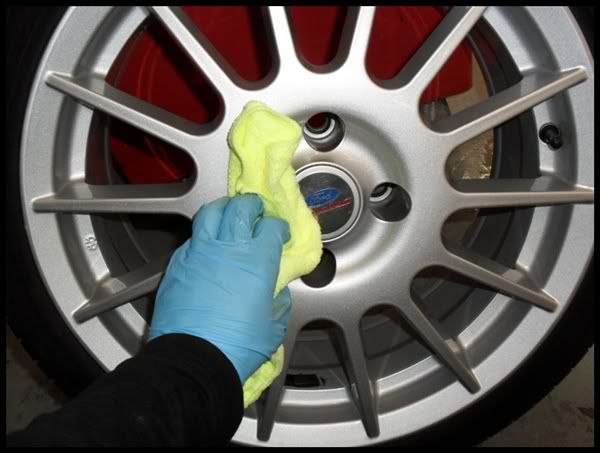
Same process for the fronts, sealing done by hand, those spokes are a ****!
Tyres treated front and back with what is still my favourite tyre dressings, megs...
Same process for all the wheels, like I said i'd loved to have had time to clay them but the front just take up so much time it was never an option today.
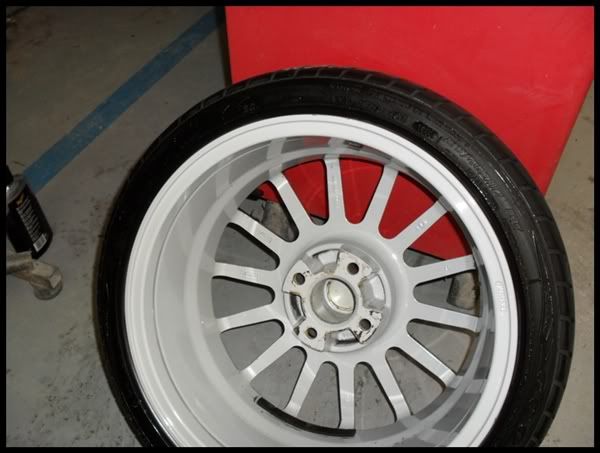
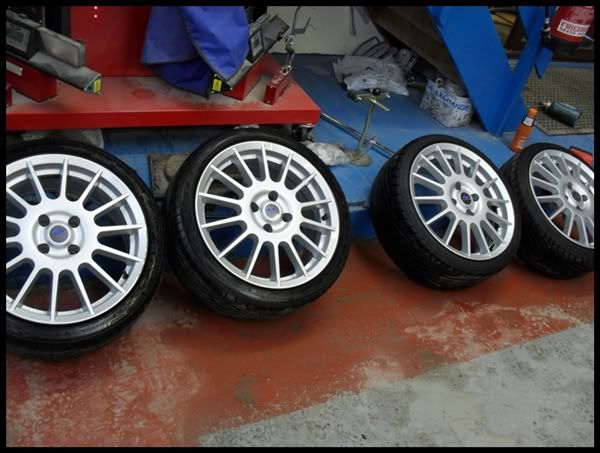
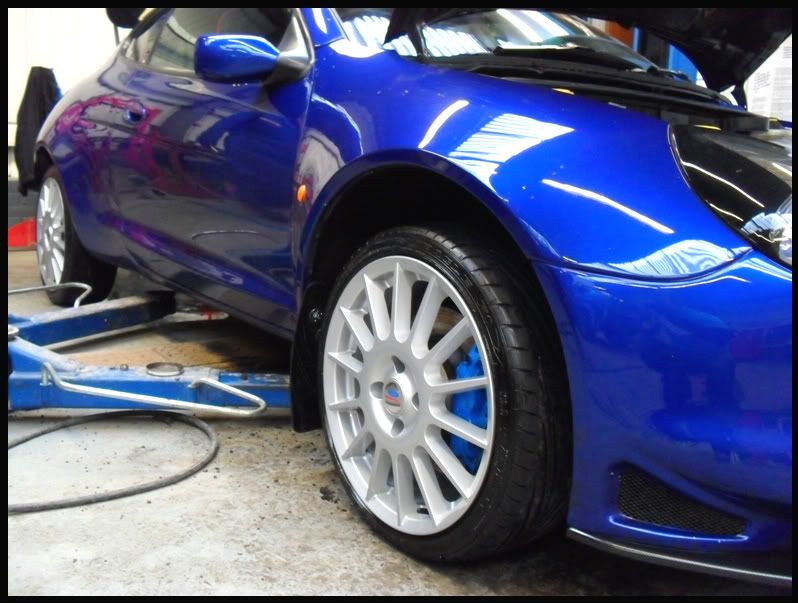
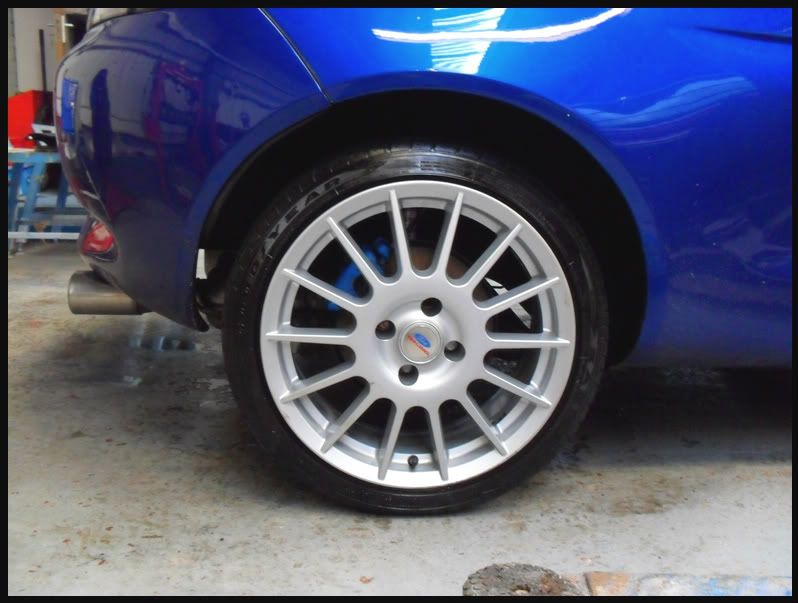
Quite a few afters...
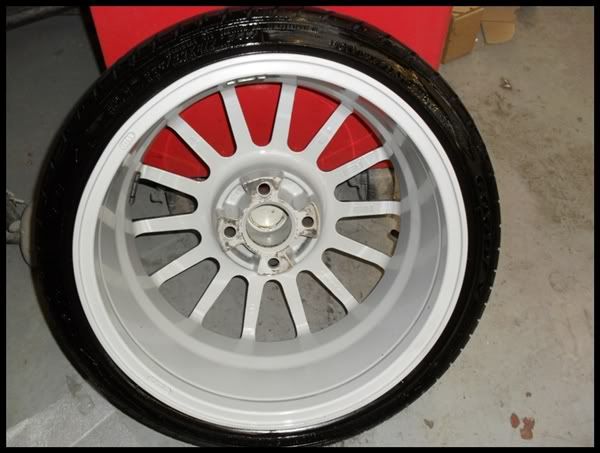
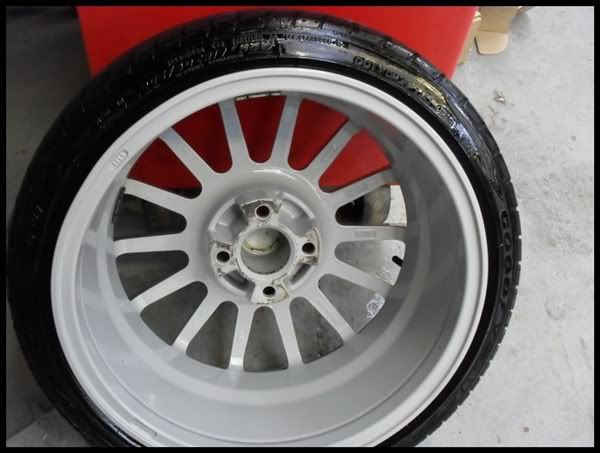
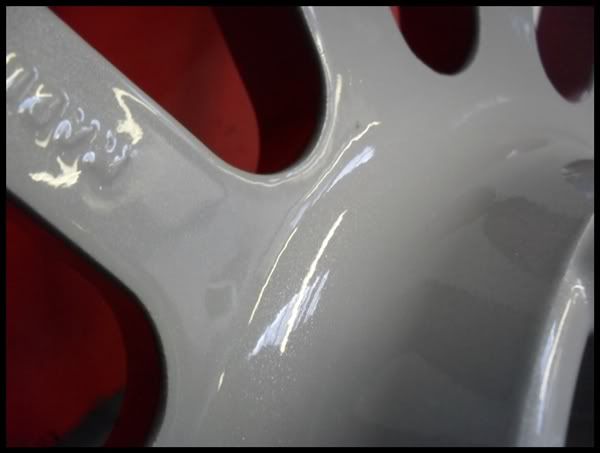
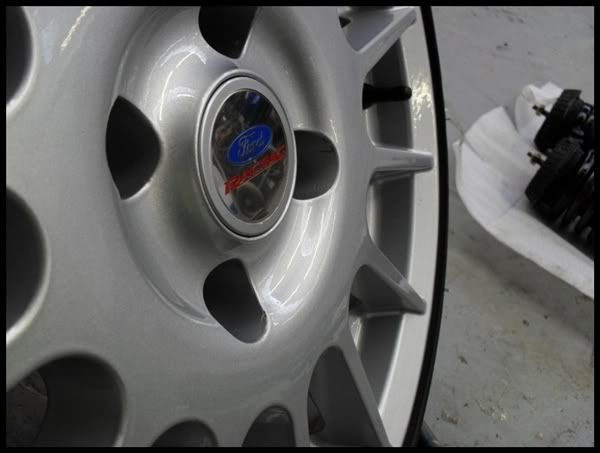
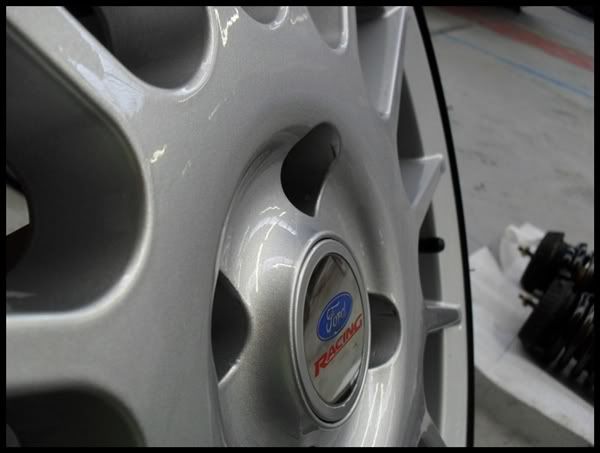
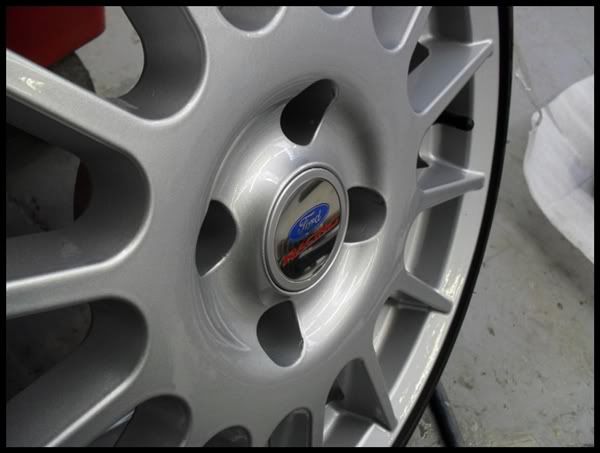
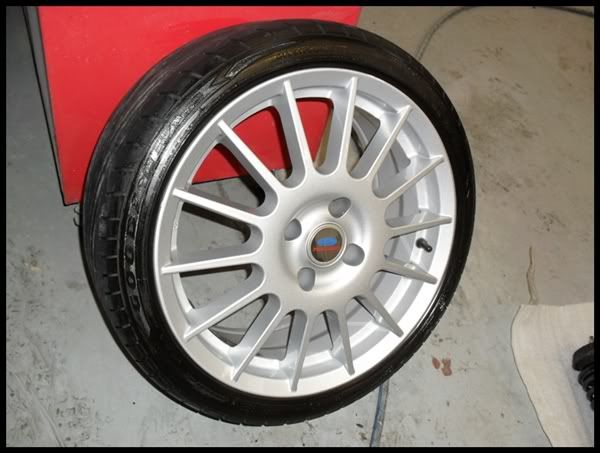
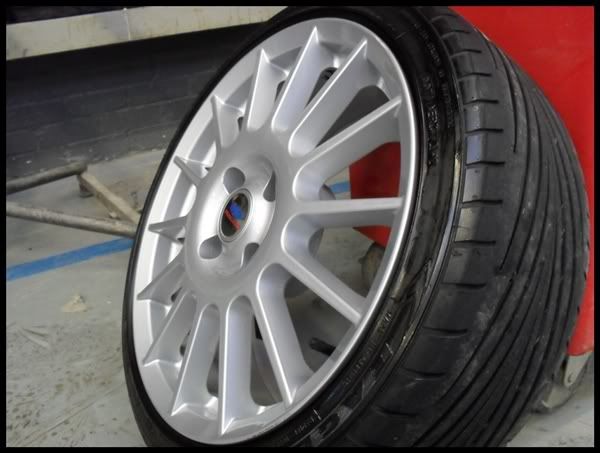

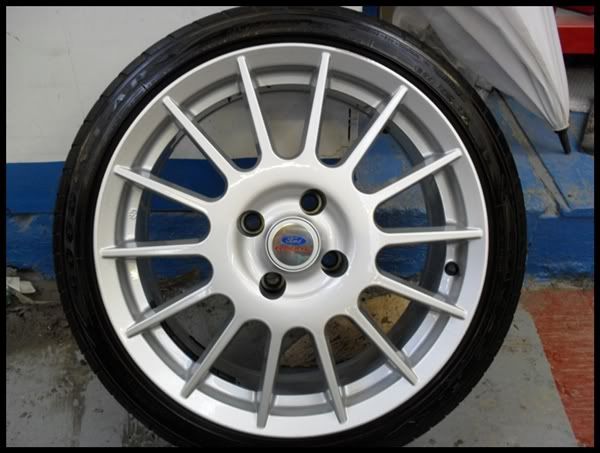
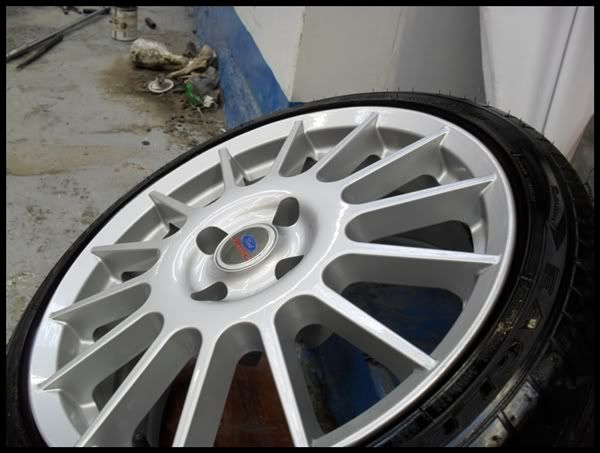
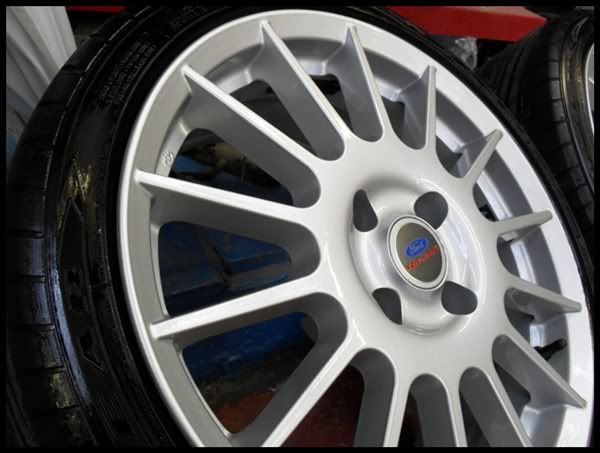
All 4 ready to go back on, came up pretty well I though.
Thanks for making it this far!
-----------------------------------------------------
So onto the main reason the car was in! The suspension!
Mick had made some great progress while I was doing the wheels, if anything I was holding him back from finishing it all quicker.
Few befores and afters and durings...
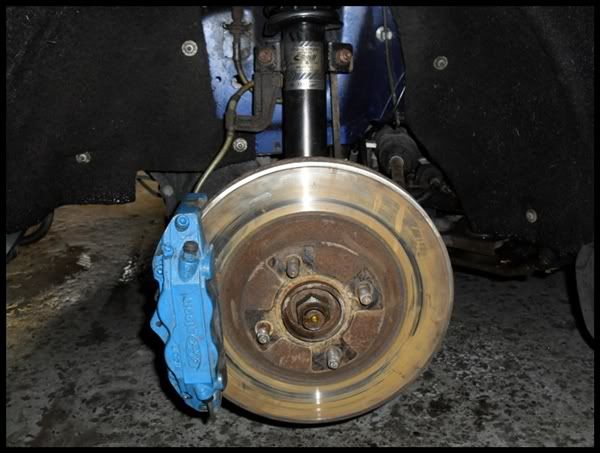
See the dust? I reckon 11 years old.
When the standard car went to Tickford for conversion the entire guts of the car were removed for the new parts to be fitted so the dust is from fitting the new quarter panels. Funny I thought.
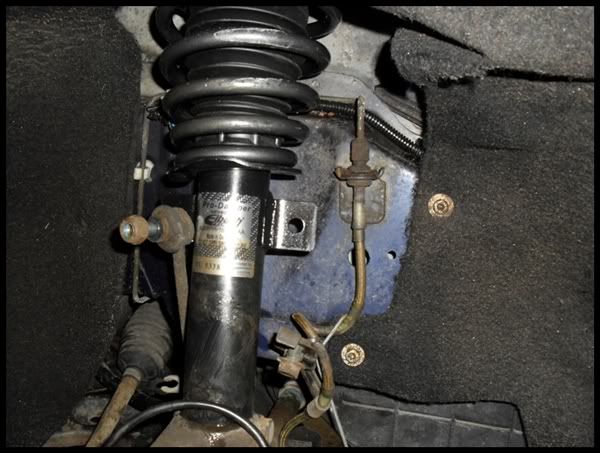
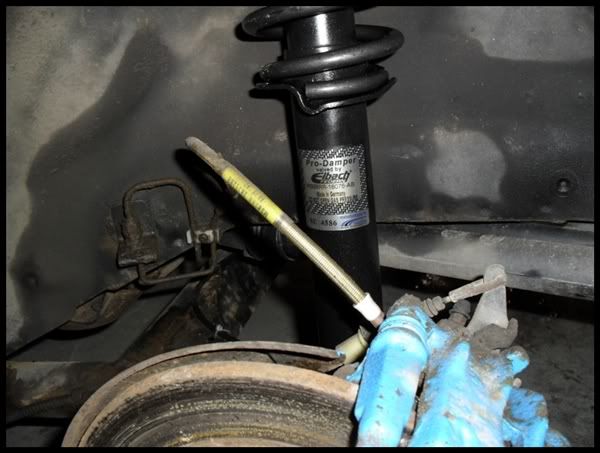
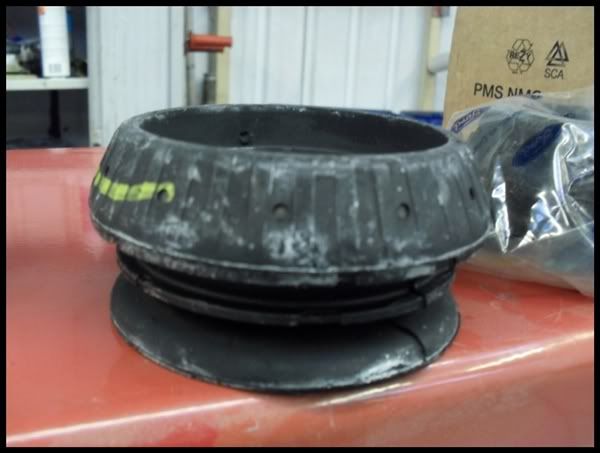
Old vs New...
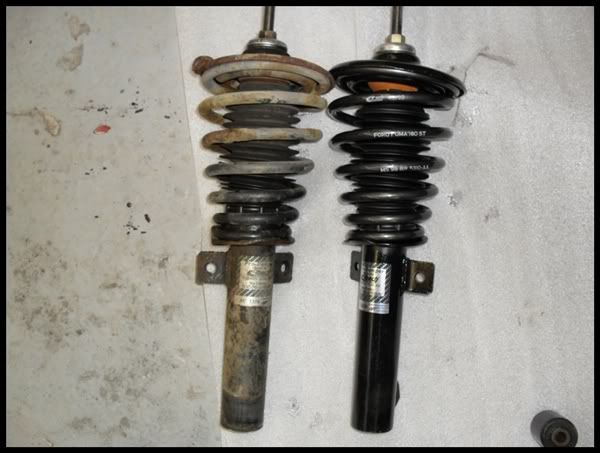
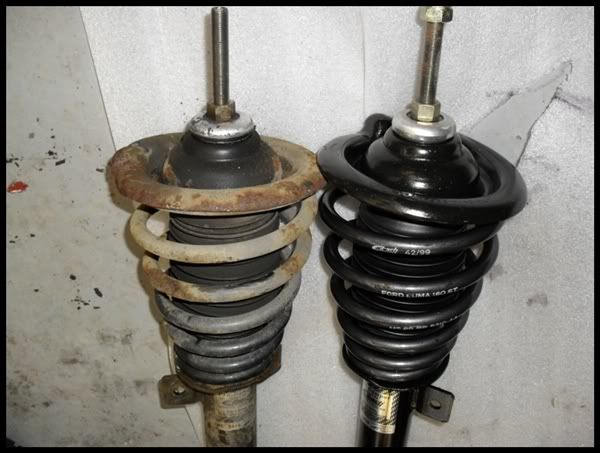
Old!
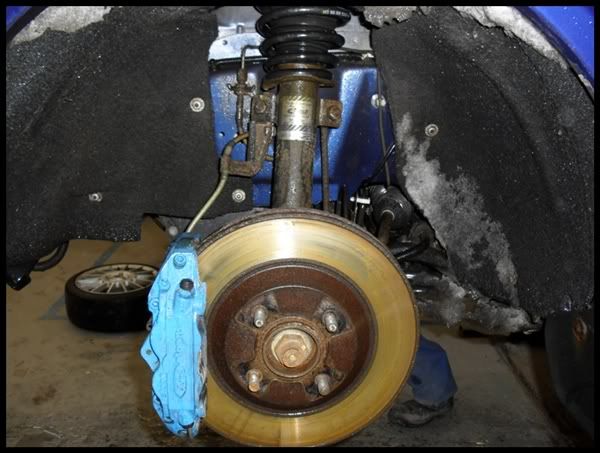
The hub/disc was treated to some black Hammerite while the wheels were off but they are needing a bit more work imo and the rear arches coated again with some Dynax S-50 before putting the wheels back on.
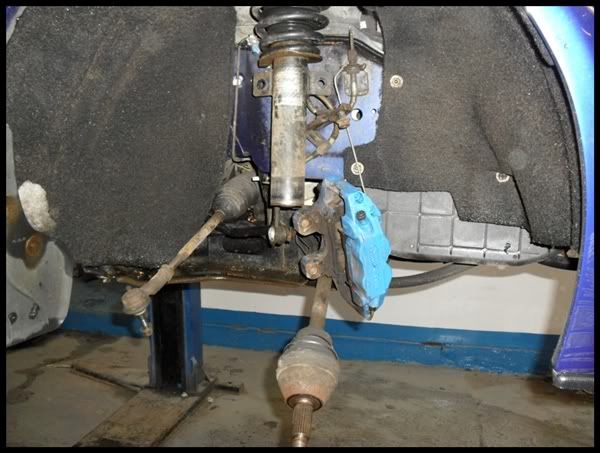
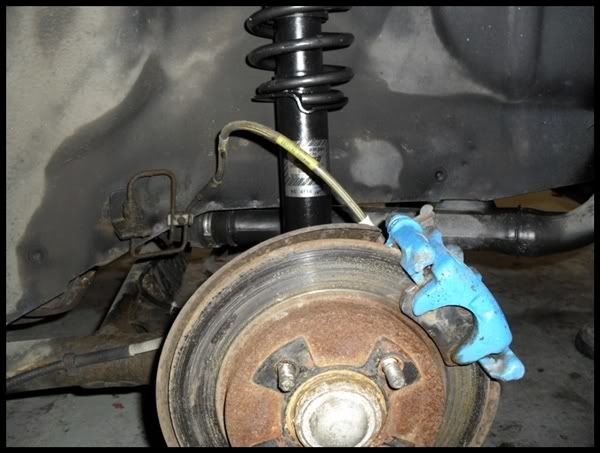
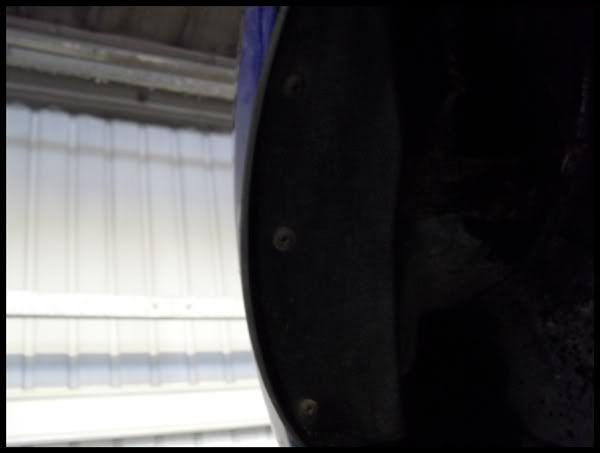
So all the suspension fitted ready for the wheels to be fitted and get the car tracked so I finished off my side of things, cleaning the calipers and Mick fitted my new rear spats and new front mudflaps.
Spats and mud flaps both prepped with C4, see here...
http://www.detailingworld.co.uk/forum/showthread.php?t=203274
Few pictures...
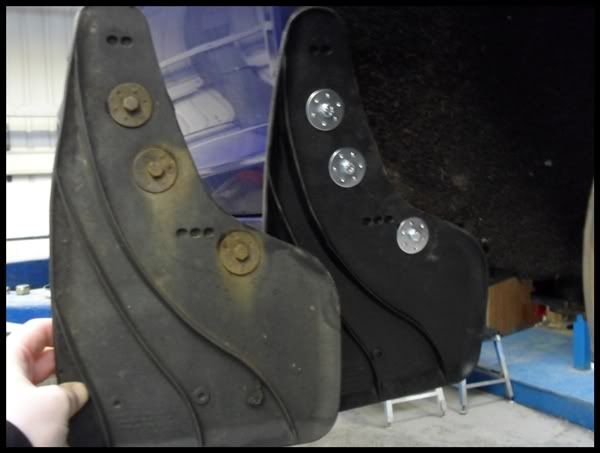
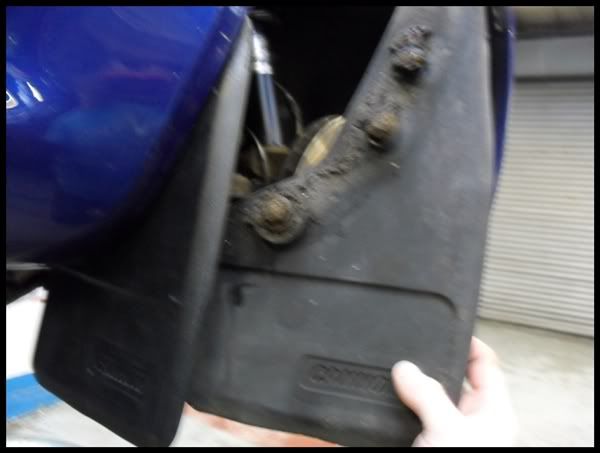
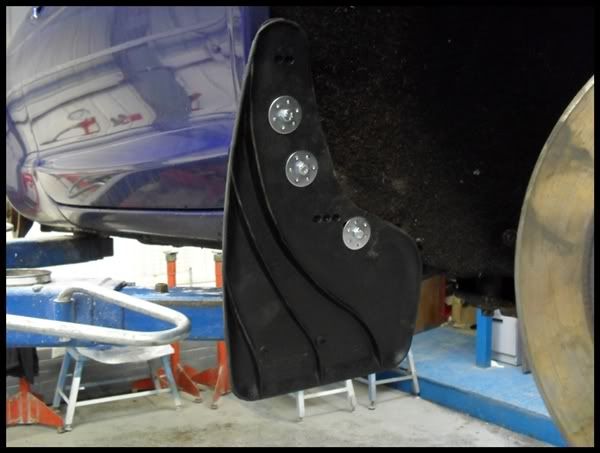
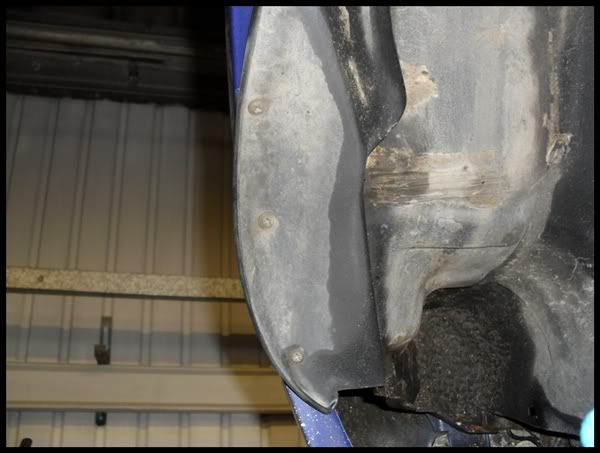
New Not the greatest picture...
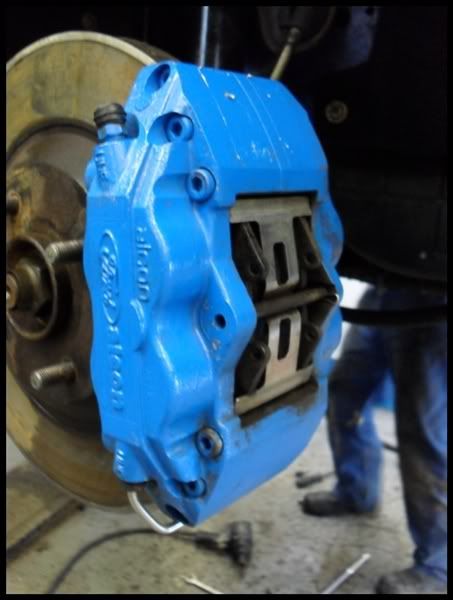
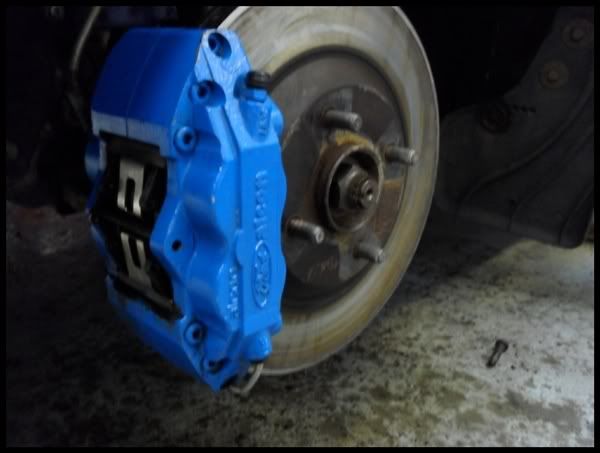
And the Calipers cleaned...
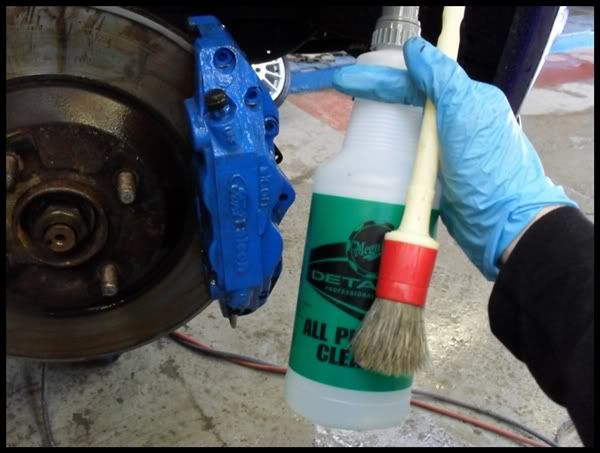
Dried then wiped down with prime strong to leave a decent marked improvement I thought.
Befores and afters...
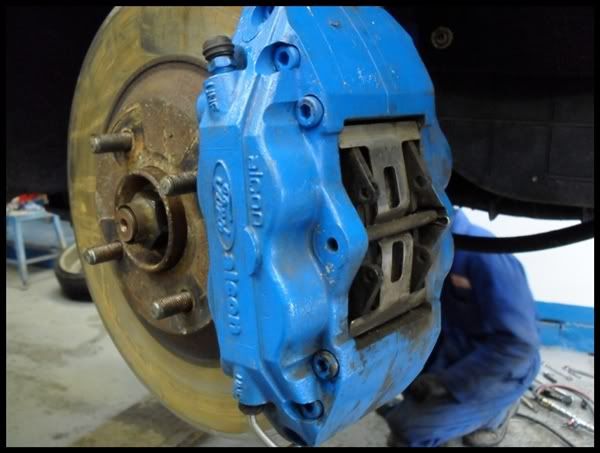
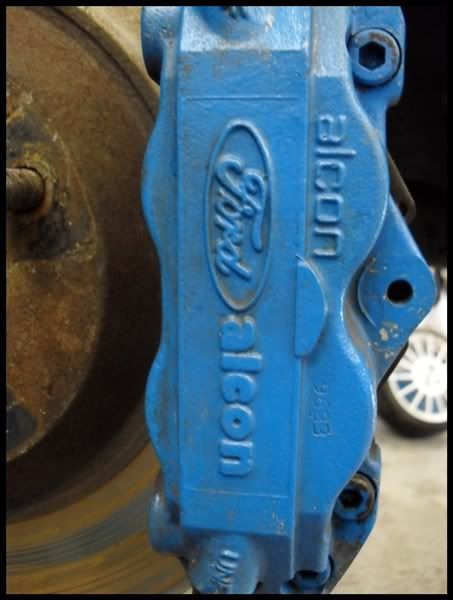
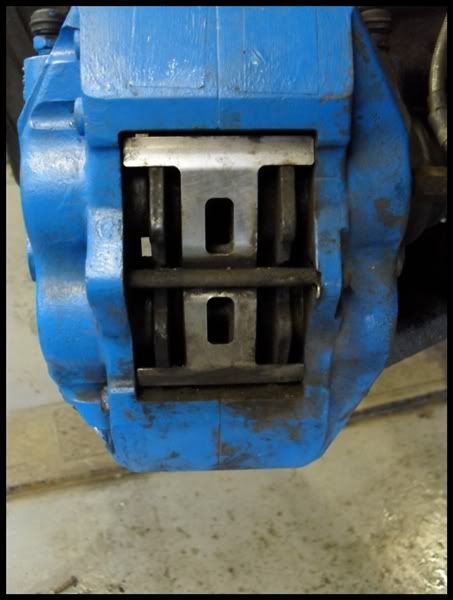
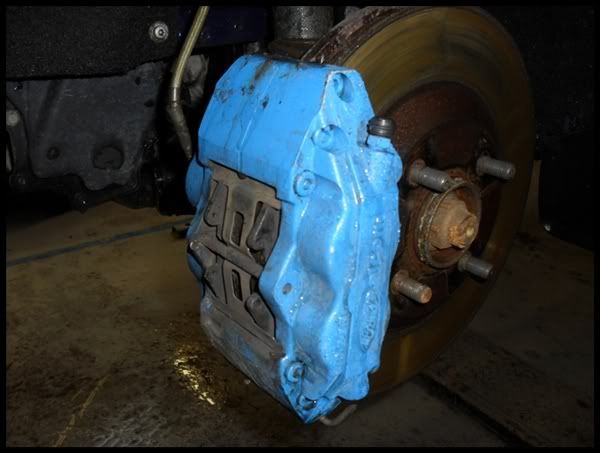
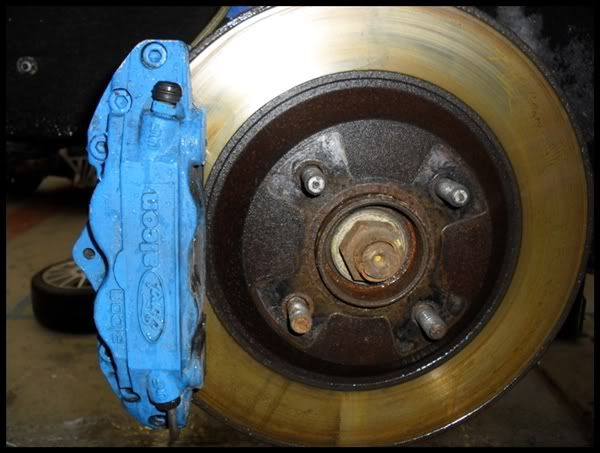
Afters... (they need refurbed)
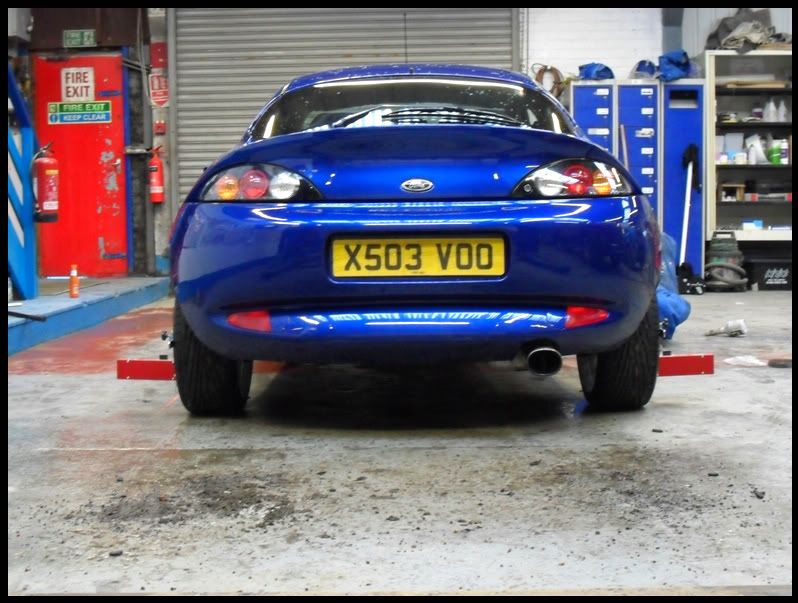
Wheels back on...
Finally at the end! Time for the important bit, alignment...
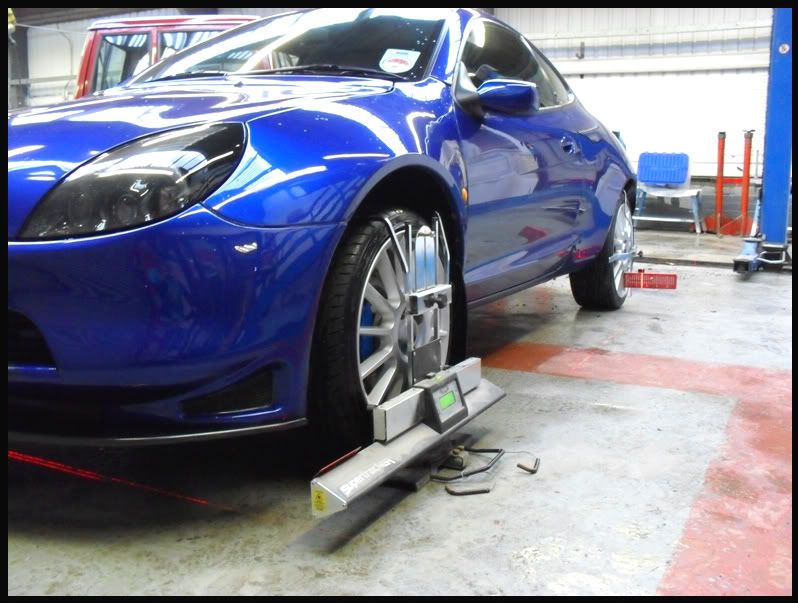
After hitting a few potholes during the winter the tracking was somewhat out of sorts, so after getting the correct settings from Pro-Grip a local wheel alignment company we set about sticking in the correct settings.
Tyre pressures all checked aswell.
As most will know on a lot of modern cars Toe is the only thing that can be adjusted but that can also effect a lot of other settings.
Couple of test drives later and bang on the button for my liking, Mick was also very impressed with how the car tracked and drove.
Good enough for him, good enough for me.
Everything re-checked, greased and checked again job was done. Tracking will be checked again tonight along with all the bolts.
May also still take it to Pro-grip next week once the car has settled and get a final alignment done on it for peace of mind.
So summary?
Best modification I could ever do the car within keeping it OE and to be fair it applies to all cars. I thought the car was a fantastic drive when I got it but now it just feels so taught and precise, it's weird to think I thought it was okay before.
The gear change, the brakes, all feel much better now the car is more connected. You really do feel it through every corner and gear change how much of a difference new components make.
Such a shame there aren't many of these cars left and some people might never get the chance to drive one. I know I know it's not a Ferrari/Lambo blah blah blah but I feel it's a very very special car in it's own right.
It's so far removed from a normal Puma and has so much more about it than the other hot hatches i've driven.
Anyone I meet I always have the urge to give them a shot of it for a run to see what all the fuss is about and realise it's not about me wearing my Ford Jimjams to bedbeing biased, I just think it's a great car from a petrolheads pov not just as a massive Ford fan.
If you got this far, thanks a lot for reading. Part 2 (Paintwork detail) to follow in a few weeks.
Thanks again guys.