So day 2... Maybe get 2 cuppas for this one!
Had a bank holiday Monday at work, place was closed anyway so the boss left me the keys and I had the place to myself to crack on...
Camera used yesterday was left in the house. :wall:
So most of the pictures were taken with the works camera, bare with me until near the end as some are of shocking quality.

Apologies.
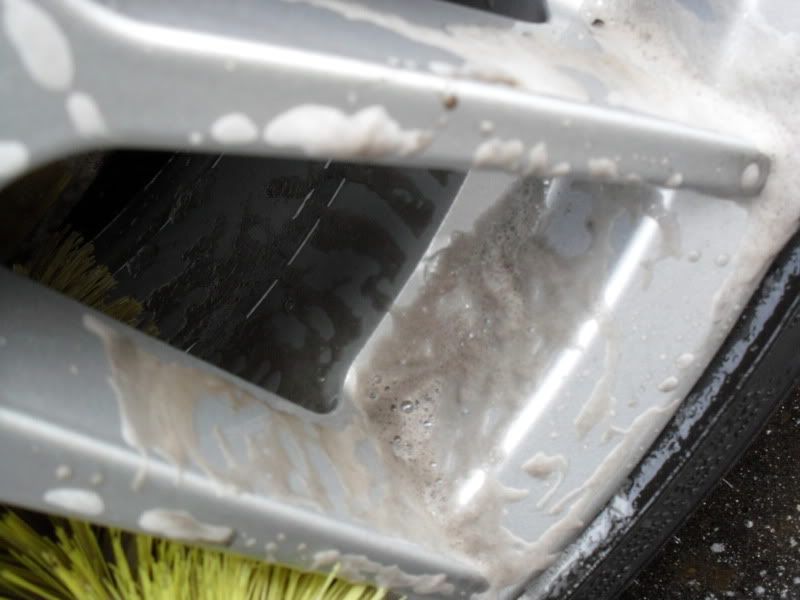
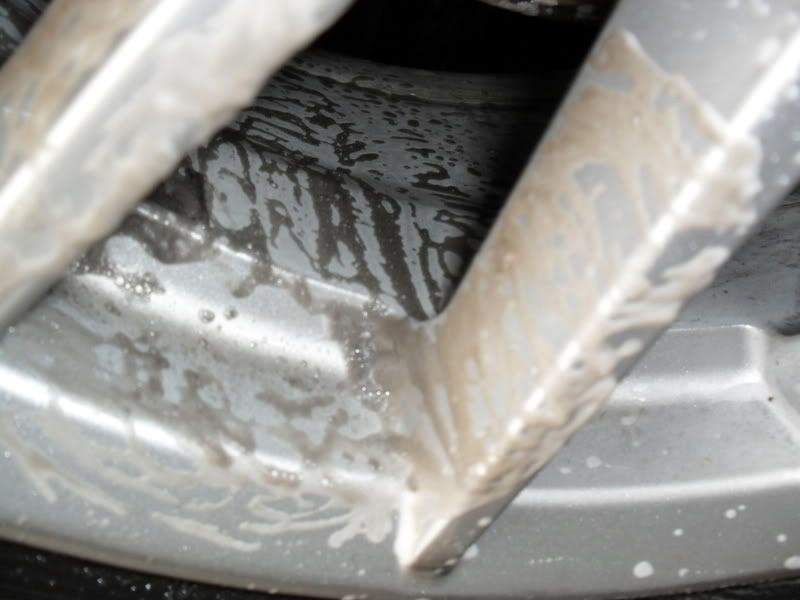
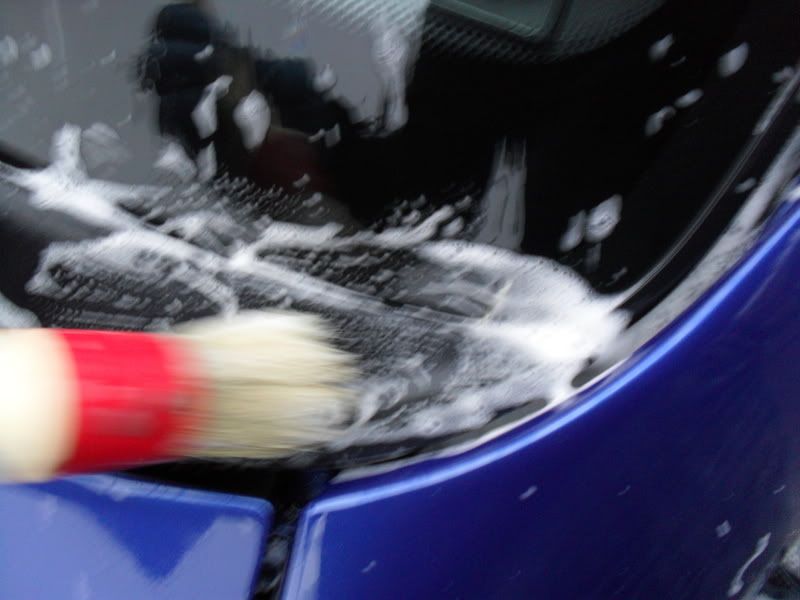
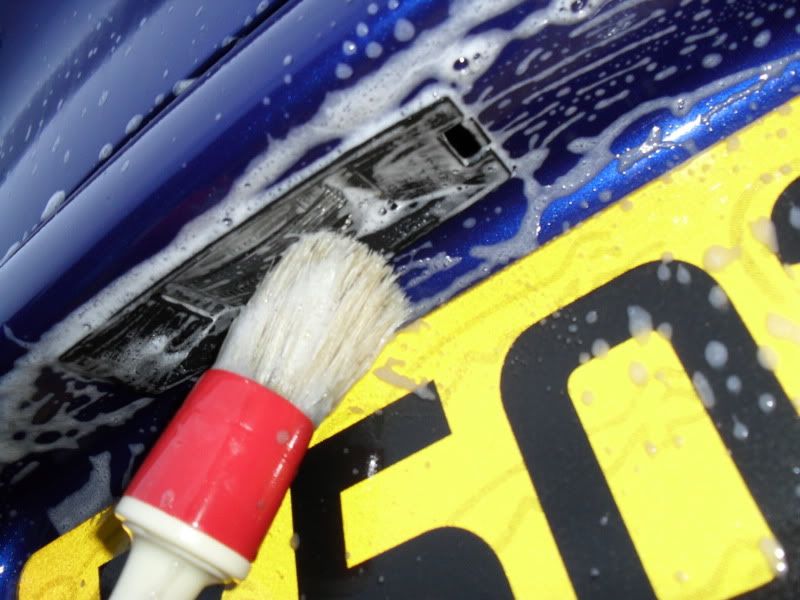
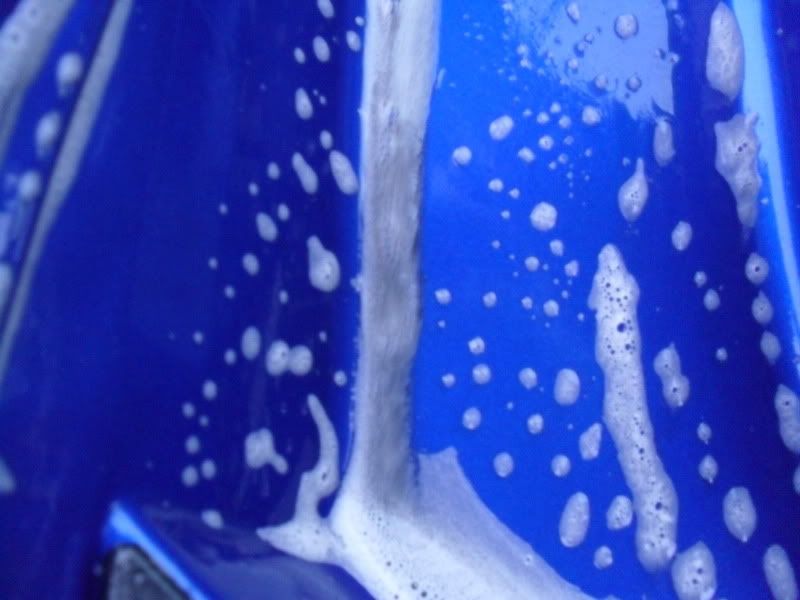
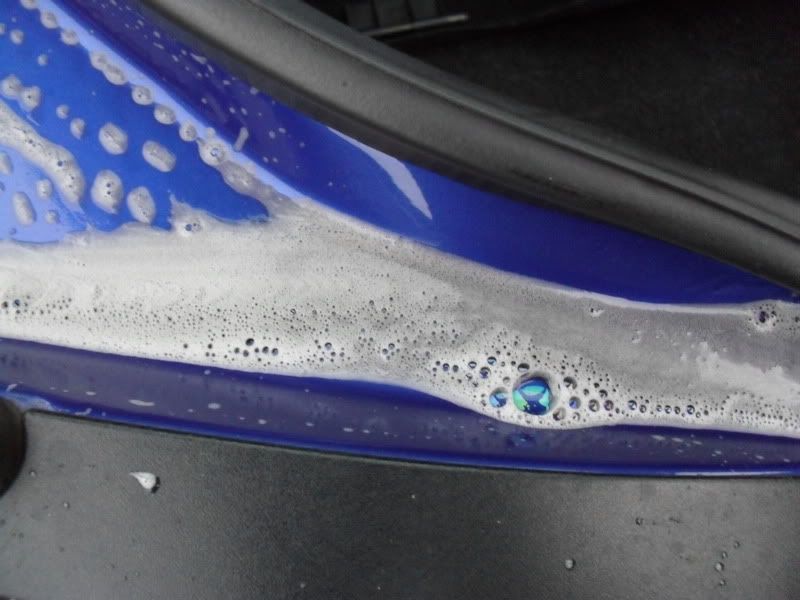
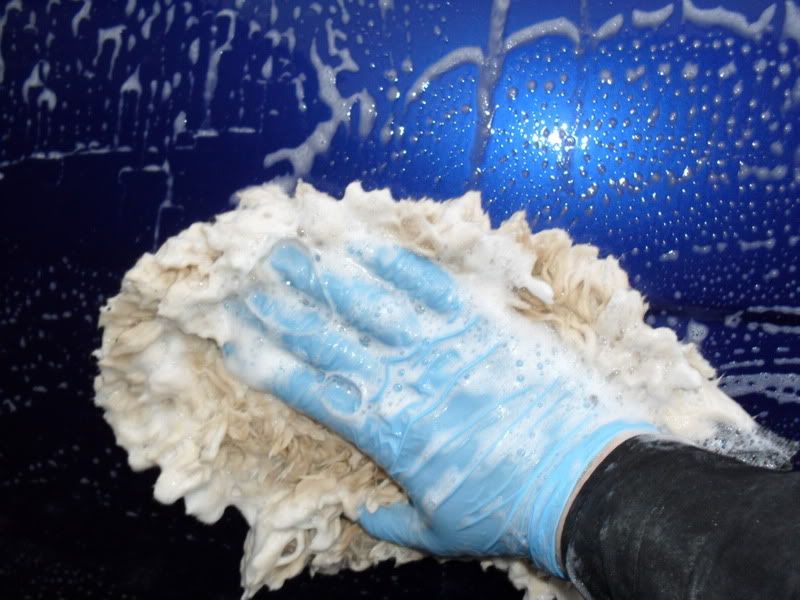
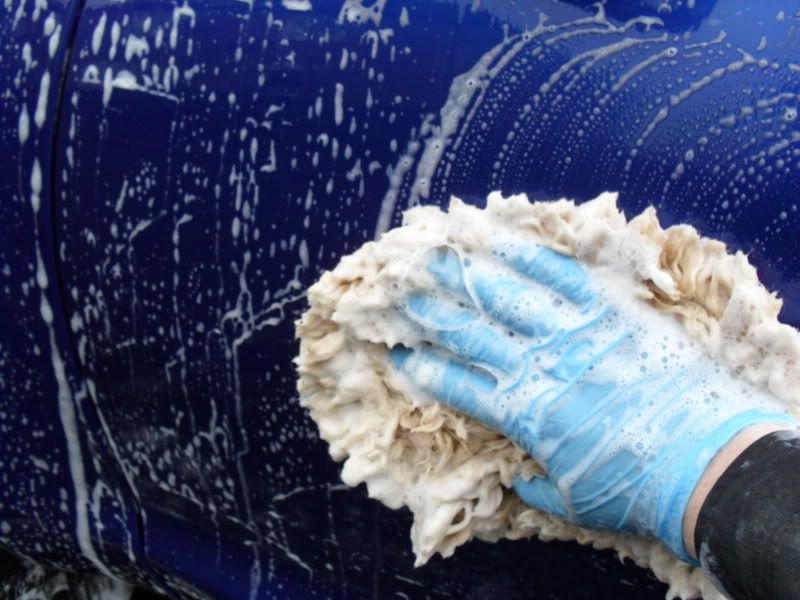
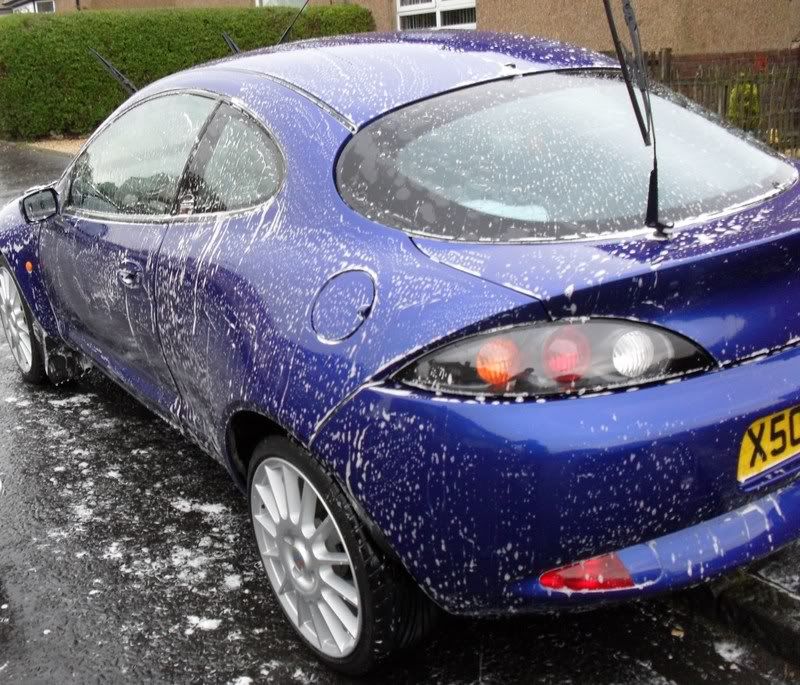
Car was quickly snowfoamed and hand washed in the morning when I got there! About quarter to 8! Early early!
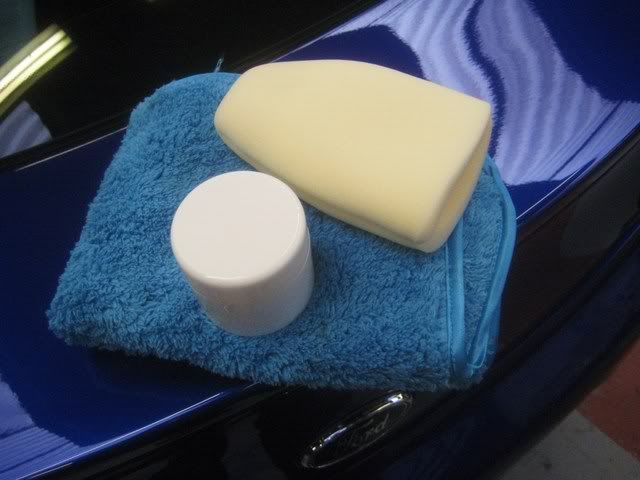
Rolled inside to get dried off with the airline and a nice new PB plush drying towel.
Another new buy after my blue fluffy towel gave up the ghost. The towel seems much better quality and far more absorbent than the blue one so a cracking purchase imo.
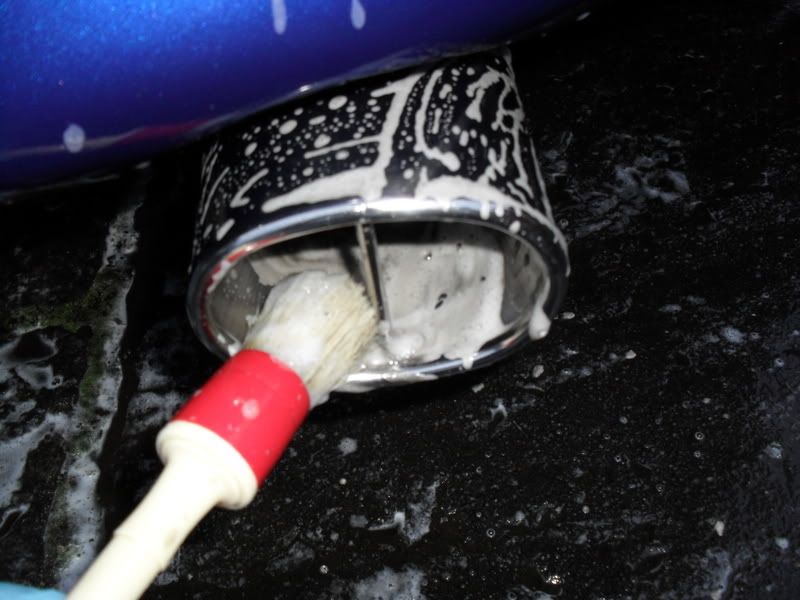
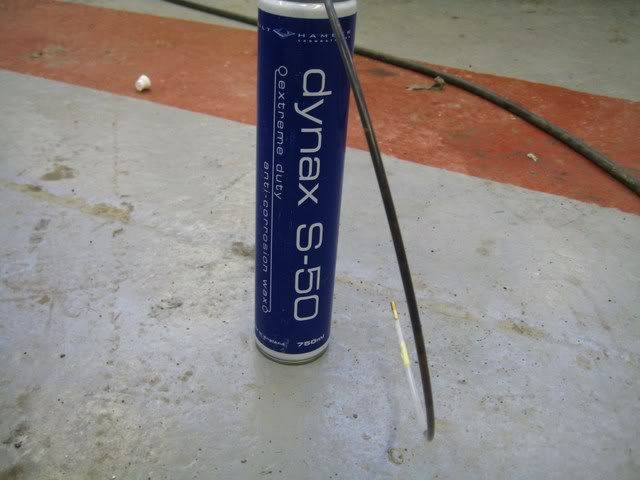
First things first, courtesy of thw boys at BiltHamber... Dynax S-50. A bit of research was done and seeing the test results and how it held up to some serious punishment I thought it was ideal product.
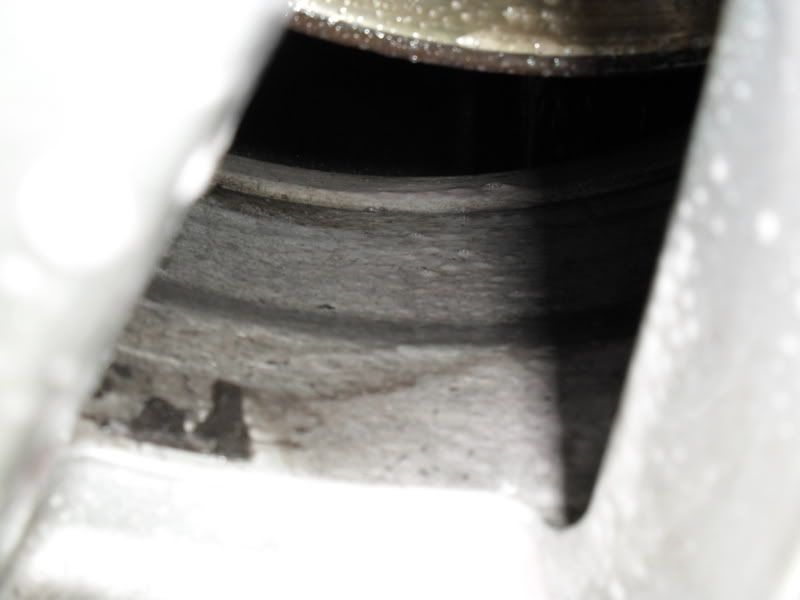
The sills,doors and inner quarters had been done a few weeks back so just a little added to the outer quarters.

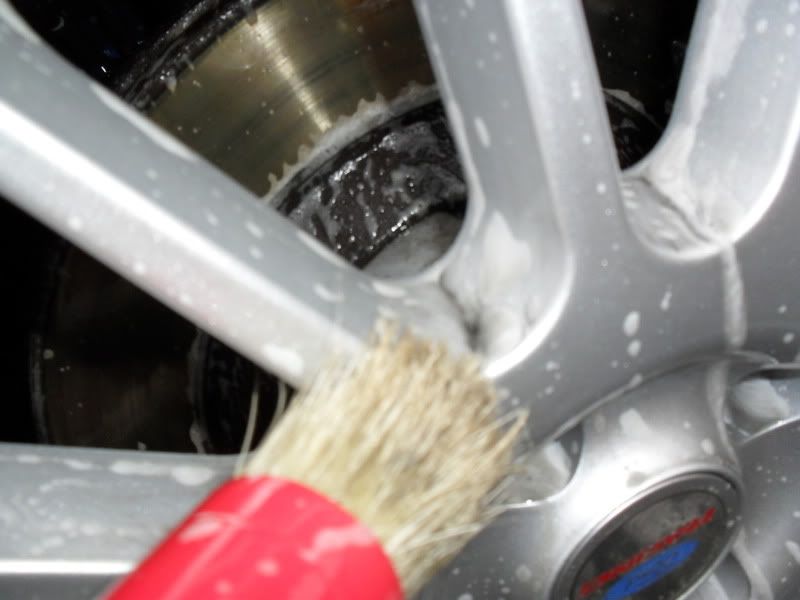
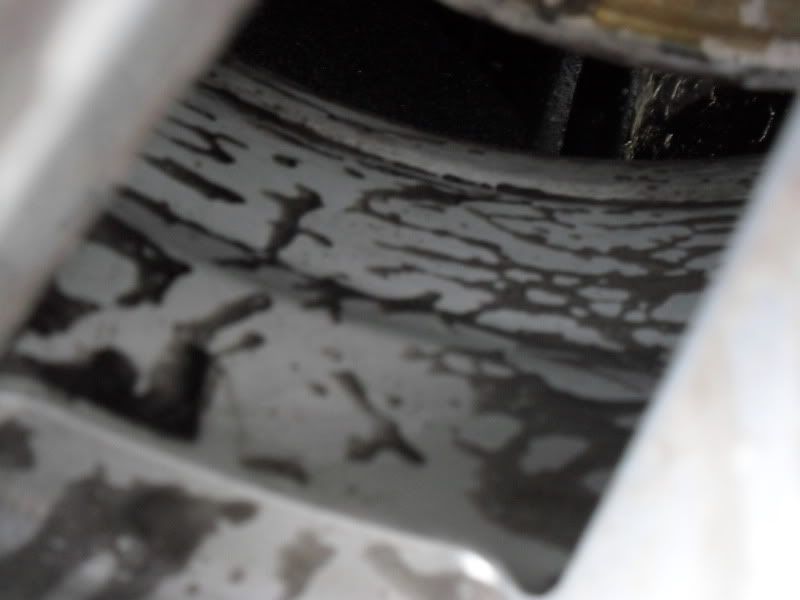
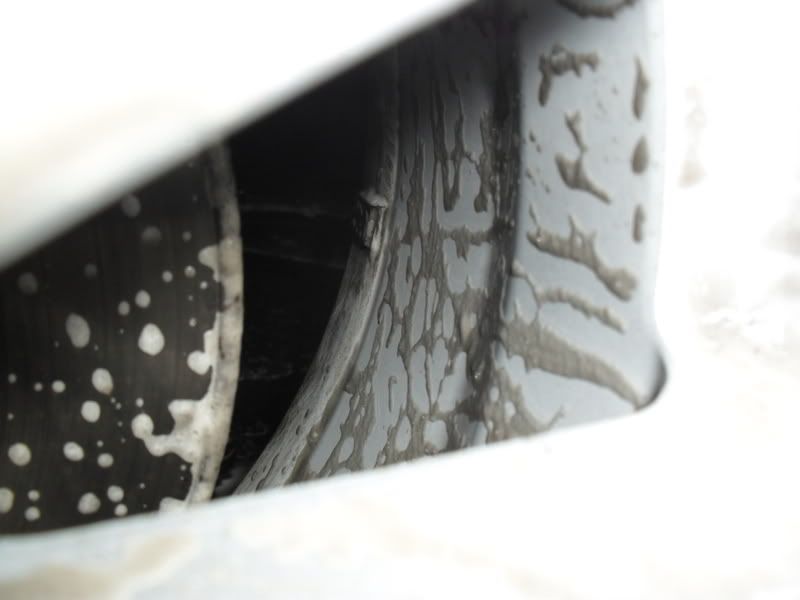
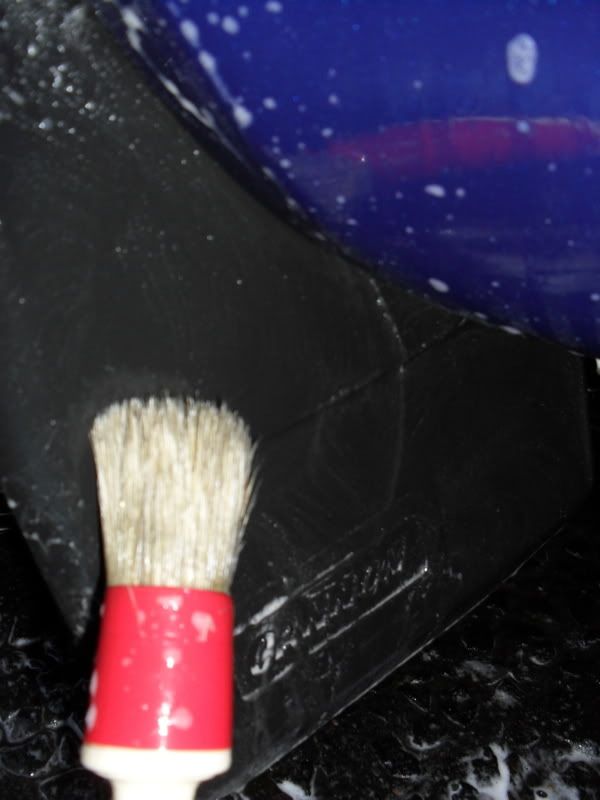
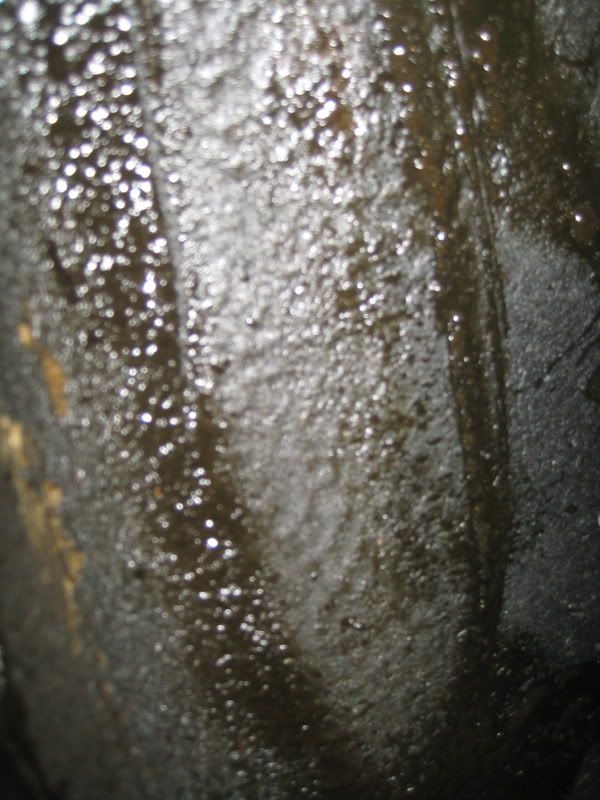
The arches were scrubbed with a really old brush the day before to loosen off the old dirt and was pressured washed off before the wash process.
Dried off with an airline and too make sure there was no more crap in there.
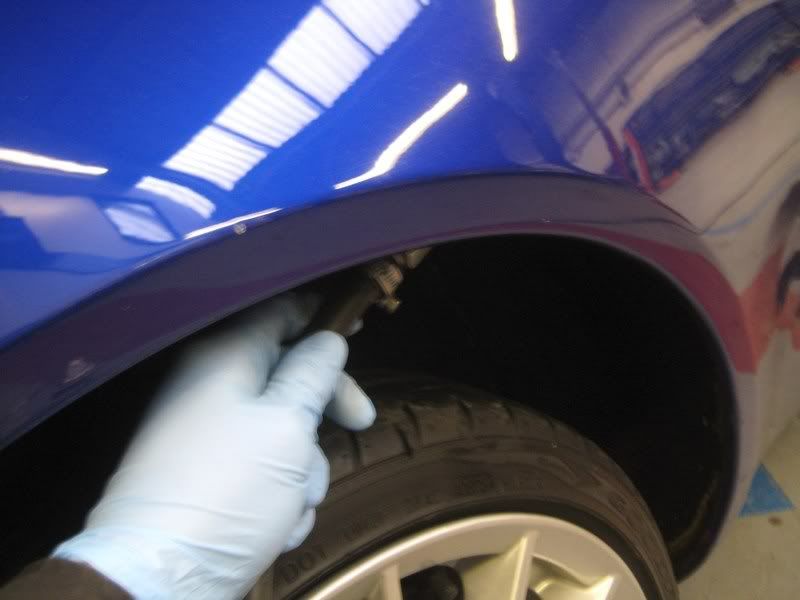
Then protected. (not the best pictures), I used up the rest of the tin and the inners are now totally blacked out with dynax.

Was just a little thing I thought i'd do while it had the time to dry during the detail.
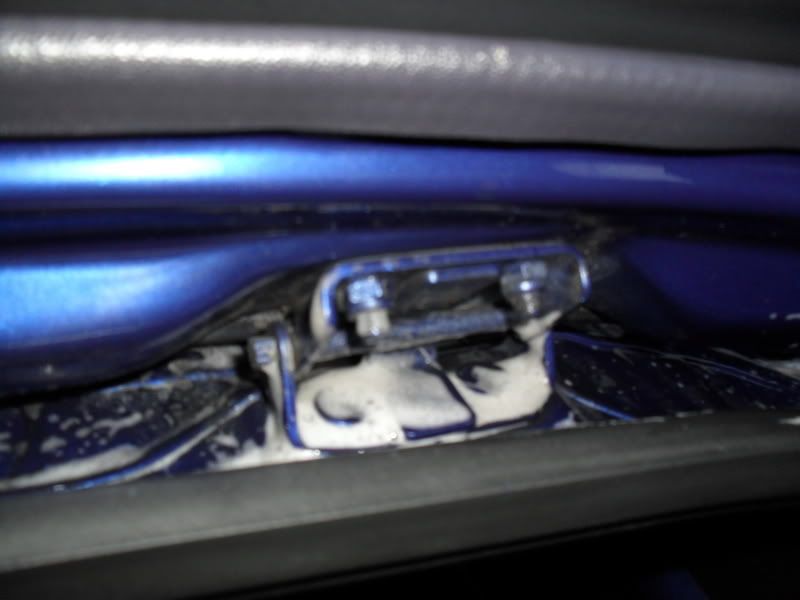
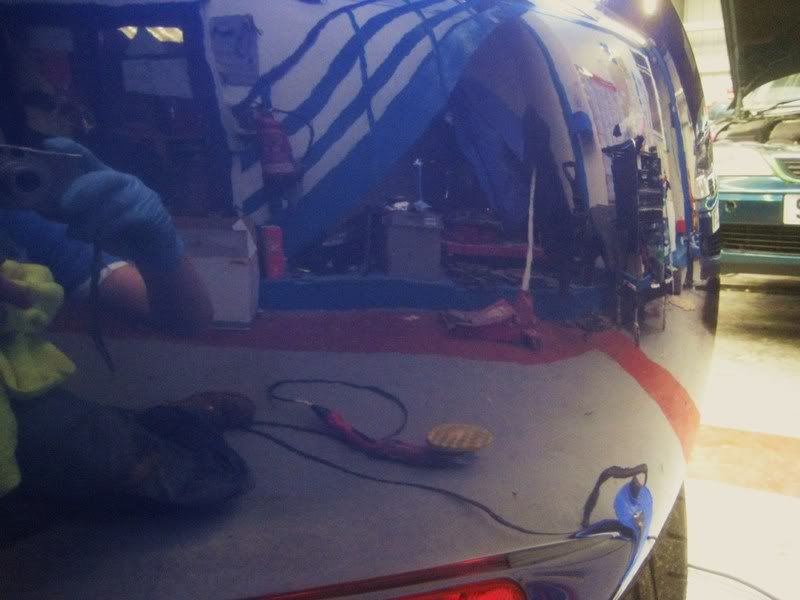
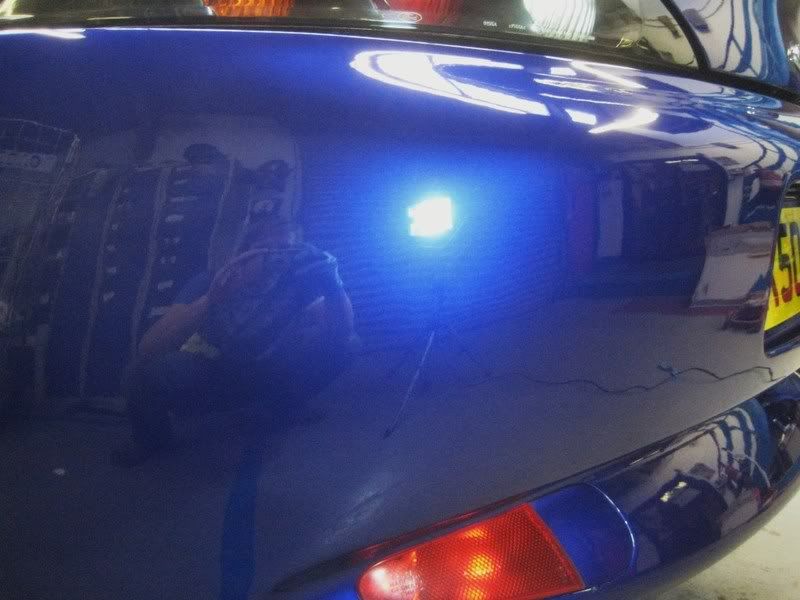
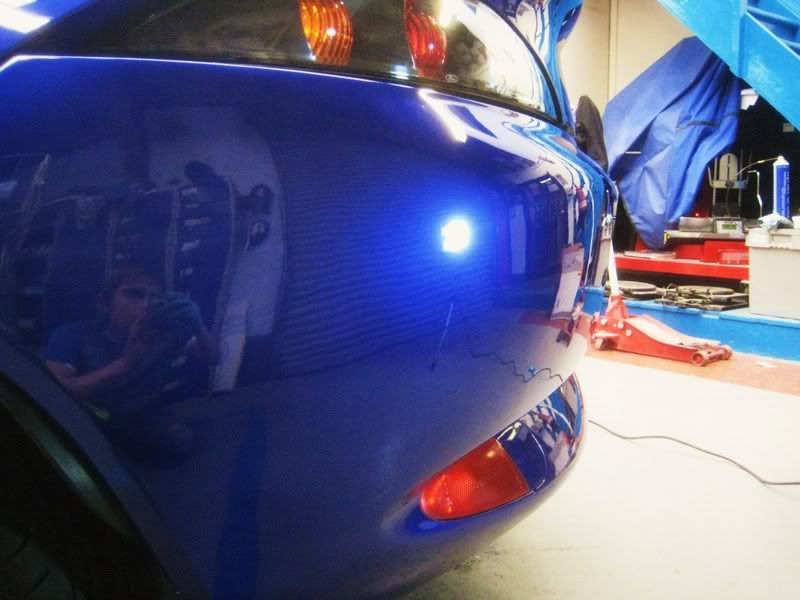
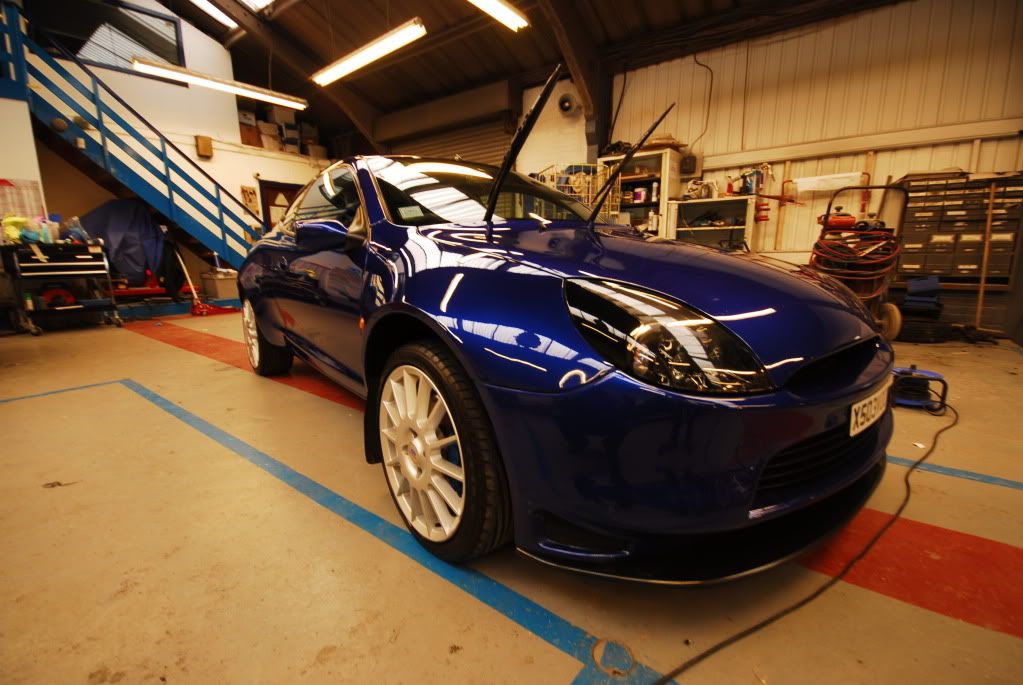
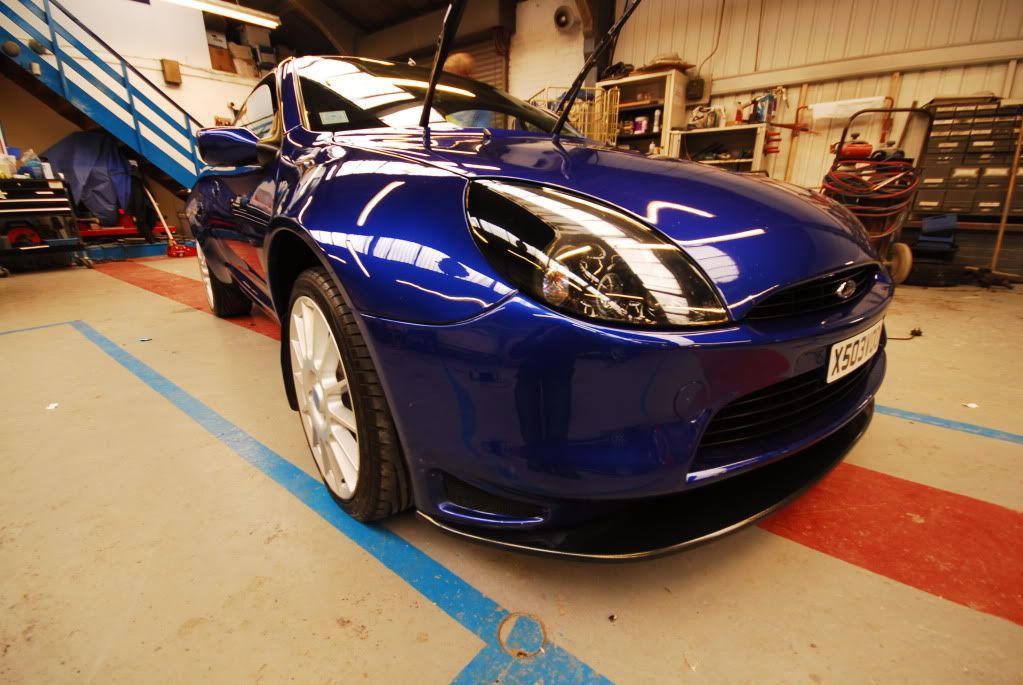
So all dried off, jacked up for the cavity wax and for doing the rear bumper.
Also front grille removed.
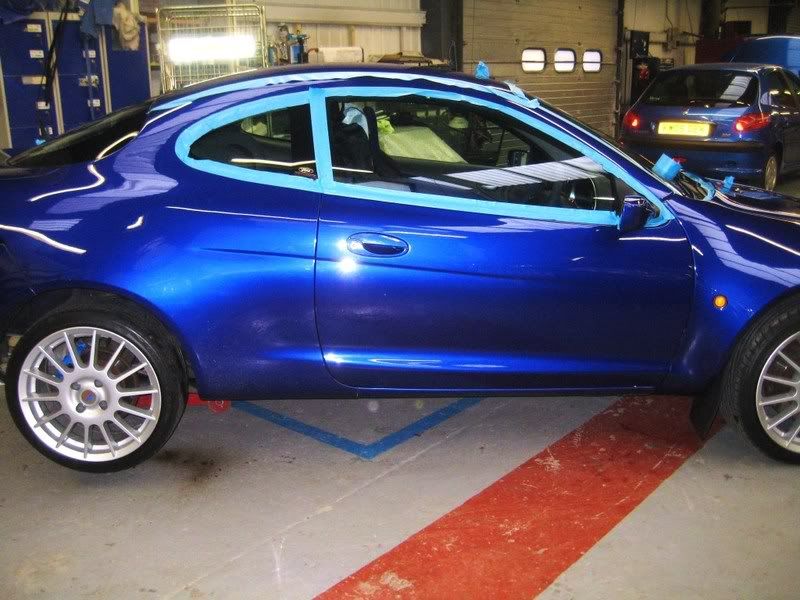
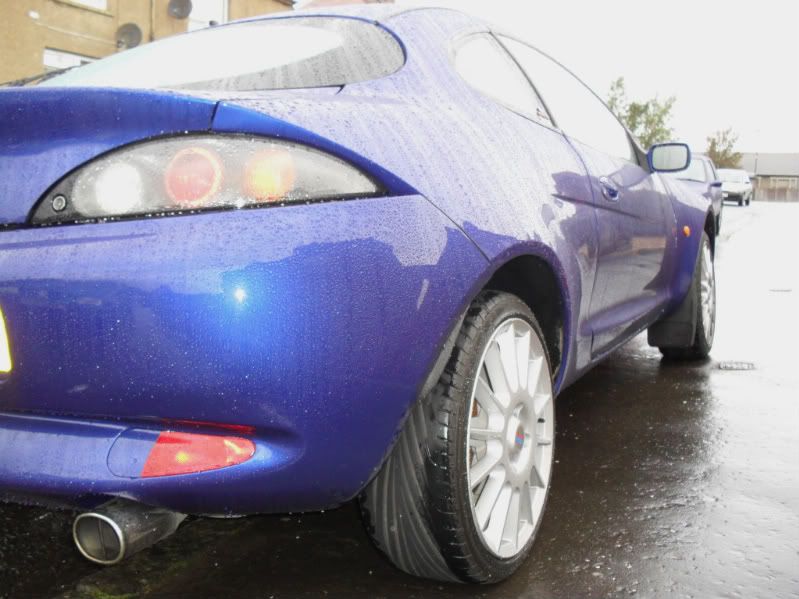
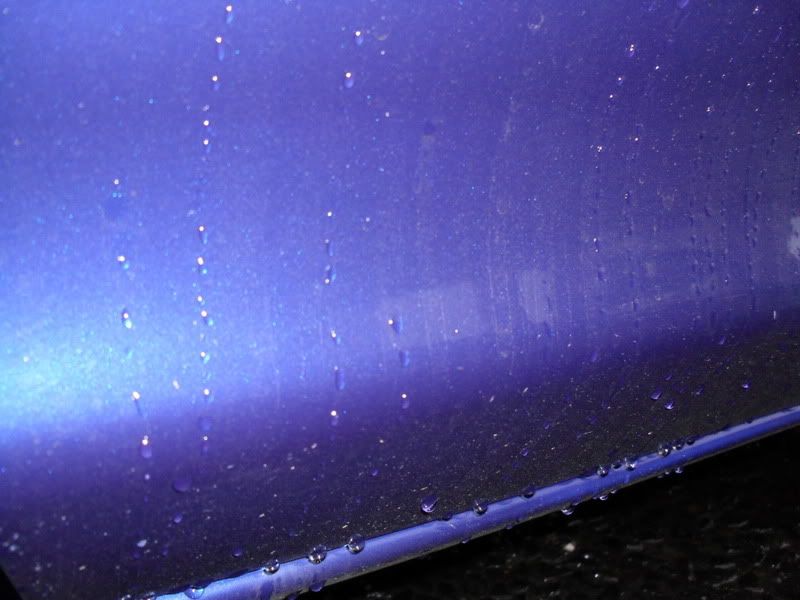
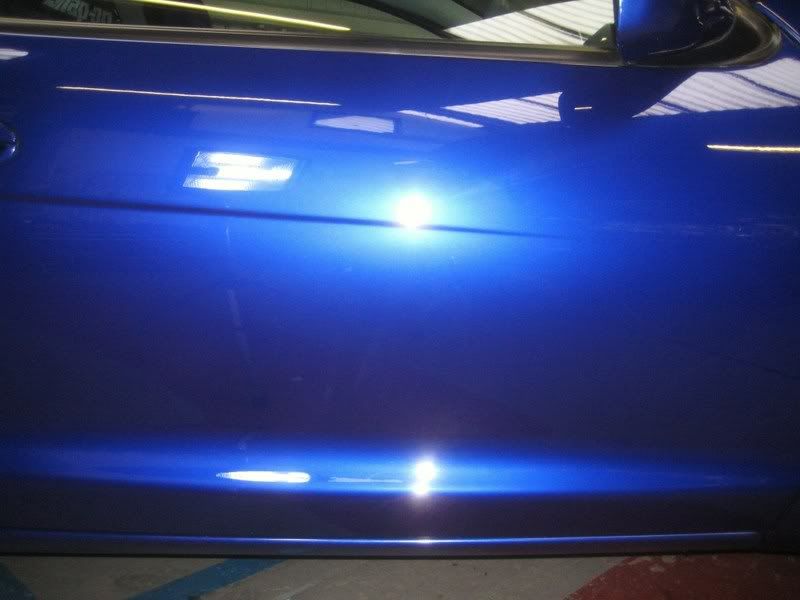
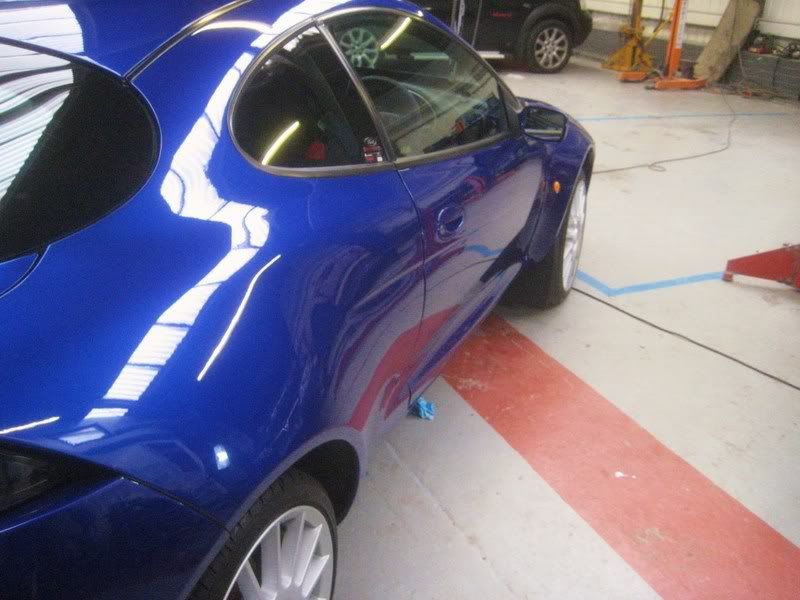
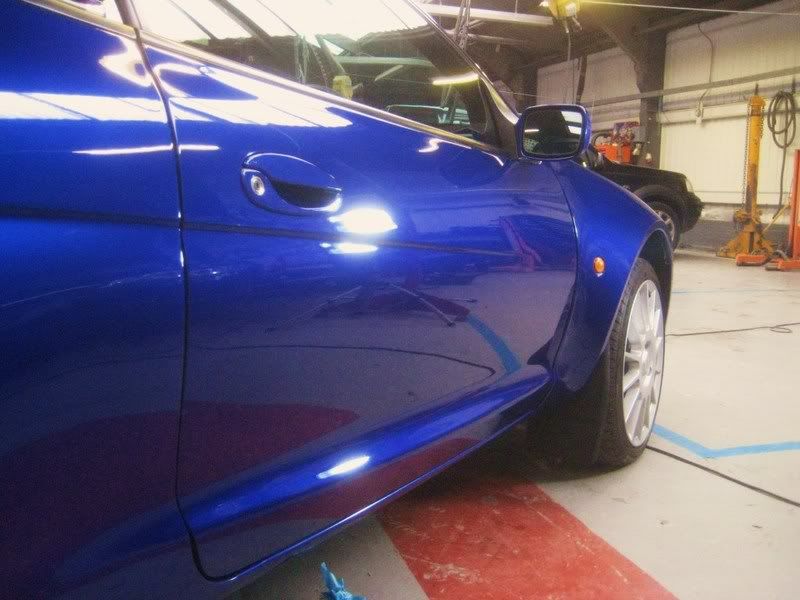
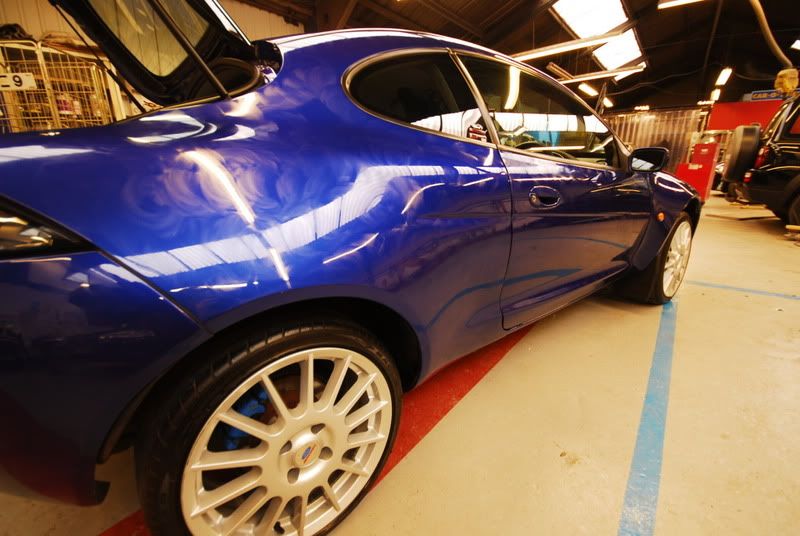
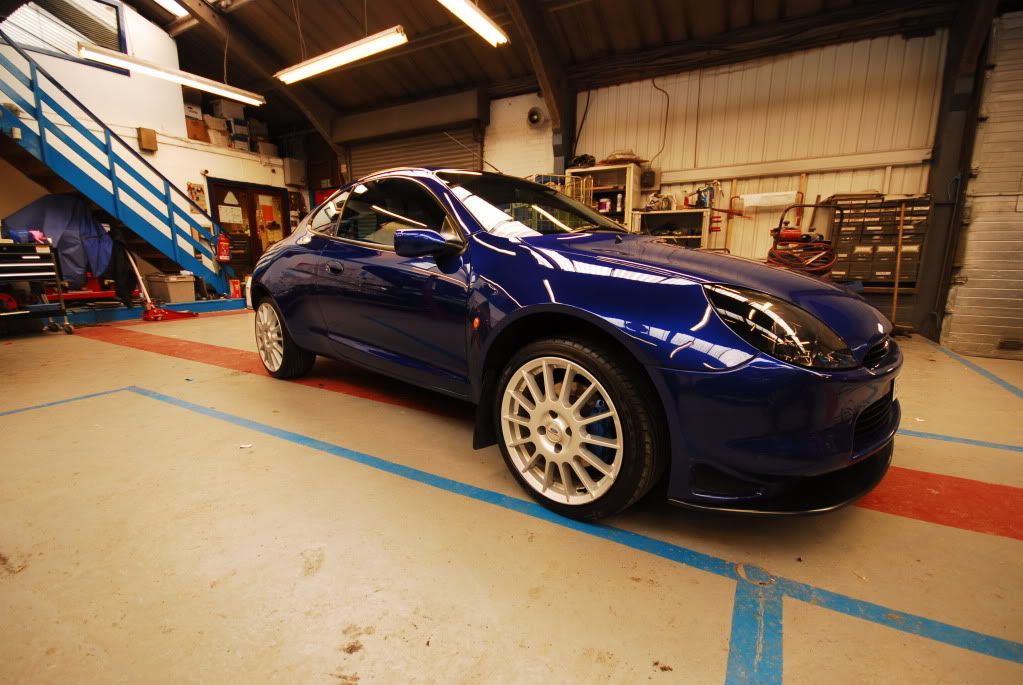
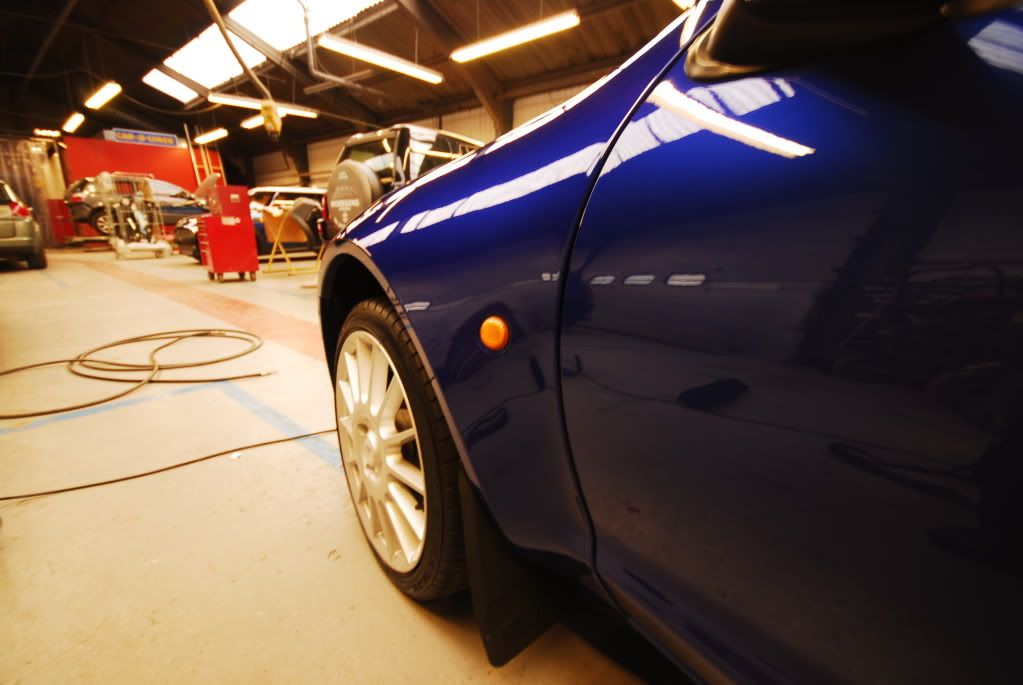
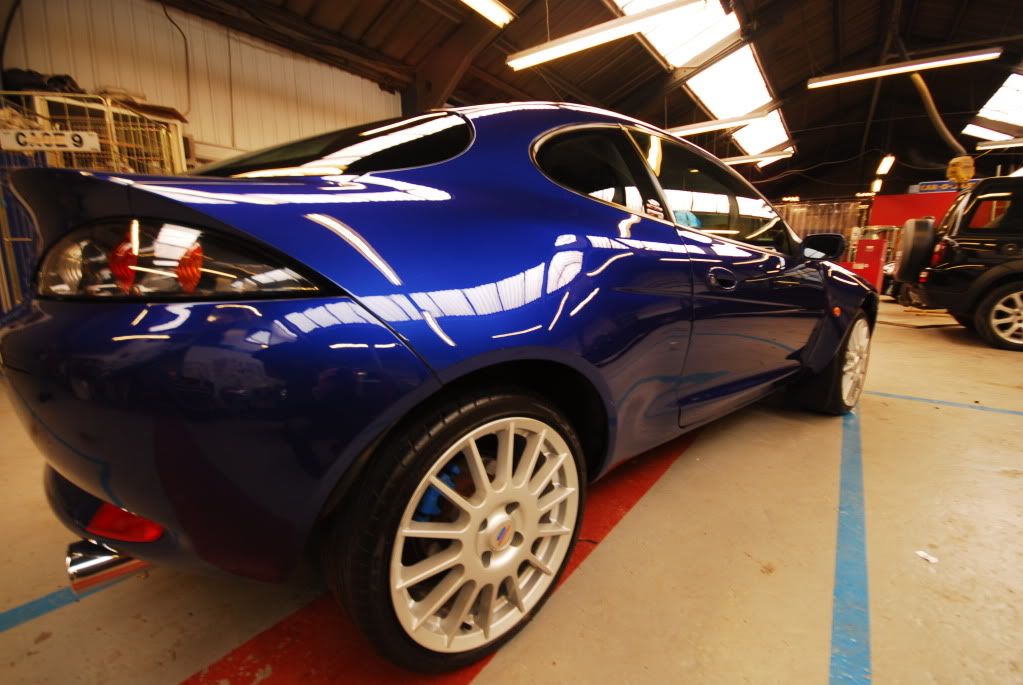
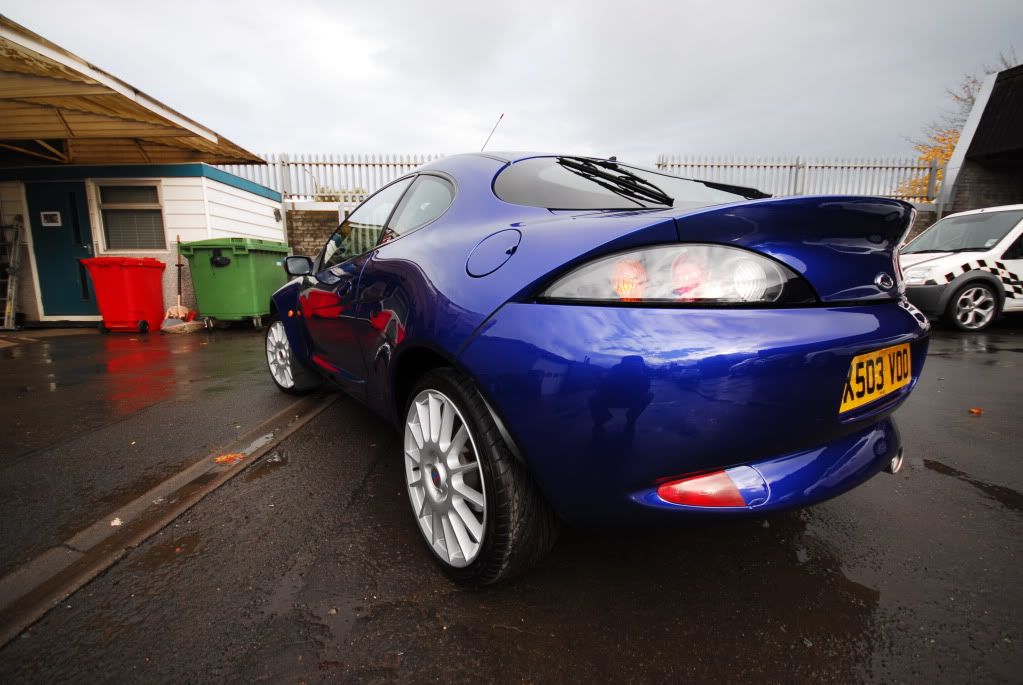
Side shot looks okay... LP enhancement not long ago and Purple haze have keept up the "just waxed" look after many a wash...
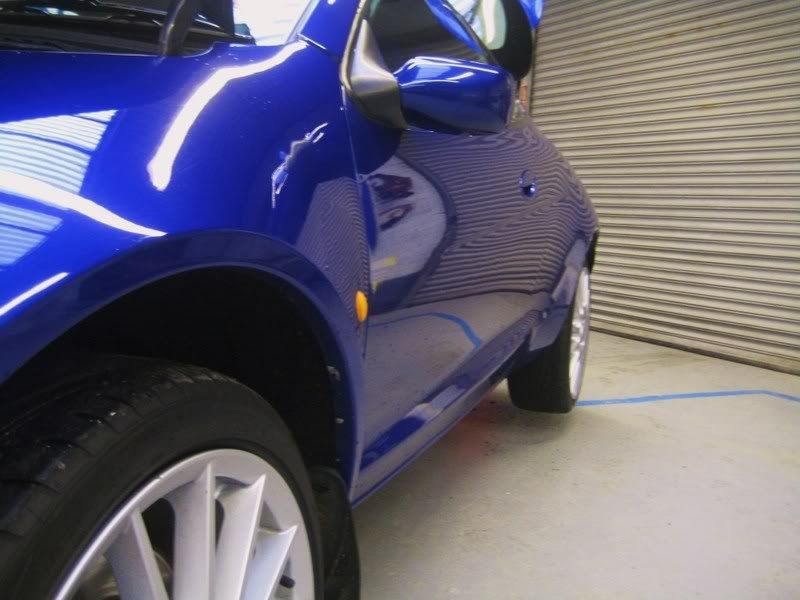
^ Lacking some depth
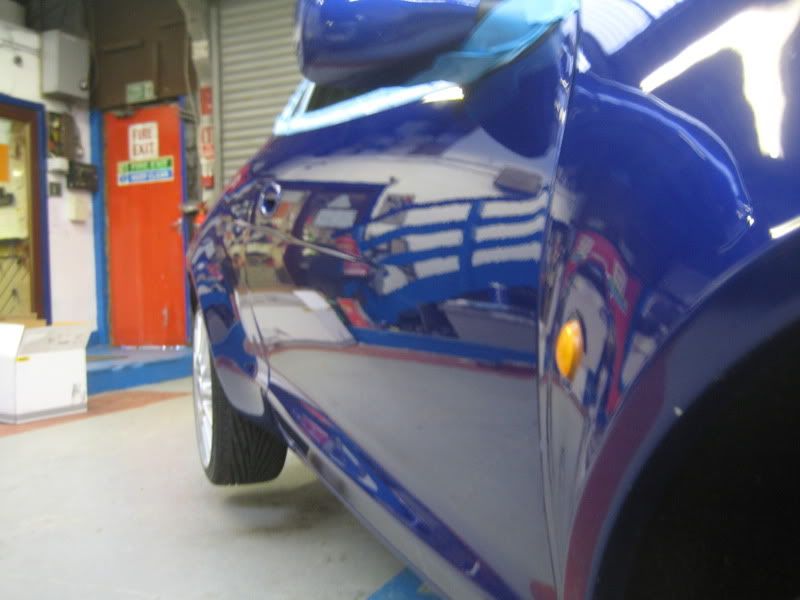
^ Lacking camera quality!
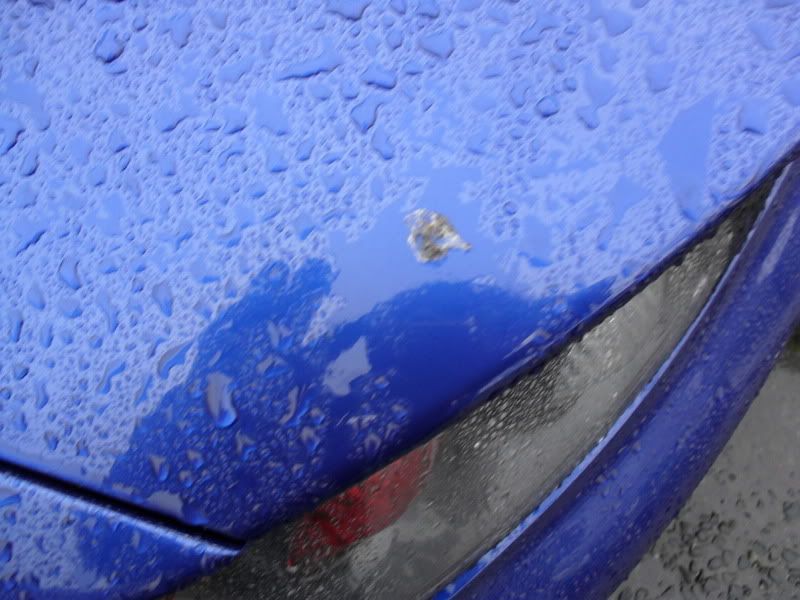
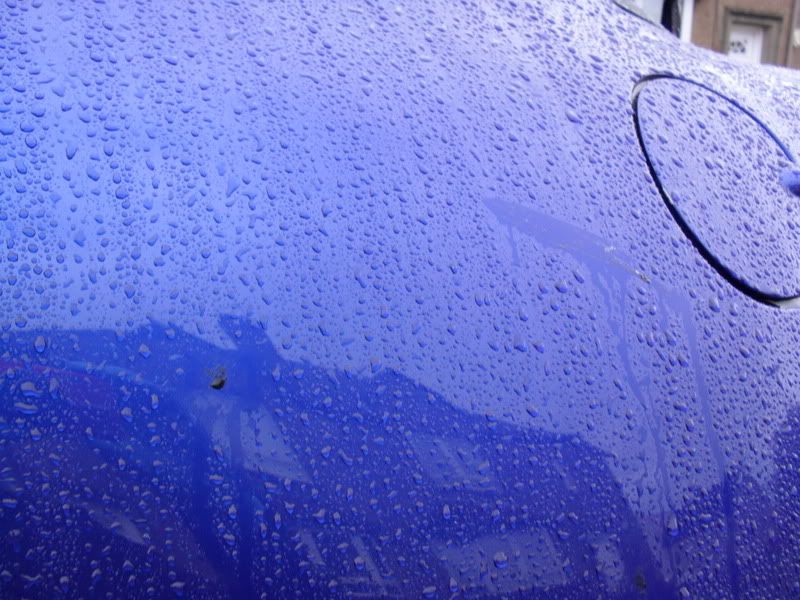
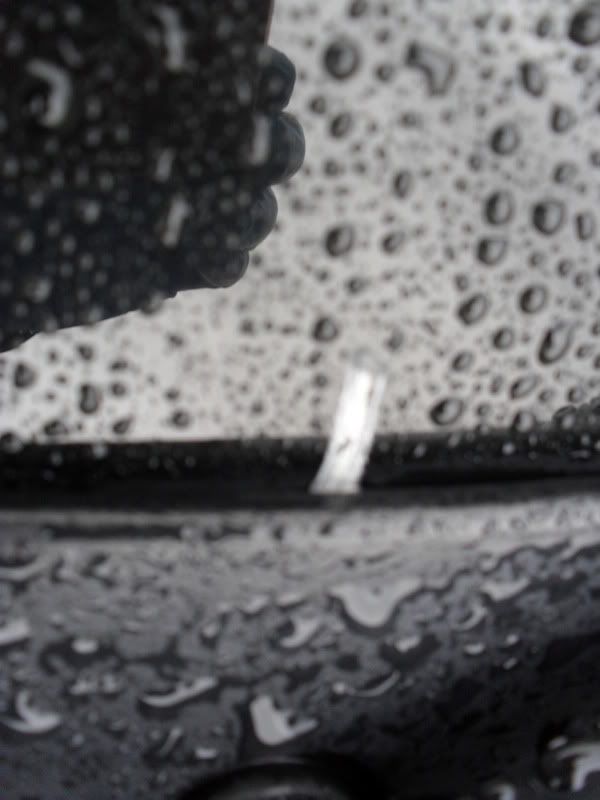
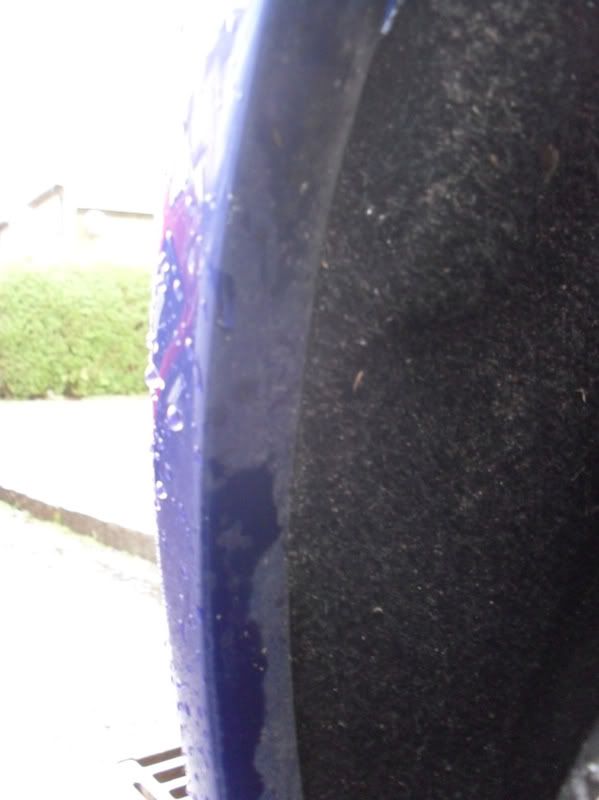
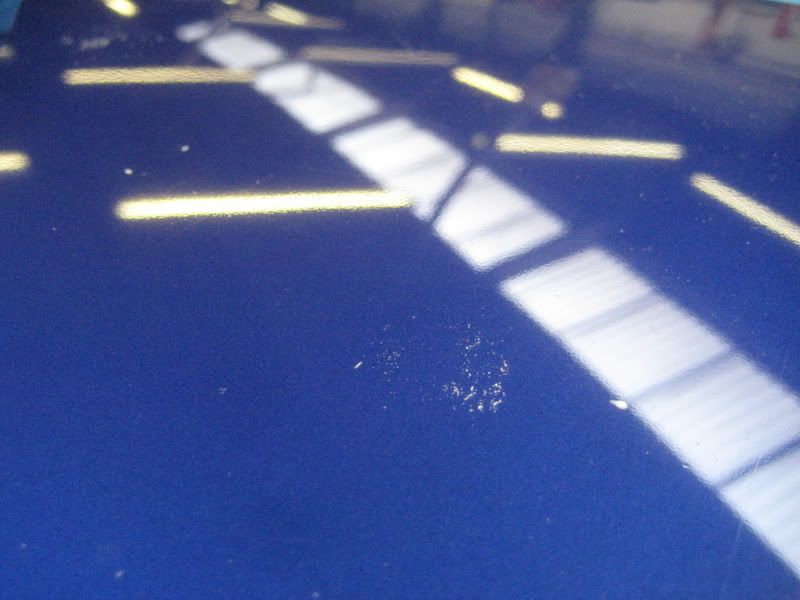
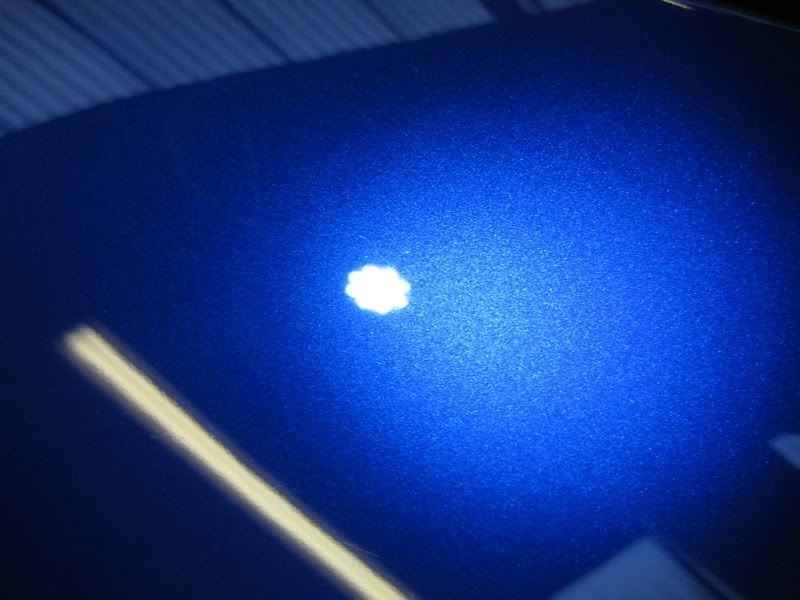
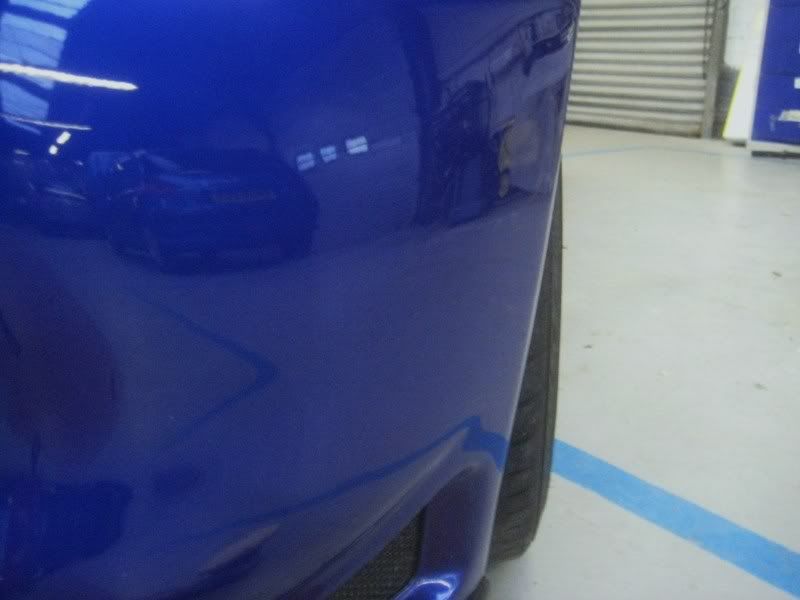
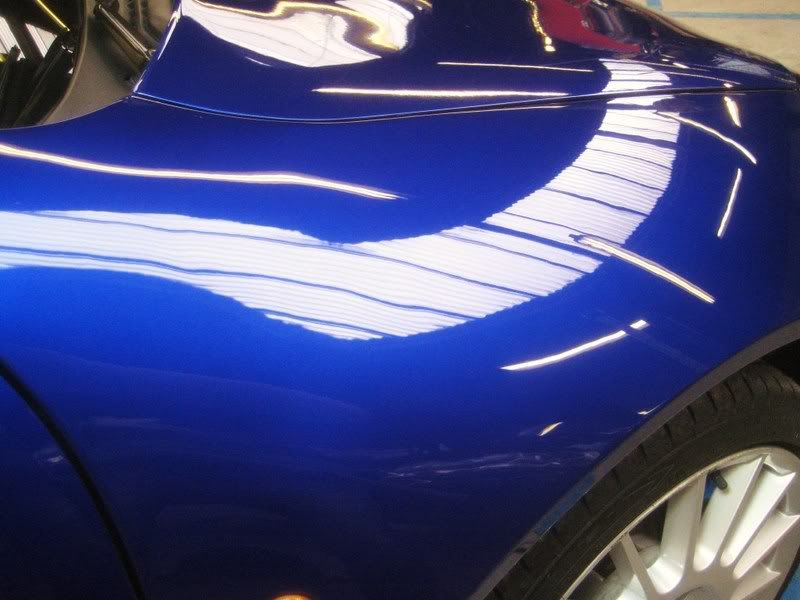
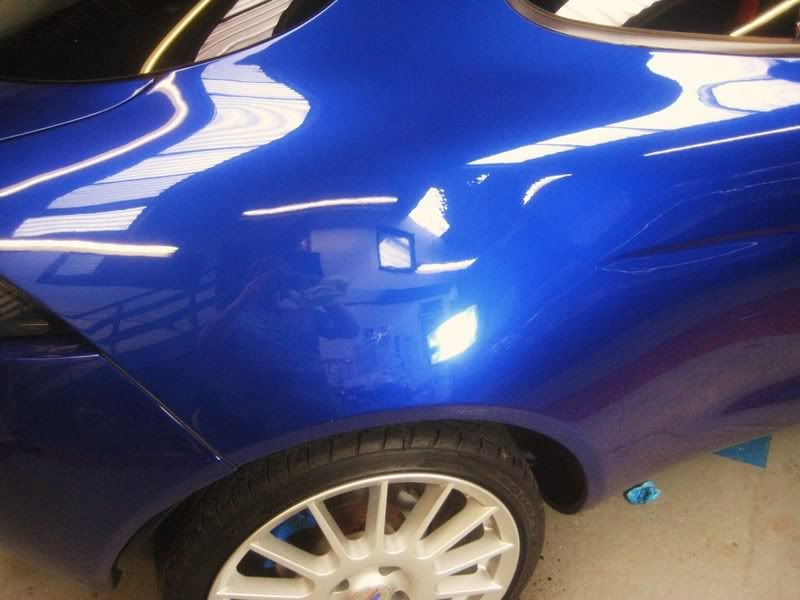
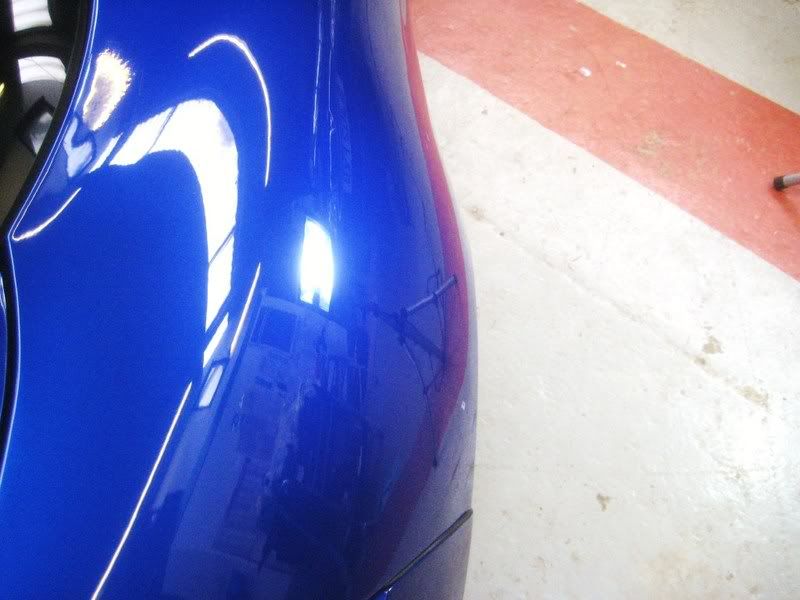
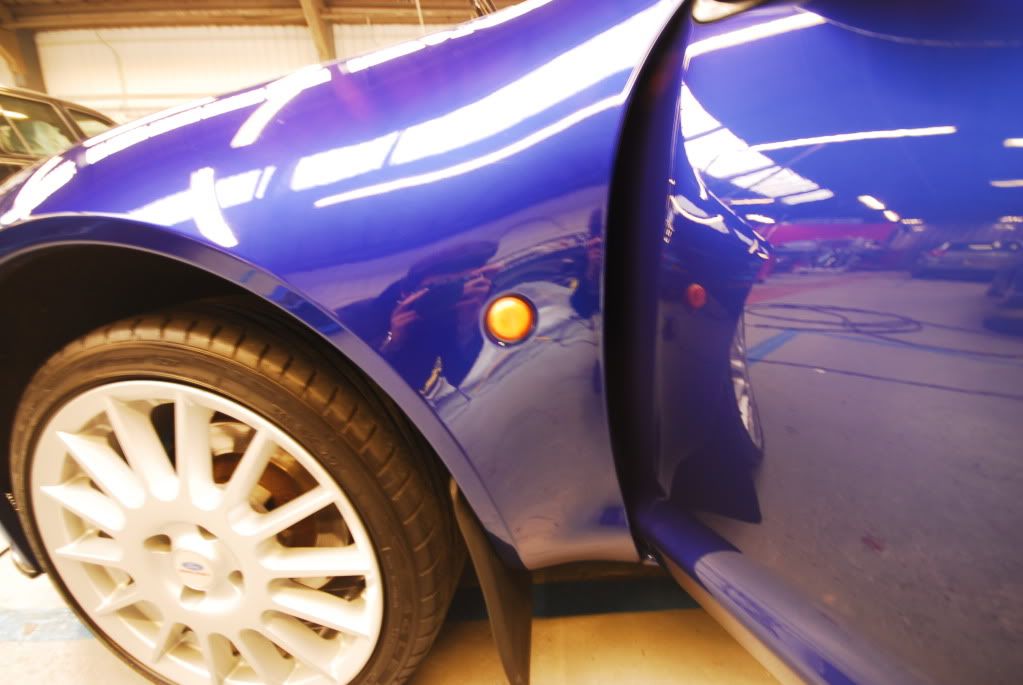
Just a small selection of some little defects that I knew I could rectify...
Bonnet...
Wing...
Drivers Door...
Etching on bonnet and roof...
My apologies again for the lack of defect pictures the car has them but the camera used was never going to pick many up.
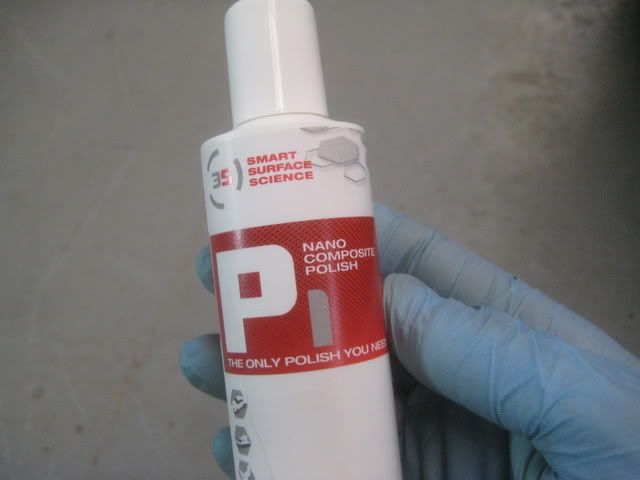
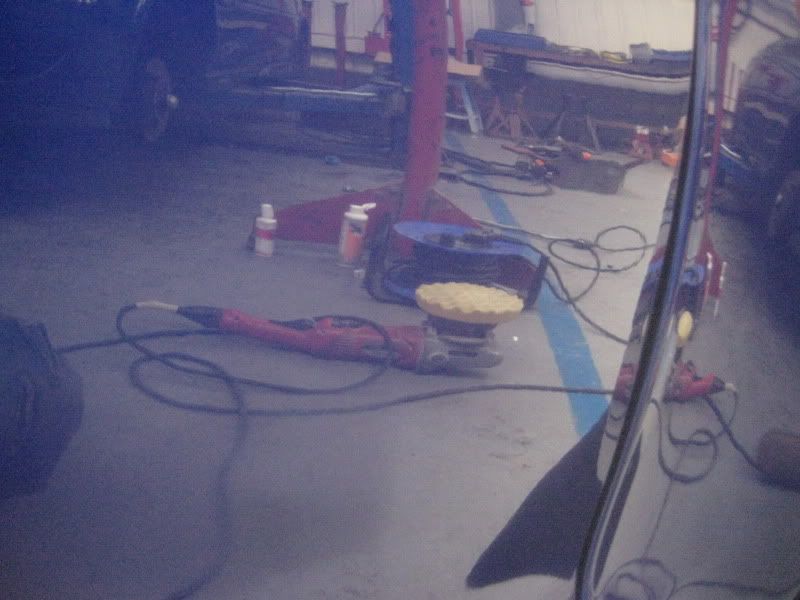
Onto the Enhancement. 2 totally new polishes for me to try. Menz 203s and Gtech's P1 polish.
As a 3M user for around a year now i've never felt the need to go elswhere for polish but as every detailer knows most of the fun is in trying different products even when you find ones that are perfect.
Decided with a 3M yellow pad and a Milwaukee rotary polisher.
I've used a Silverline for the best part of a year and I think I prefer the Milwaukee, it has a good start speed and feels great to hold.
I always liked the weight of the Silverline, gave you a good strong feel to it but after using a lighter rotary I think i'm connverted. Okay the speed setting is a little fidly and lettered instead of numbered but it really does a good job and a little more pressure and stronger hold makes up for the weight deficiency.
If I remeber correctly it's a CP in wolfs clothing?

Anyway a cracking machine allround and as the Milwaukee and Silverline are older now I may order up a new milwaukee with a good discount I have access to
With the two polishes to try I just simply taped up the bonnet, 2 sides and worked them both as per the instrcutions.
I had done a bit of research about these 2 aswell as I also considered giving Megs 205 a try but 2 small "sample" bottle of these polishes were the order of the day (Big thanks to Gtechniq, Rob and Peter for getting it to me on time, great bunch of guys, very helpful)
Like I said did plenty of reserch and tried to understand how both polishes worked ie the P1 not really like a normal polish, breaking down ect...
Tried a few different tecniques on the bonnet and the menz was coming out on top in most departments, put it down to user error if you will but the P1 does dry out quicker and definitely dusts and splatters more no doubt about that, also I must add as I think was commented on in the review why not real dispenser cap?
Pouring pea sized drops of polish onto a pad from that bottle is difficult, not sure how much work would be required to change the lid but it's something that would put me off, seemed you could waste a lot of product with the large neck opening.
So as I was getting better results with the 203's I decided just to do the whole car with it and reserve the P1 for any hand polishing required at the end.
The 203's really was a pleasure to work with, I was worried about heavy dusting ect... but it was great and stayed oily and spreadable for longer than I ever thought it would. I think a couple of people compared it to 3M EF i'd say in the right hands it gives more cut and is easier to work with. That's coming from a massive 3M fan.
Shuts, Carbon splitter and under handles hand polished with P1 and wiped down with QD. Great hand polish.
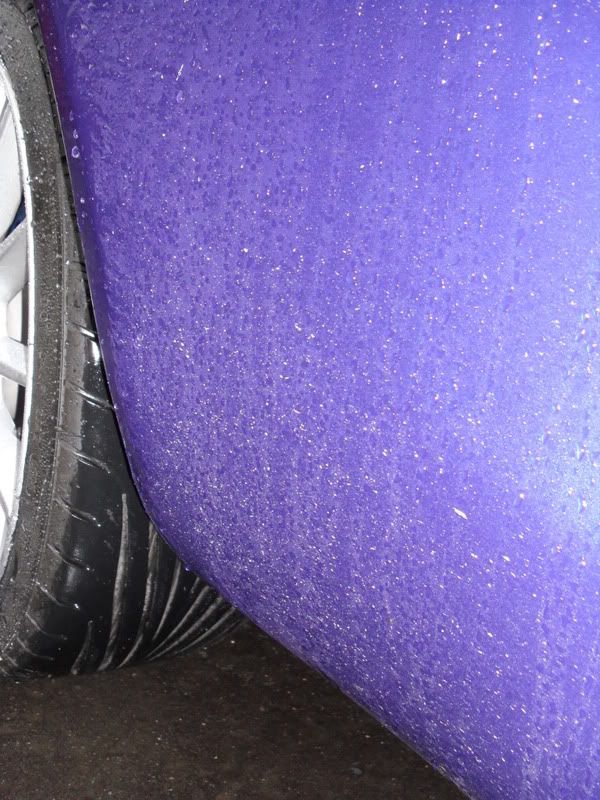
Some shots before the car was wiped down...

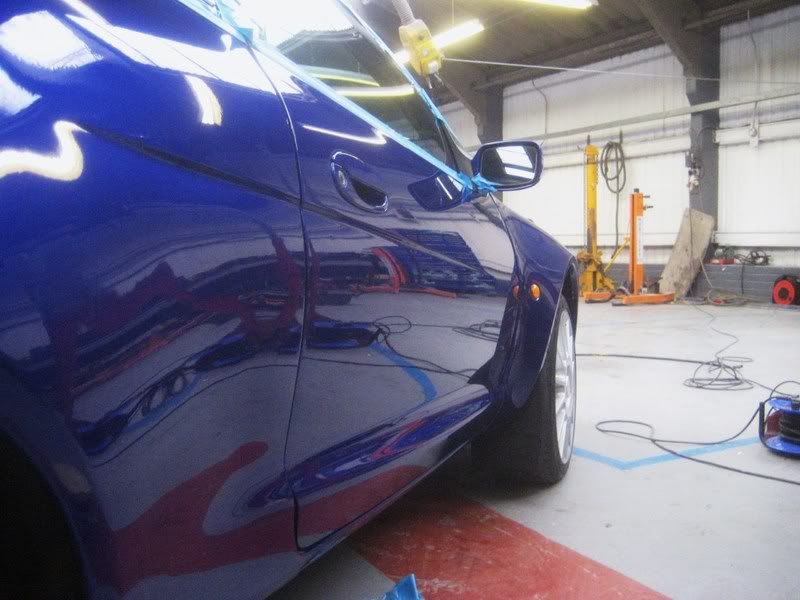
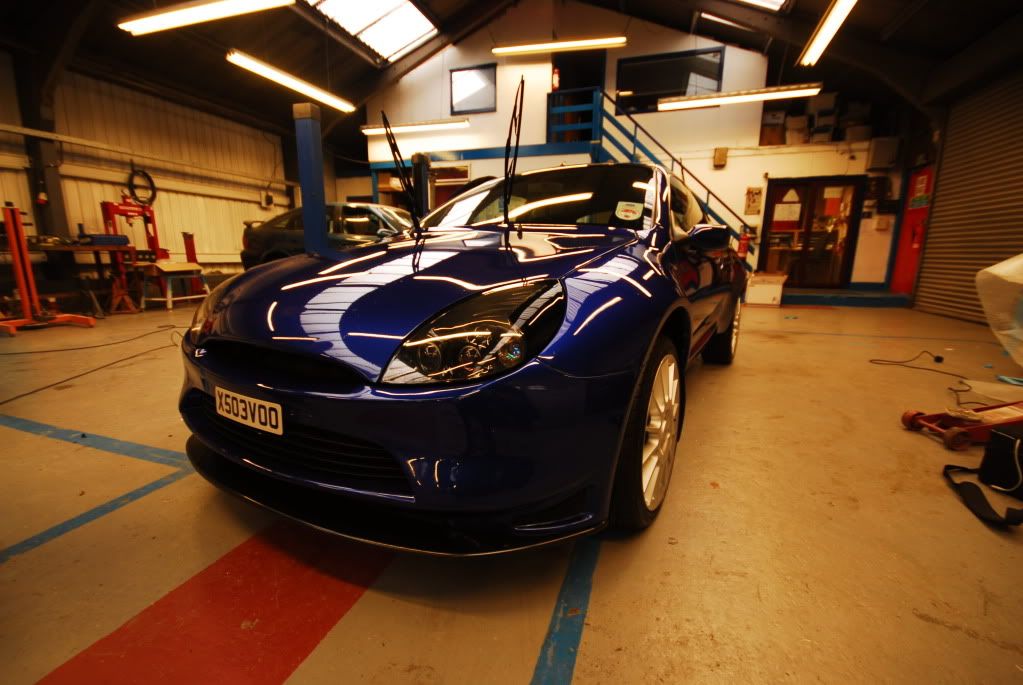
Was looking pretty good at this point, a marked improvement all over the car, no doubt.
Onto the best bit of most details. finishing off!
A nice wipe down with Z6...
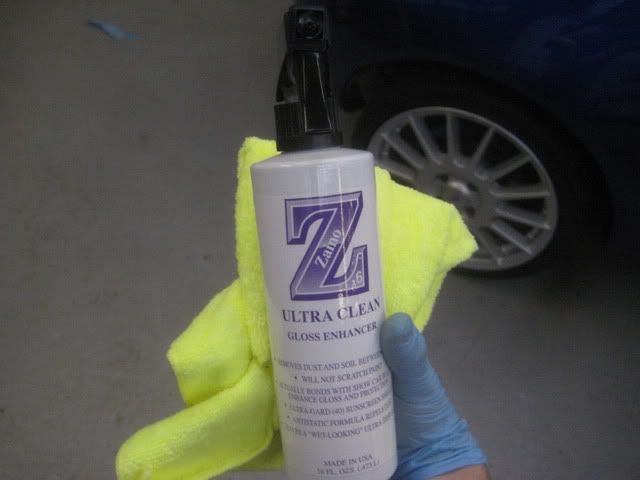
As a bit of a QD fan i've tried quite a few, to name FK425 and SPSD as 2 of them this surpasses them no doubt about it.
I mentioned it in a thread today it's the only QD i've used that seems to leave something behind that boosts the finished and it's the perfect product for restoring that freshly polished and waxed look. Slick is the perfect word for it imo.
Then onto pre-cleansing the paint ready for the LSP. Todays choice (another new product) Lusso revitalising creme.
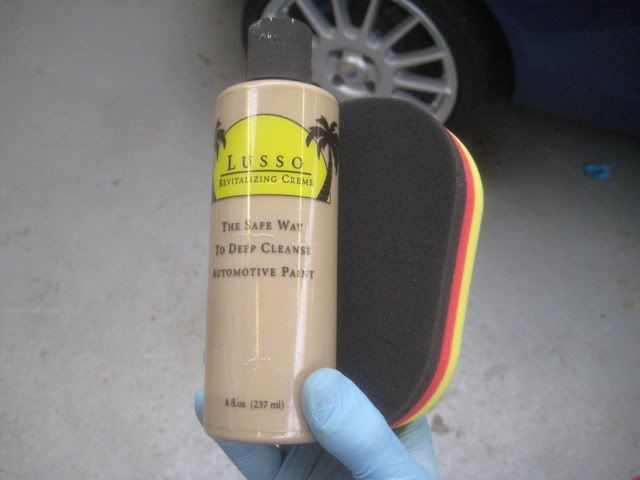
Again something i've wanted to try for a while now as i'm a big believer that the cleanse/glaze process can add something to the finish before your LSP. The LCR was no exception.
Thanks again to Gordon@ Defined Details for helping me out and offering me a sample of the stuff, he came well out his way to help a fellow member out, I can only hope the forum can keep the that kind of thing going as we're all here for the same thing.
Gordon suggested a MF apllicator but as I had a new German one there I thought i'd use that. Due to people commenting on how the LCr can dry out quickly I always fely MF applicators contributed towards it drying out where as the foam one absord the product but and keep the pad primed.
I was astounded at how little product was required. I dotted 3 very small dabs of the product on the pad and away I went, managed to cover the bonnet the 2 wings in one go once the pad was primed with some product.
Also never had any problems with it drying out at all on the pad or panel.
I was doing roughly 3 panels then removing, it would have been less but the product went so far I didn't have to stop. The LCR came off a treat with a plush blue Eurow cloth. No dusting or anything just came off with ease.
Verdict? A fantastic Pre-cleanser, after using LP which in itself is a great product I feel by hand the LCR will offer more to the finish than LP but by machine as most would admit the LP might have the edge. The LCr is almost glaze like to work with and credit to Lusso for making such a great product.
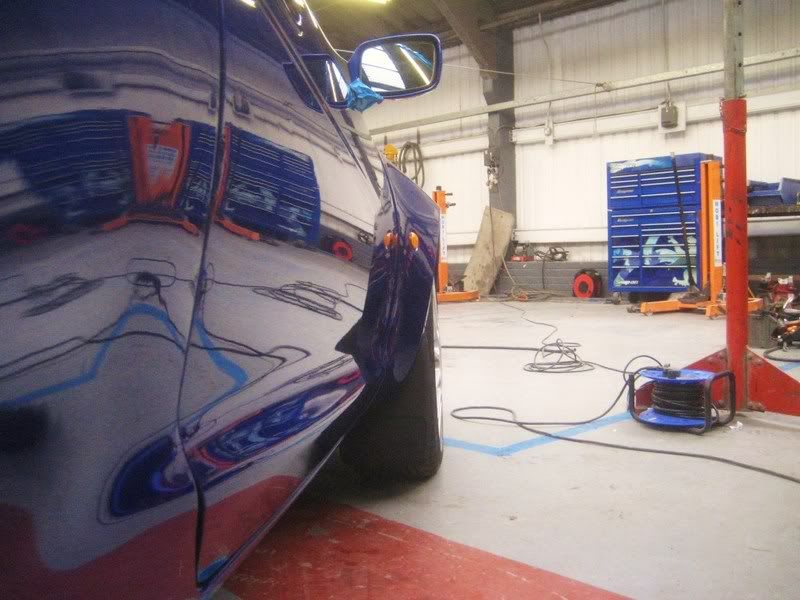
Some shots after the LCR...
Was very happy pre wax. Sorry for the terrible pictures. They get better!
Before waxing I decided to finish off all the little bits I had to do!
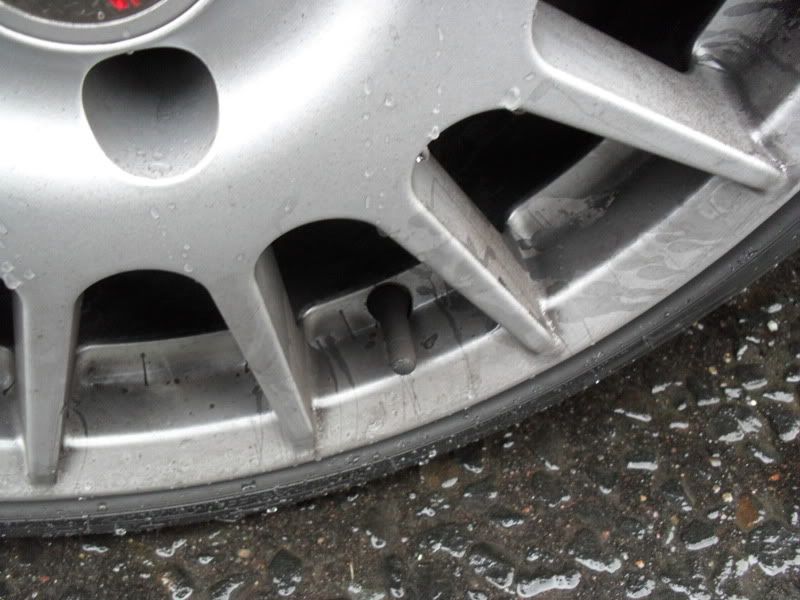
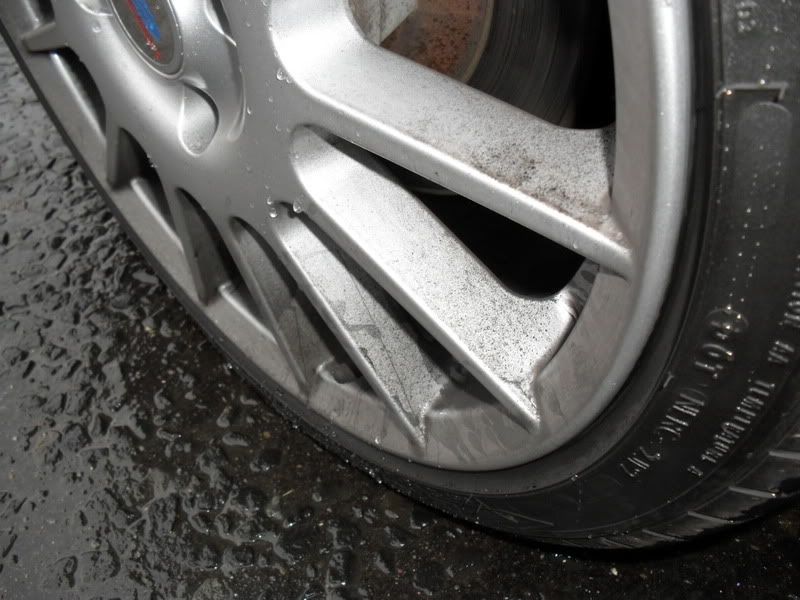
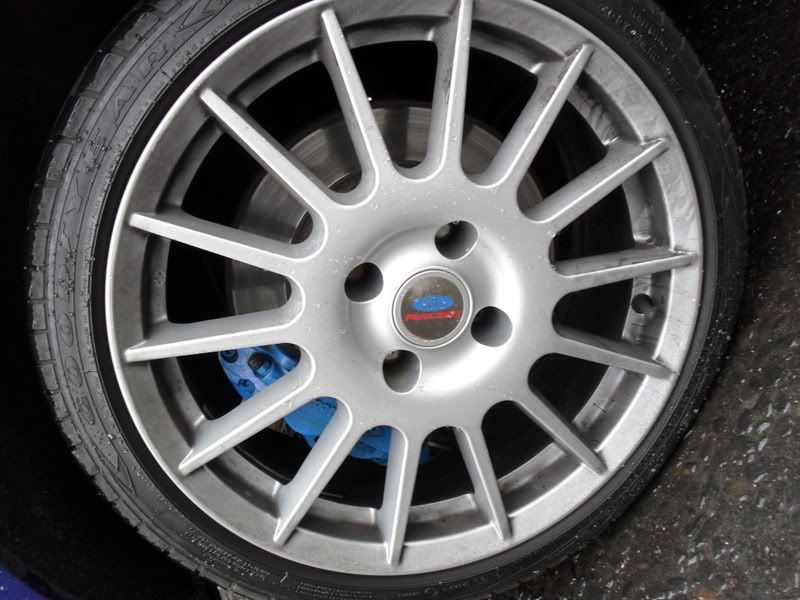
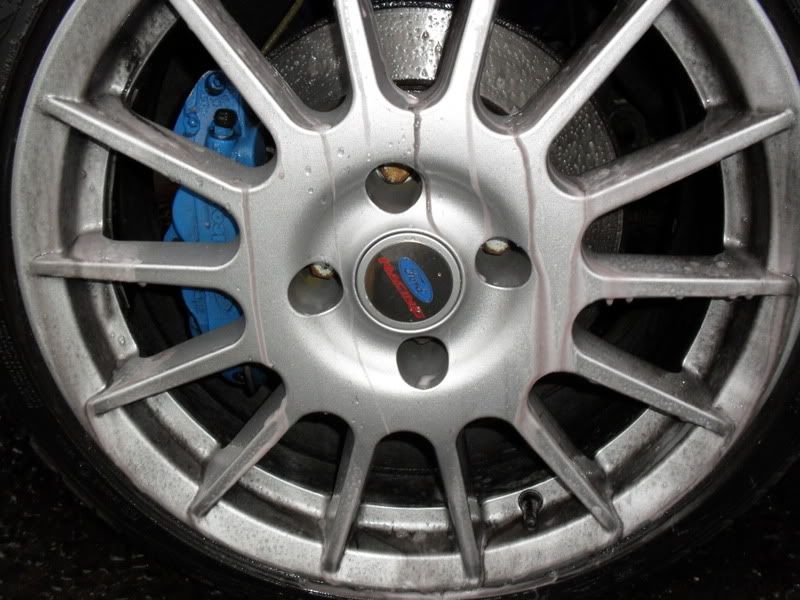
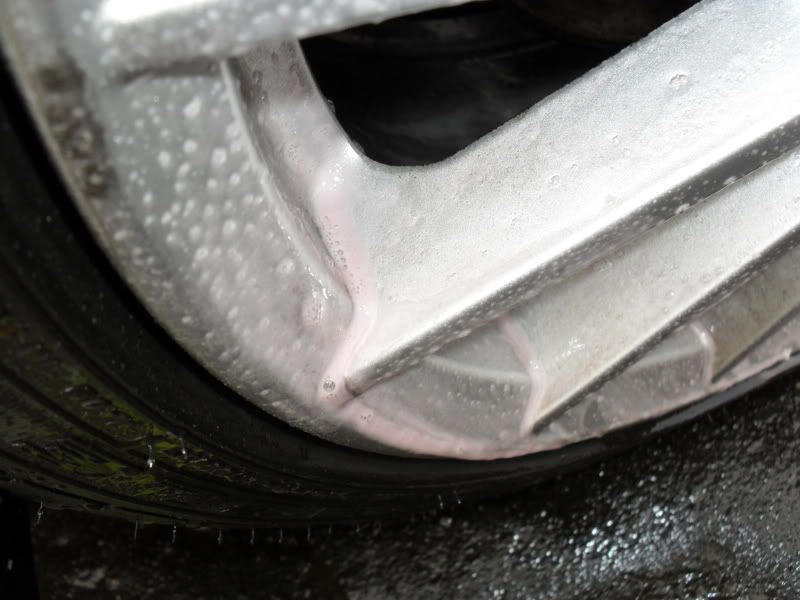
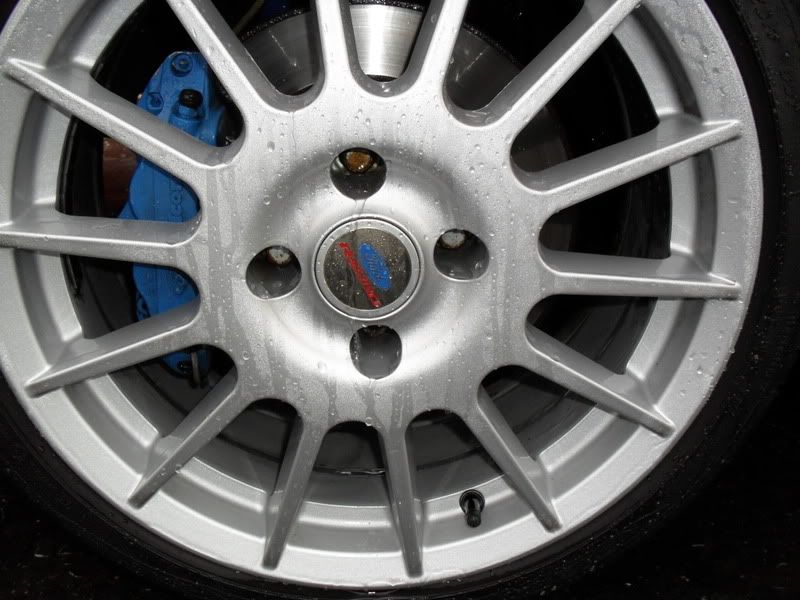
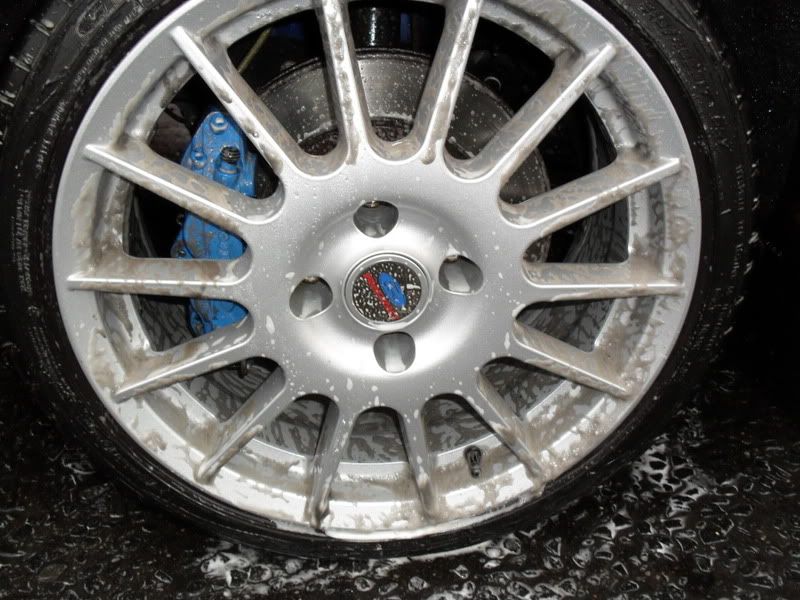
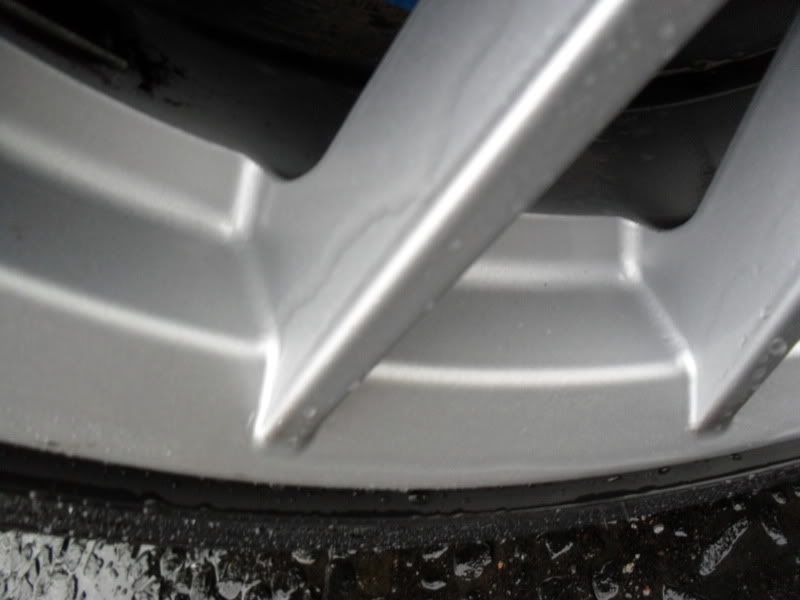
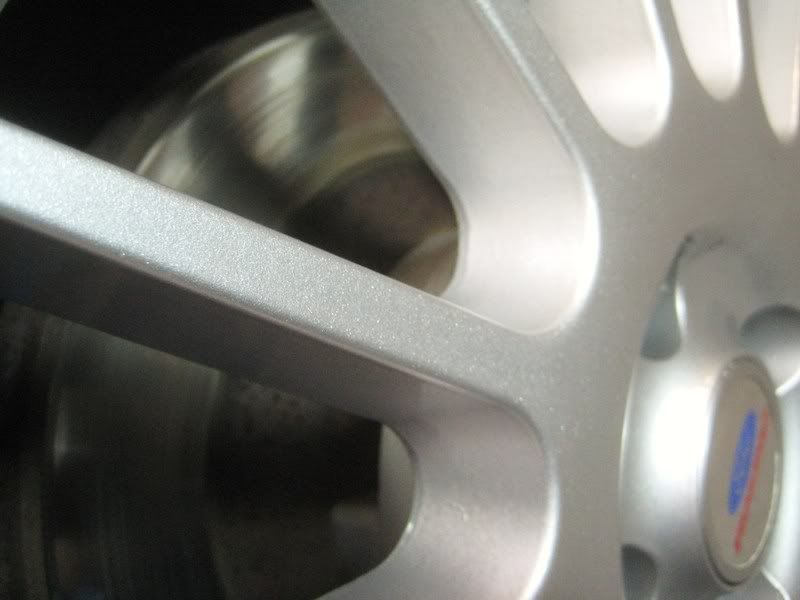
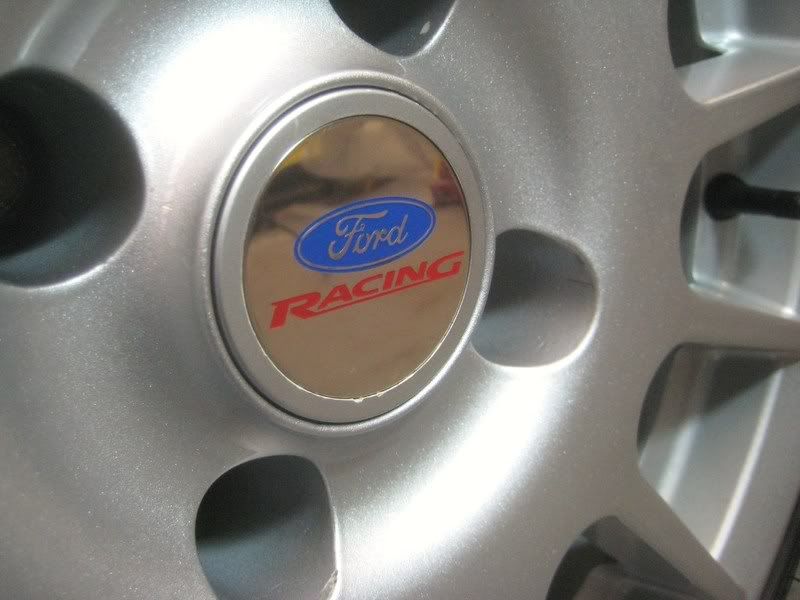
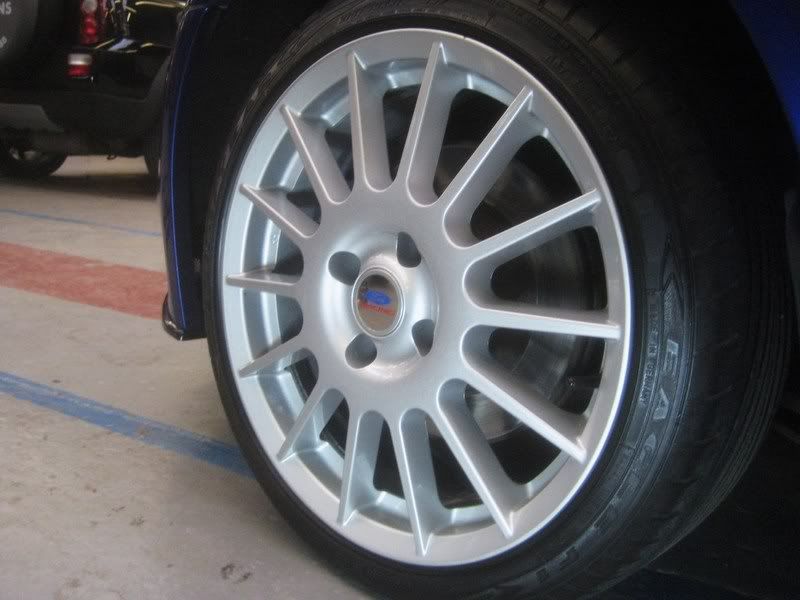
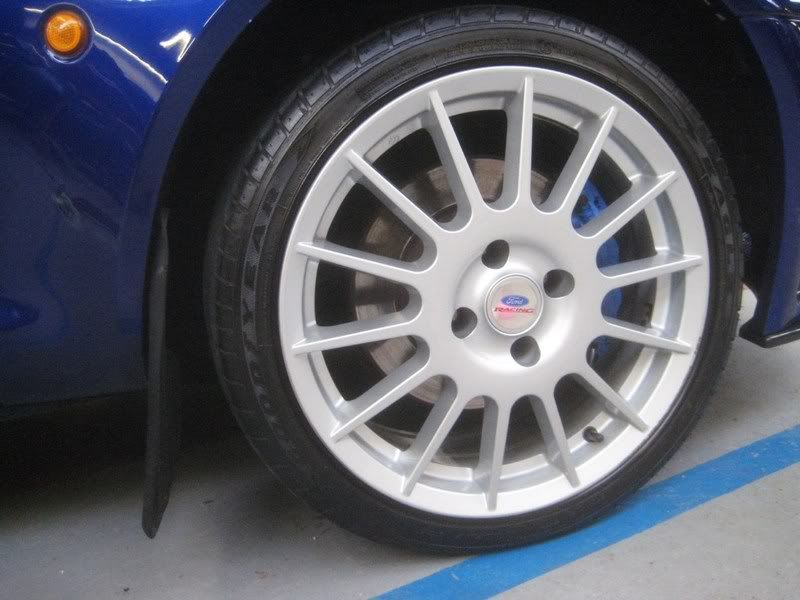
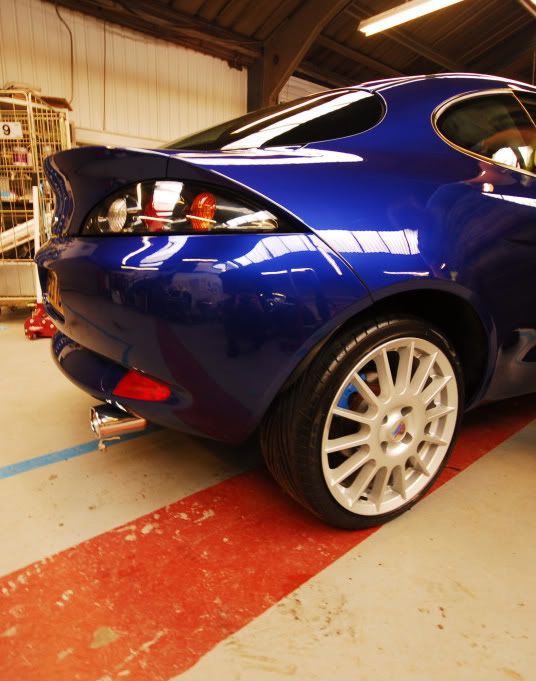
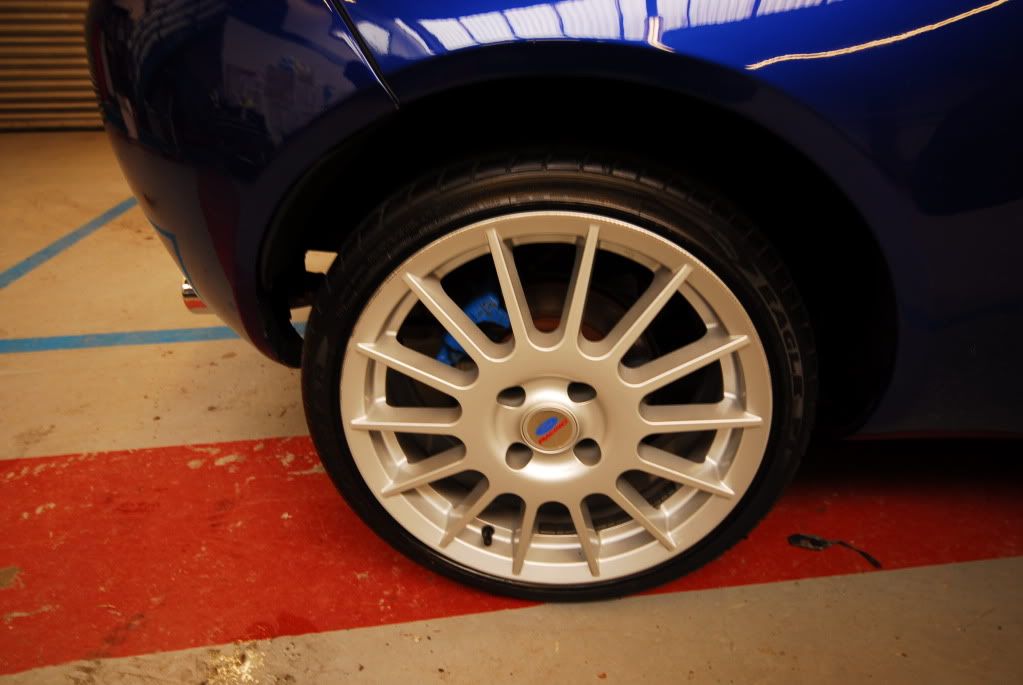
First up wheels and tyres...
Wheels polished with P1, what a pain that was.
A lot of people would bother especially as it wasn't a wheel off job but it brought silver back out in the wheels, they were refurbed in Feb but were looking a little dull after the amount of brake dust they've seen.
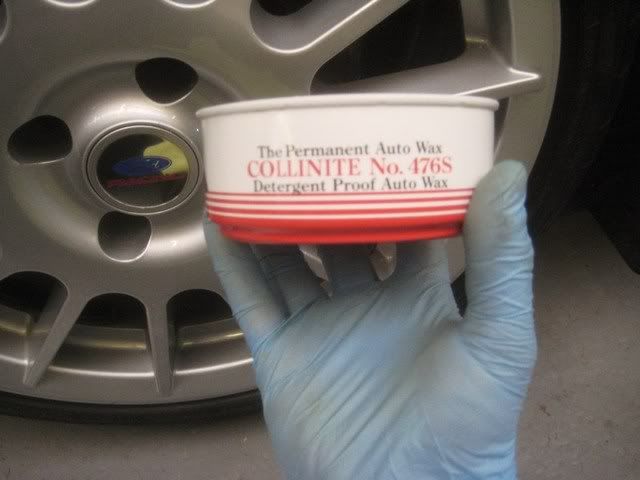
Wheels sealed inside and out with 476, I do have a new tin of FK1000p but I thought it would be better to use up what I had rather than open a whole new tin!
Tyres dressed with Megs Endurance...
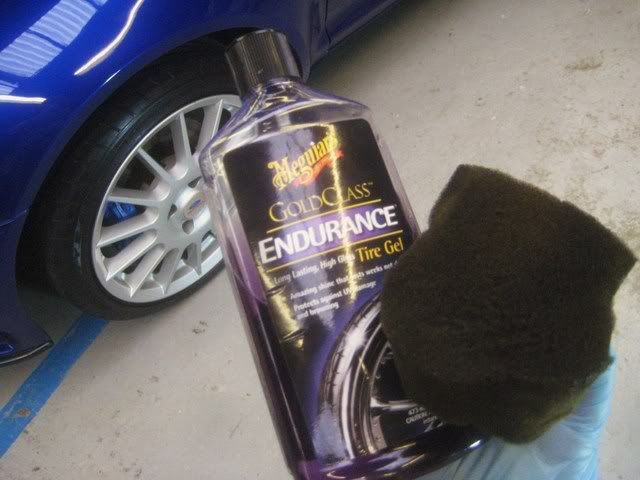
I like the glossy look on tyres, personal preference I suppose, so this is an ideal product and if applied correctly you shouldn't suffer and slinging.
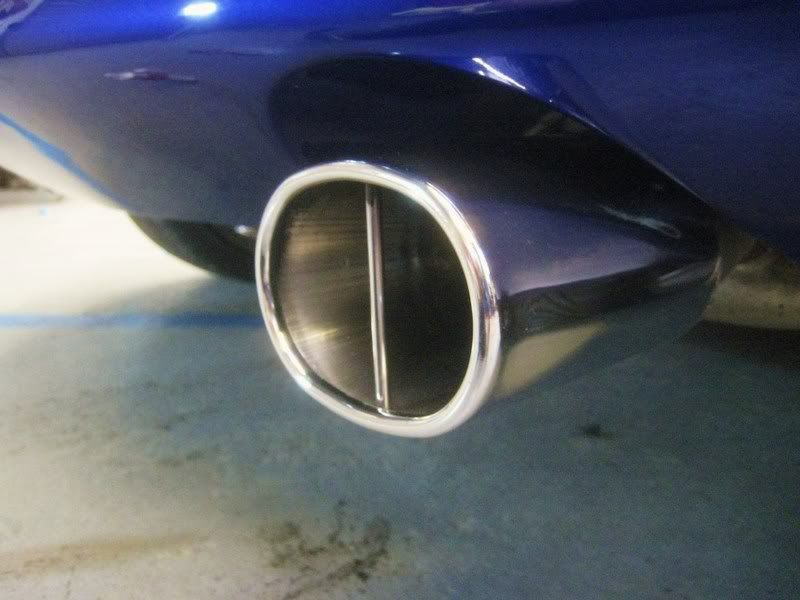
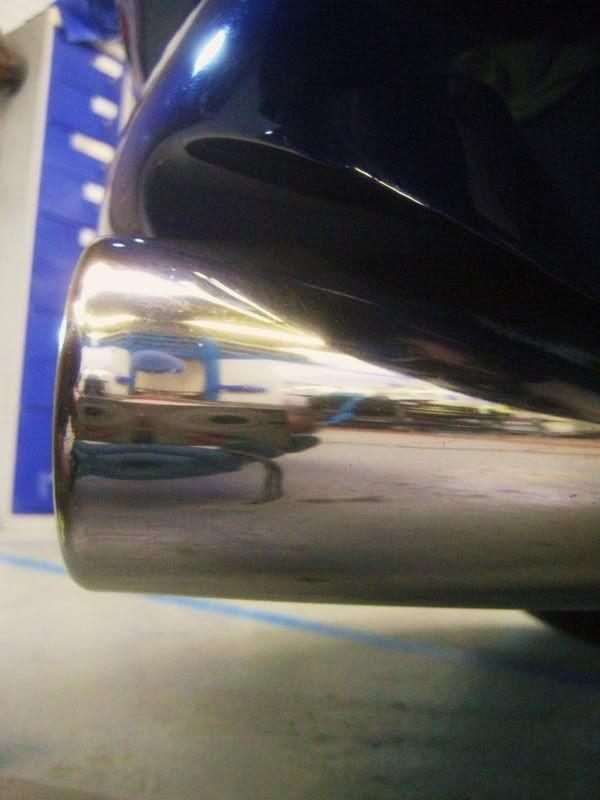
Some afters...

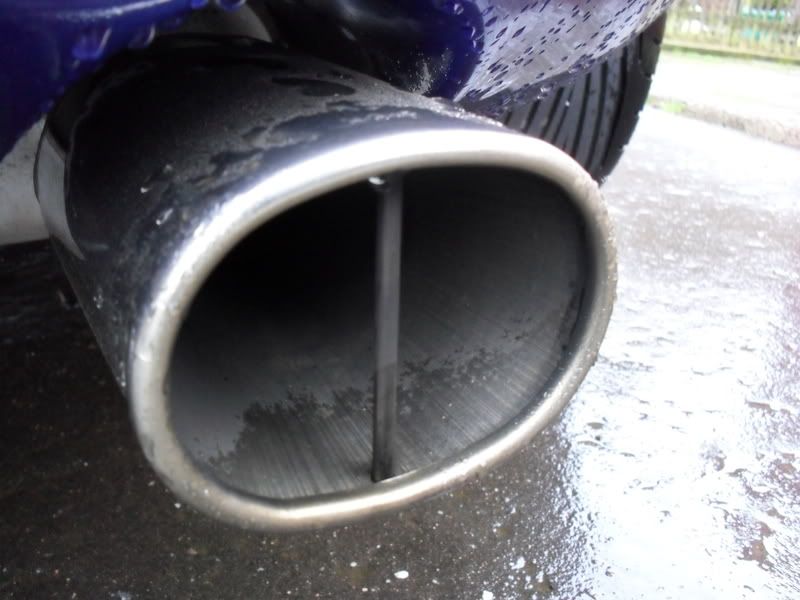
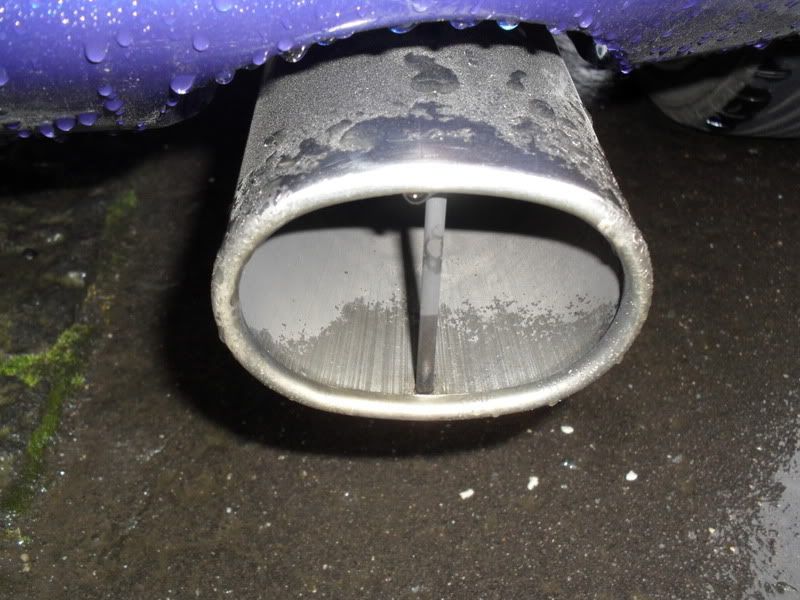
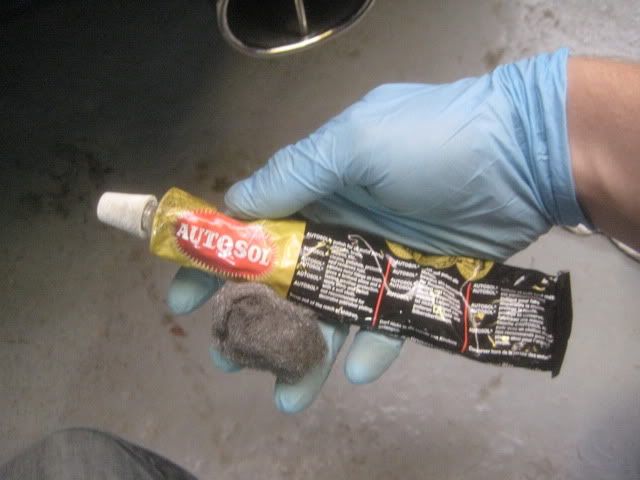
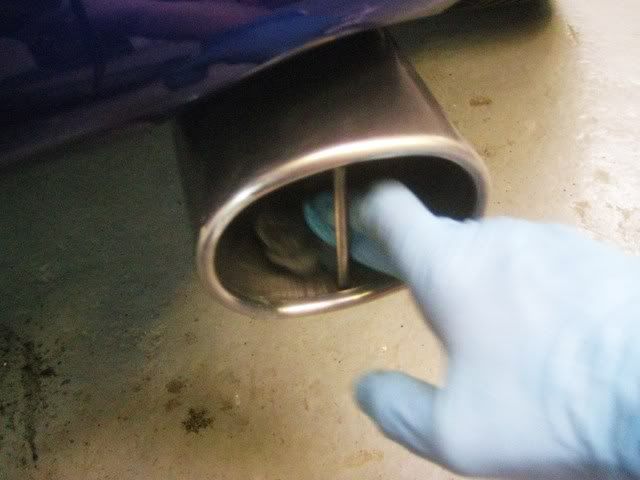
Exhaust cleaned with autosol and fine wire wool, then polished with with P1 by hand...
All trims treated with VP Dionysus Trim Glitz.
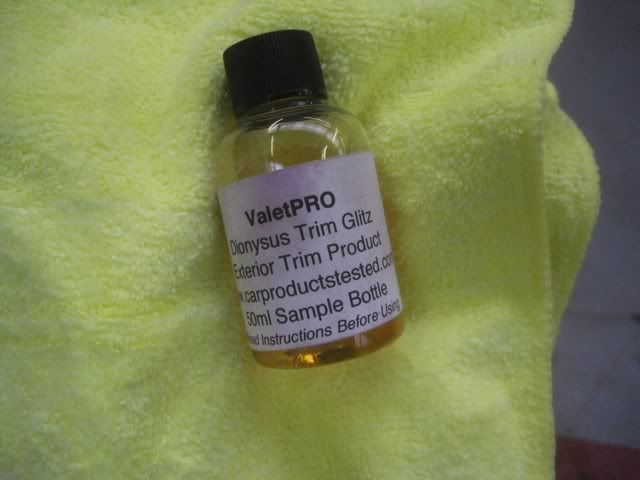
I've had this product for quite a while now and it's fantastic, barring C4 it's the longest lasting trim prodcut i've tried. And if you look at my bottle you'll see how much is left in it. Little amount seems to go far which is always good.
I'm looking at ordering some C4 soon. Encourage my laziness!
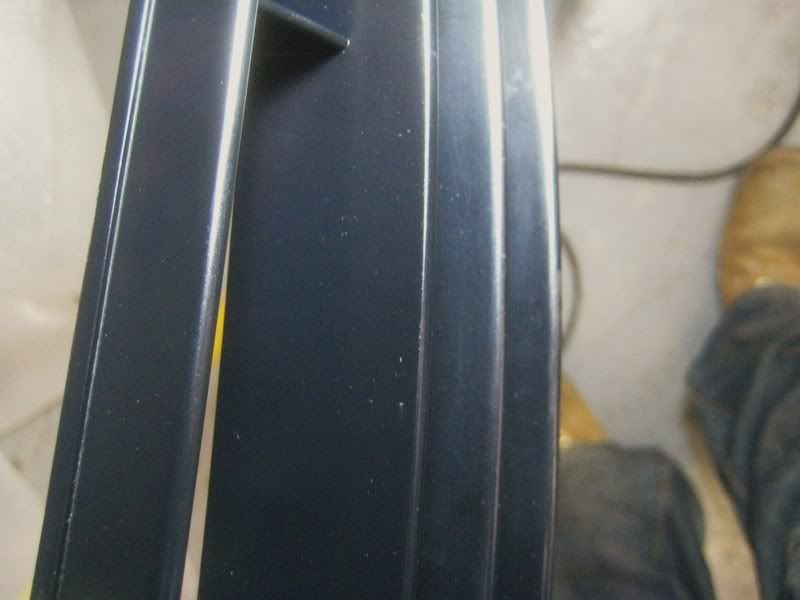
Couple of 50/50's... grille untreated on the bottom 2 spars...
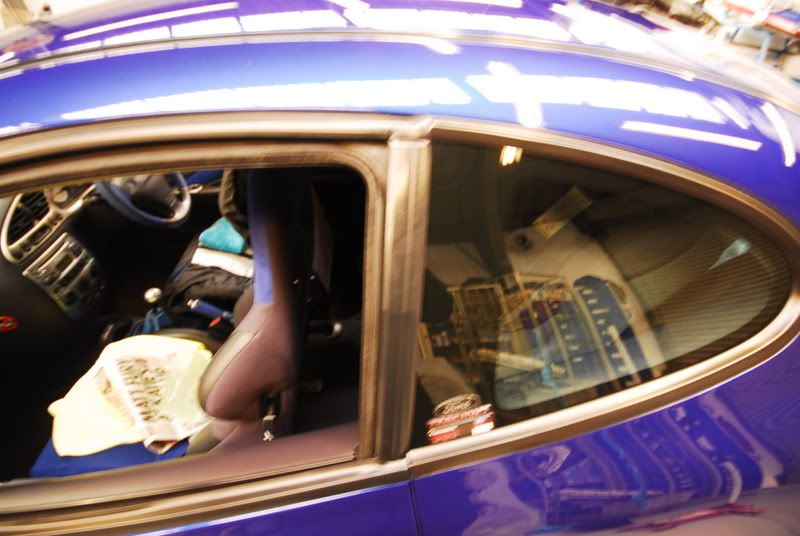
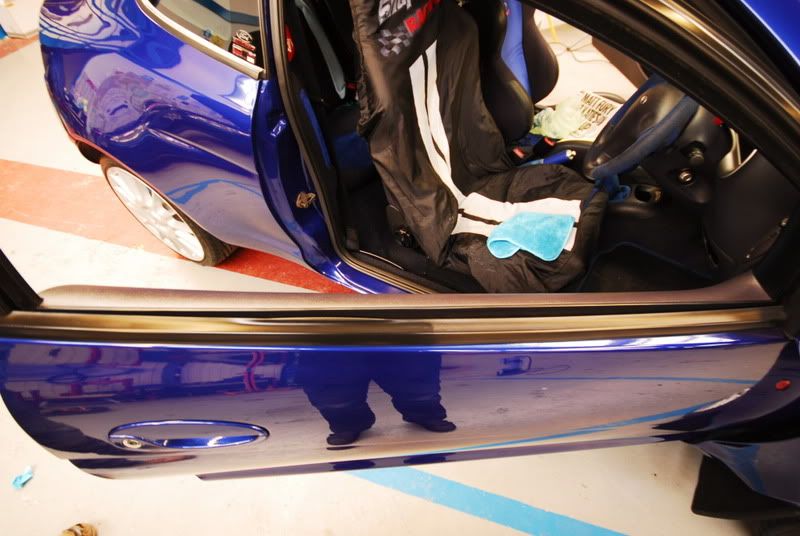
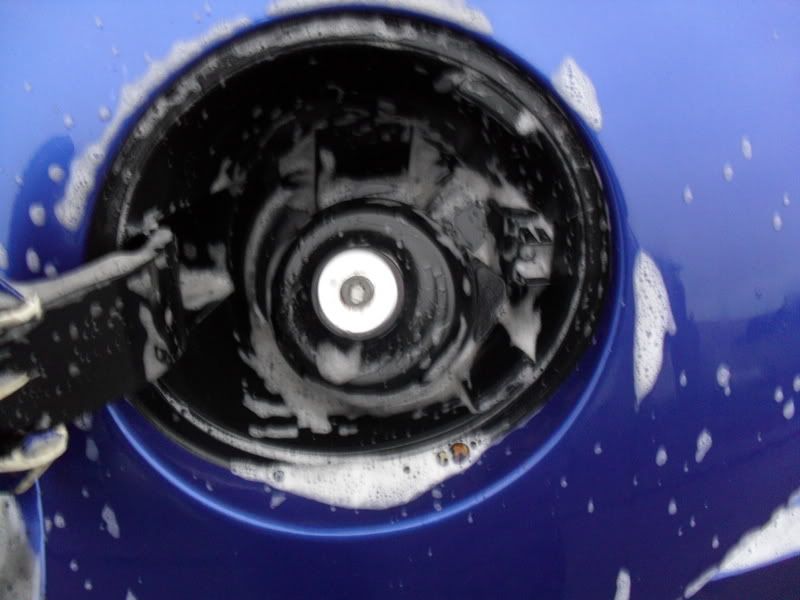
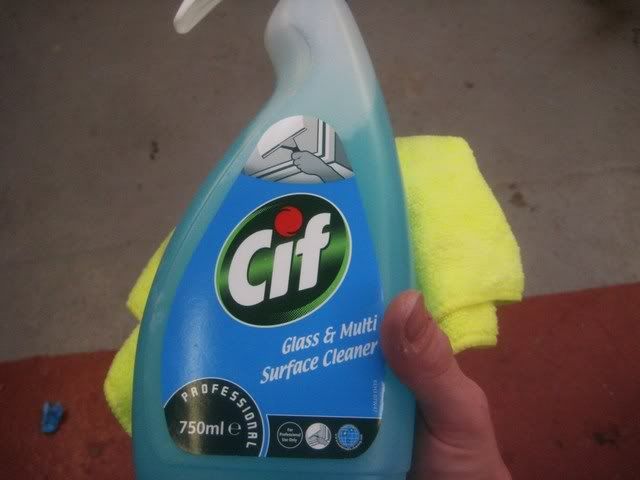
Onto the glass... just a couple of shots, check my other thread reagrding this stuff as i'm sure some will laugh. I don't blame you but it'a fantastic glass cleaner/sealent...
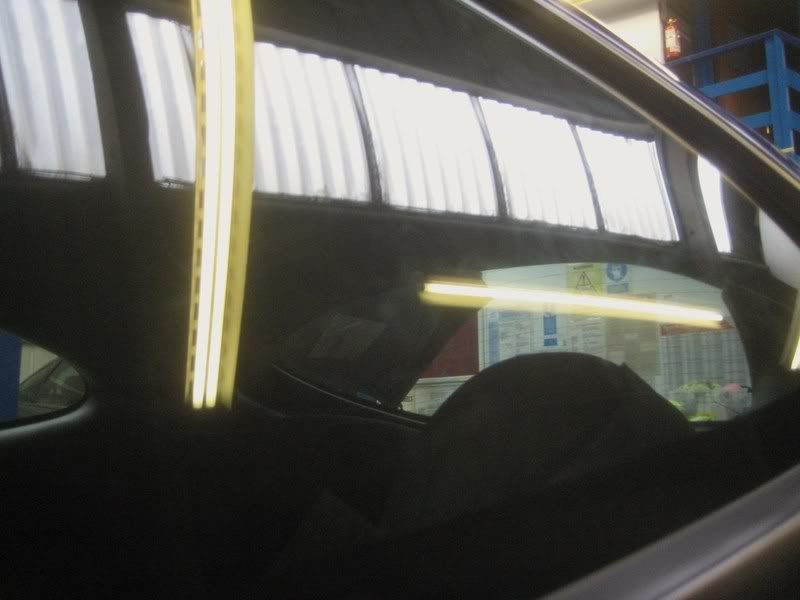
Door glass was rather dirty
See the final shots for the afters.
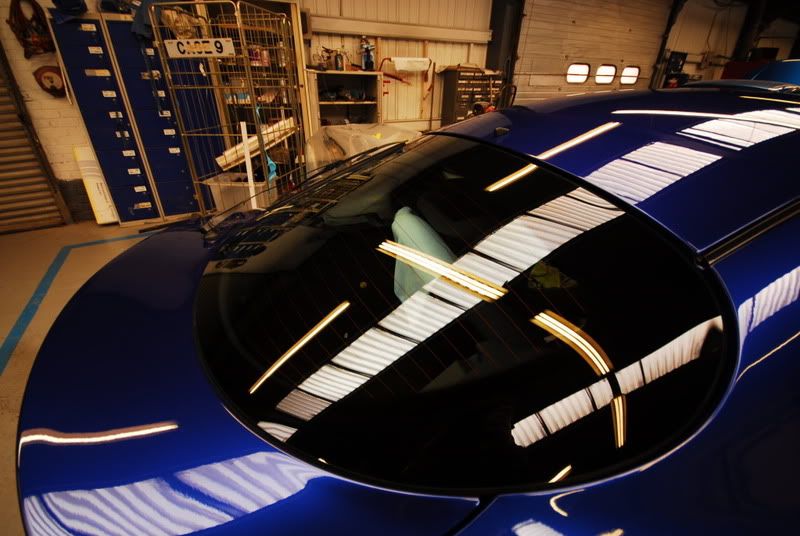
Rear screen cleaned...
Nearing the end, finally!
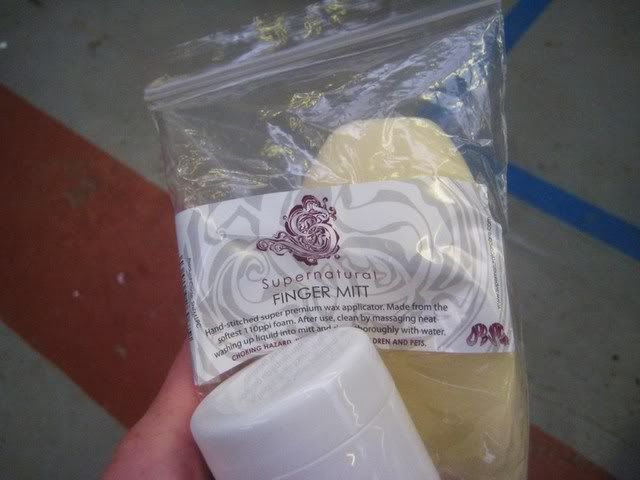
Lsp of choice today? The fantastic Zymol Glasur. Applied with a new SN finger mitt, primed with a little fk425. The mitt is great and not just for sample pots, I couldn't count the amount of times a foam applicator has flew out my hands onto the floor!

I know I know it's not a winter wax but i'll keep it on a month then i'll get some Fk on it! What can I say I love the stuff! Don't shoot me!
I was lucky enough to grab a sample of the stuff recently and upon using it I instantly had a pot on order.
I really can't see past it for a boutique wax.To me it seems like a bargain for the performance it gives. The way it spreads like butter and you get the impression you could leave it for weeks and remove it with no pressure at all.
Left to cure for half an hour...
Buffed off with another plush blue Eurow cloth and wiped down again with Z6 about 15 minutes later.
What can I say guys, thanks for reading and staying this long! Hope the little reviews have helped and i'll try and keep the next one just a little shorter! :p
Sadly the sun didn't really come out to play but I think my friends camera helped get the best of the final finish.
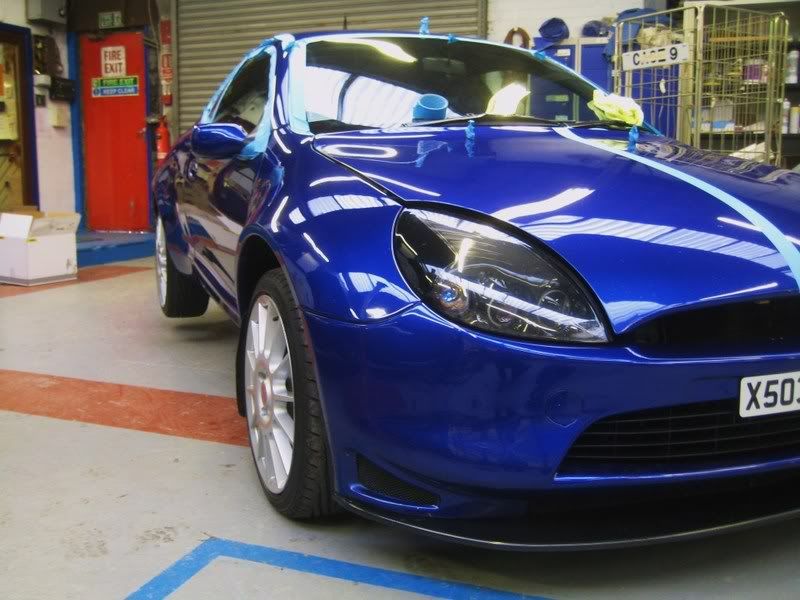
Enjoy the final shots...
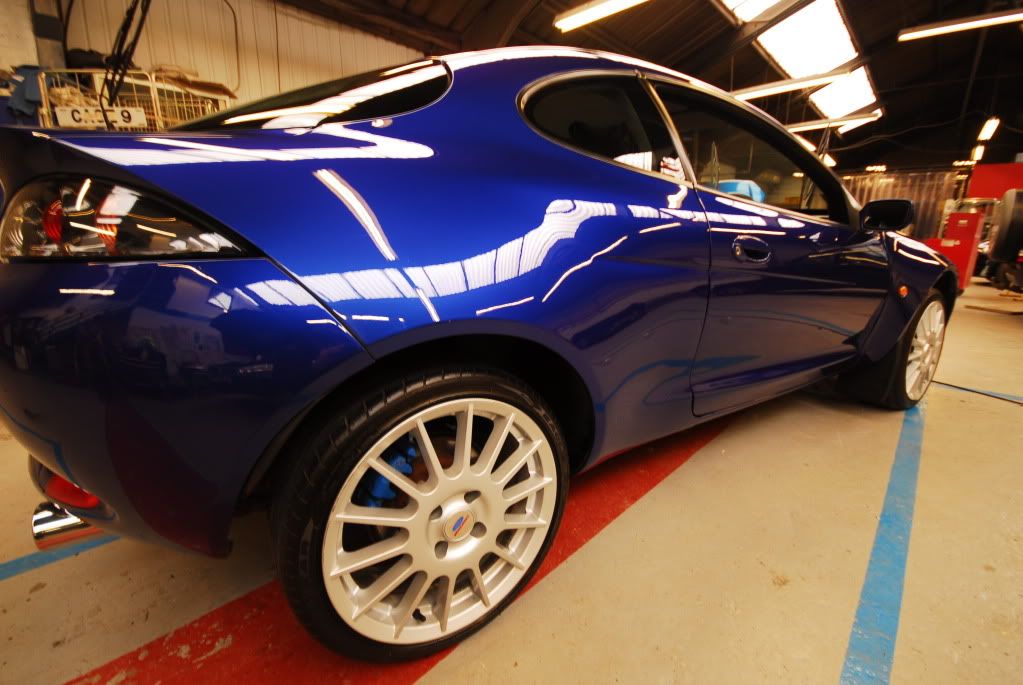
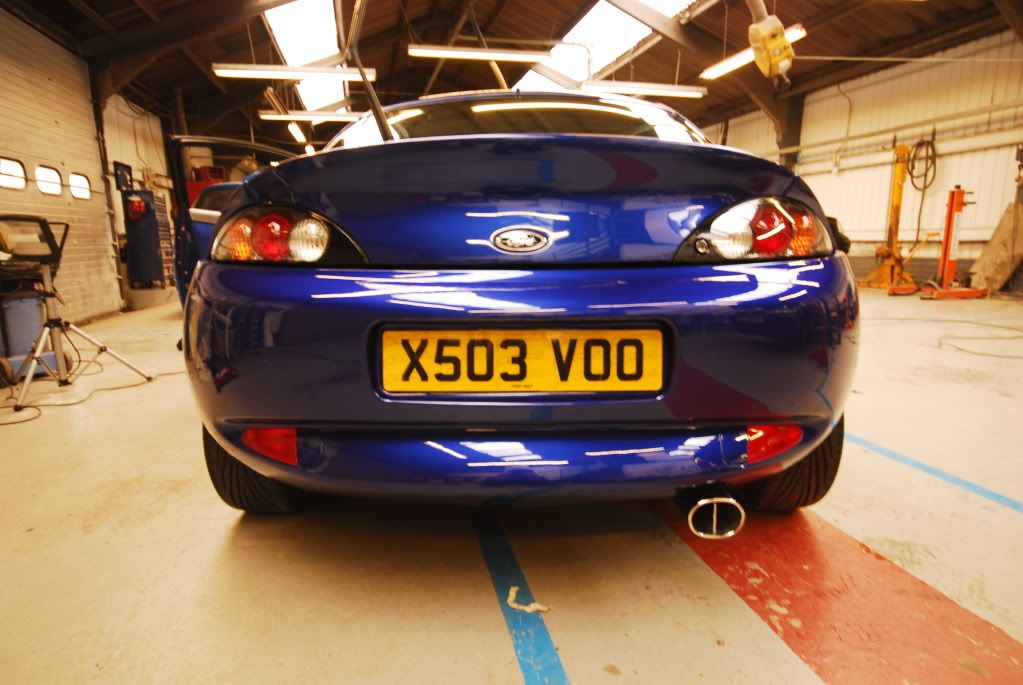
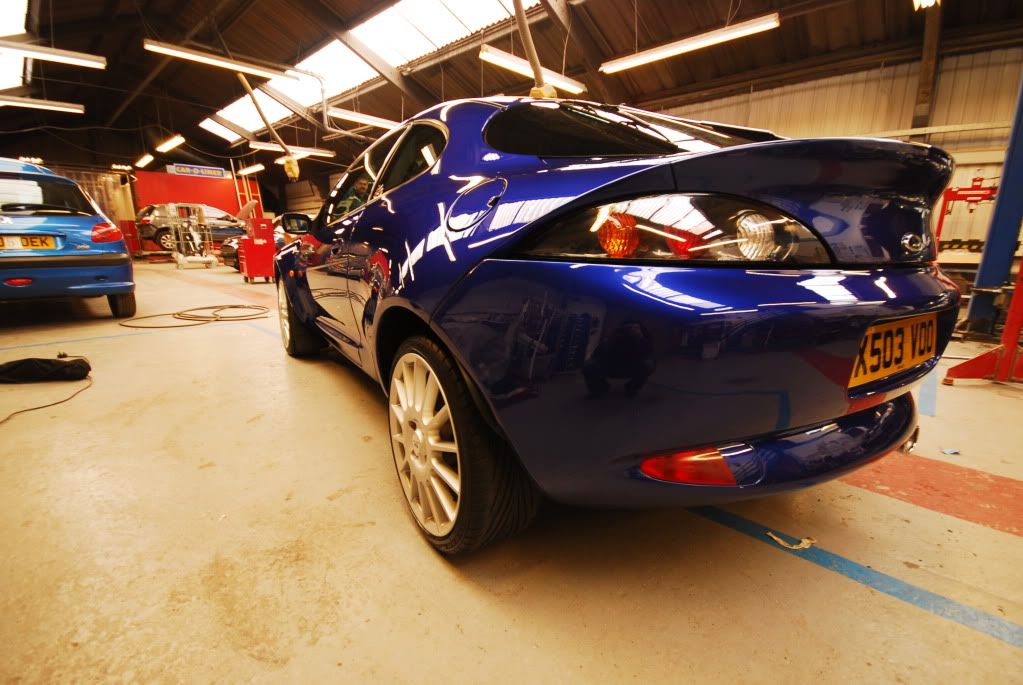
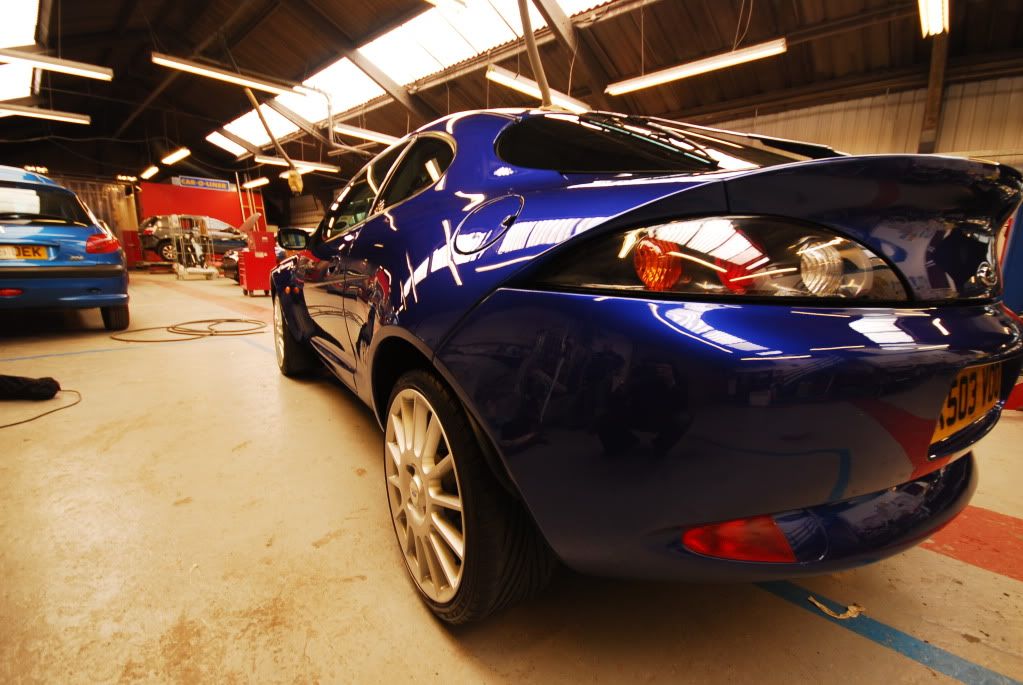
Rolled outside for the final shots...
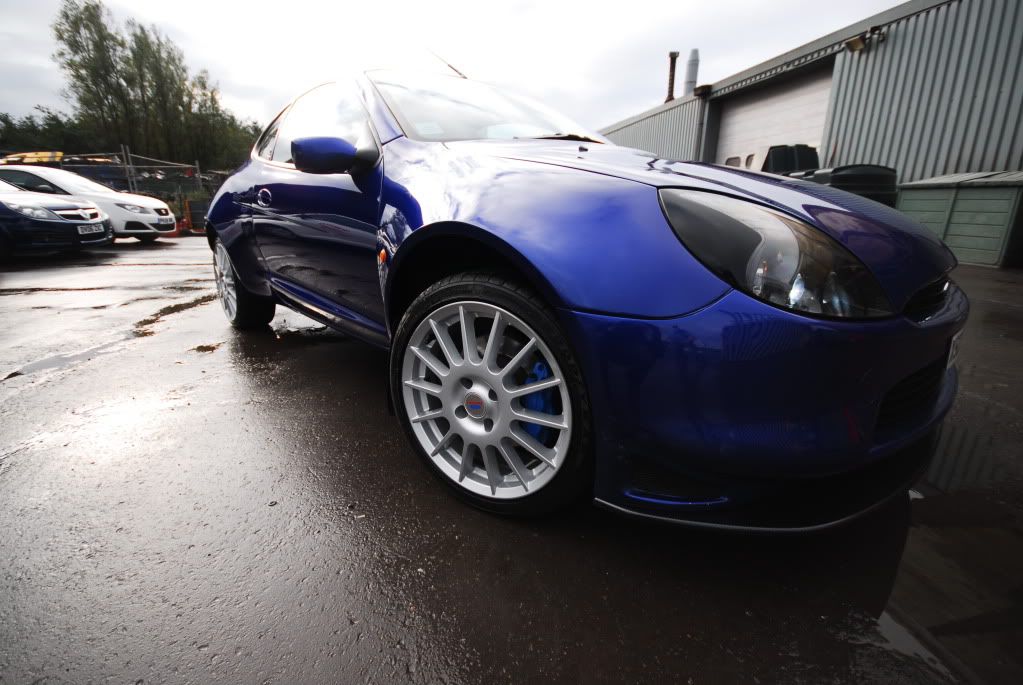
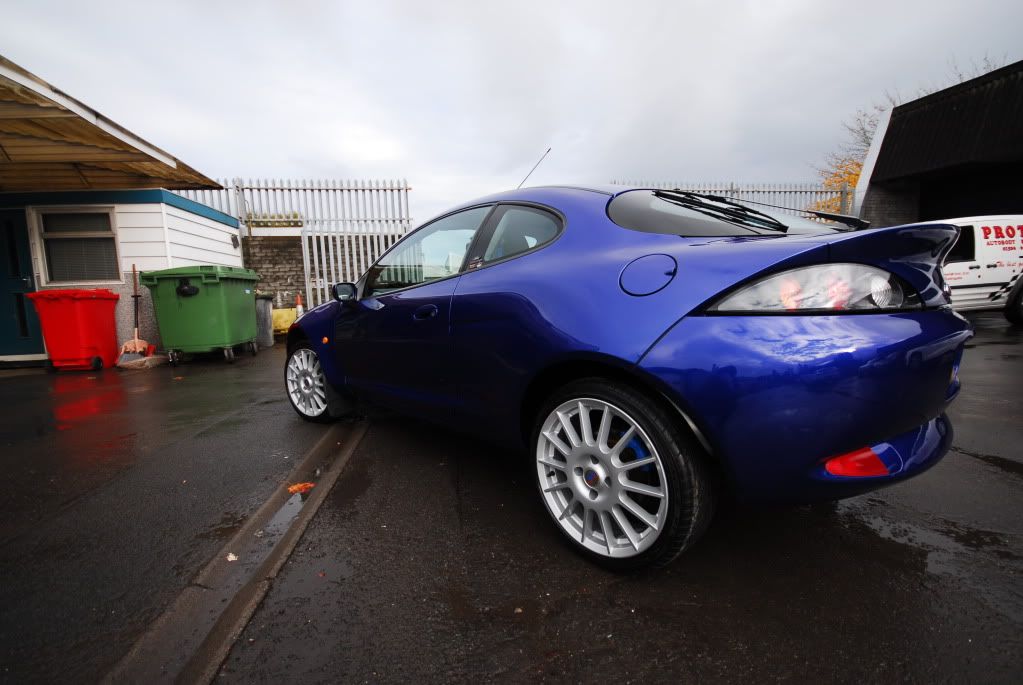
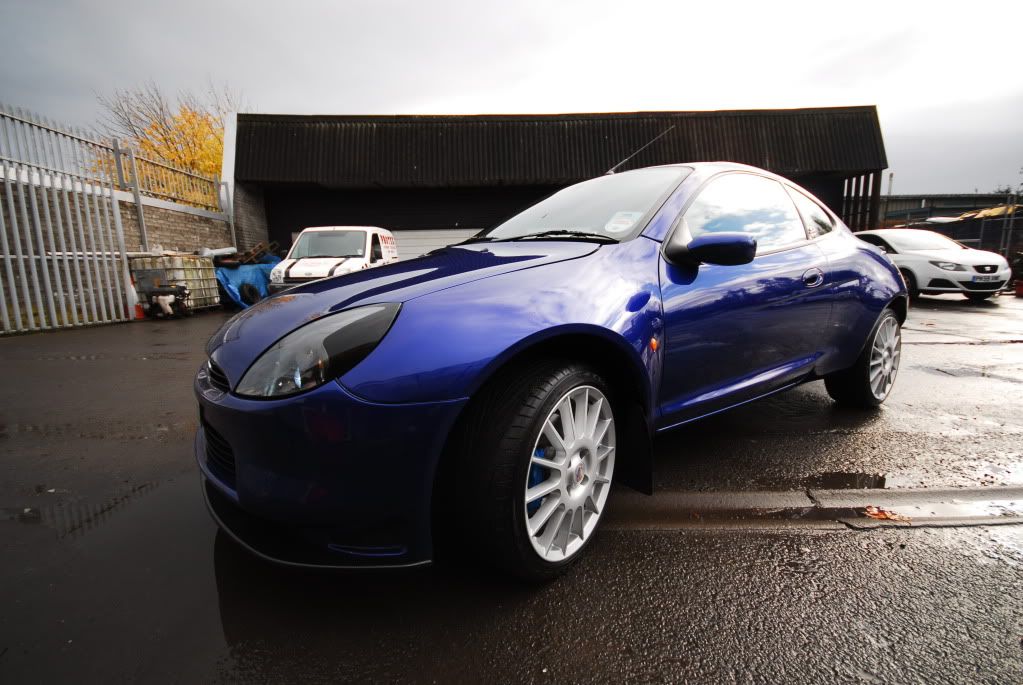
Thanks again for reading guys.