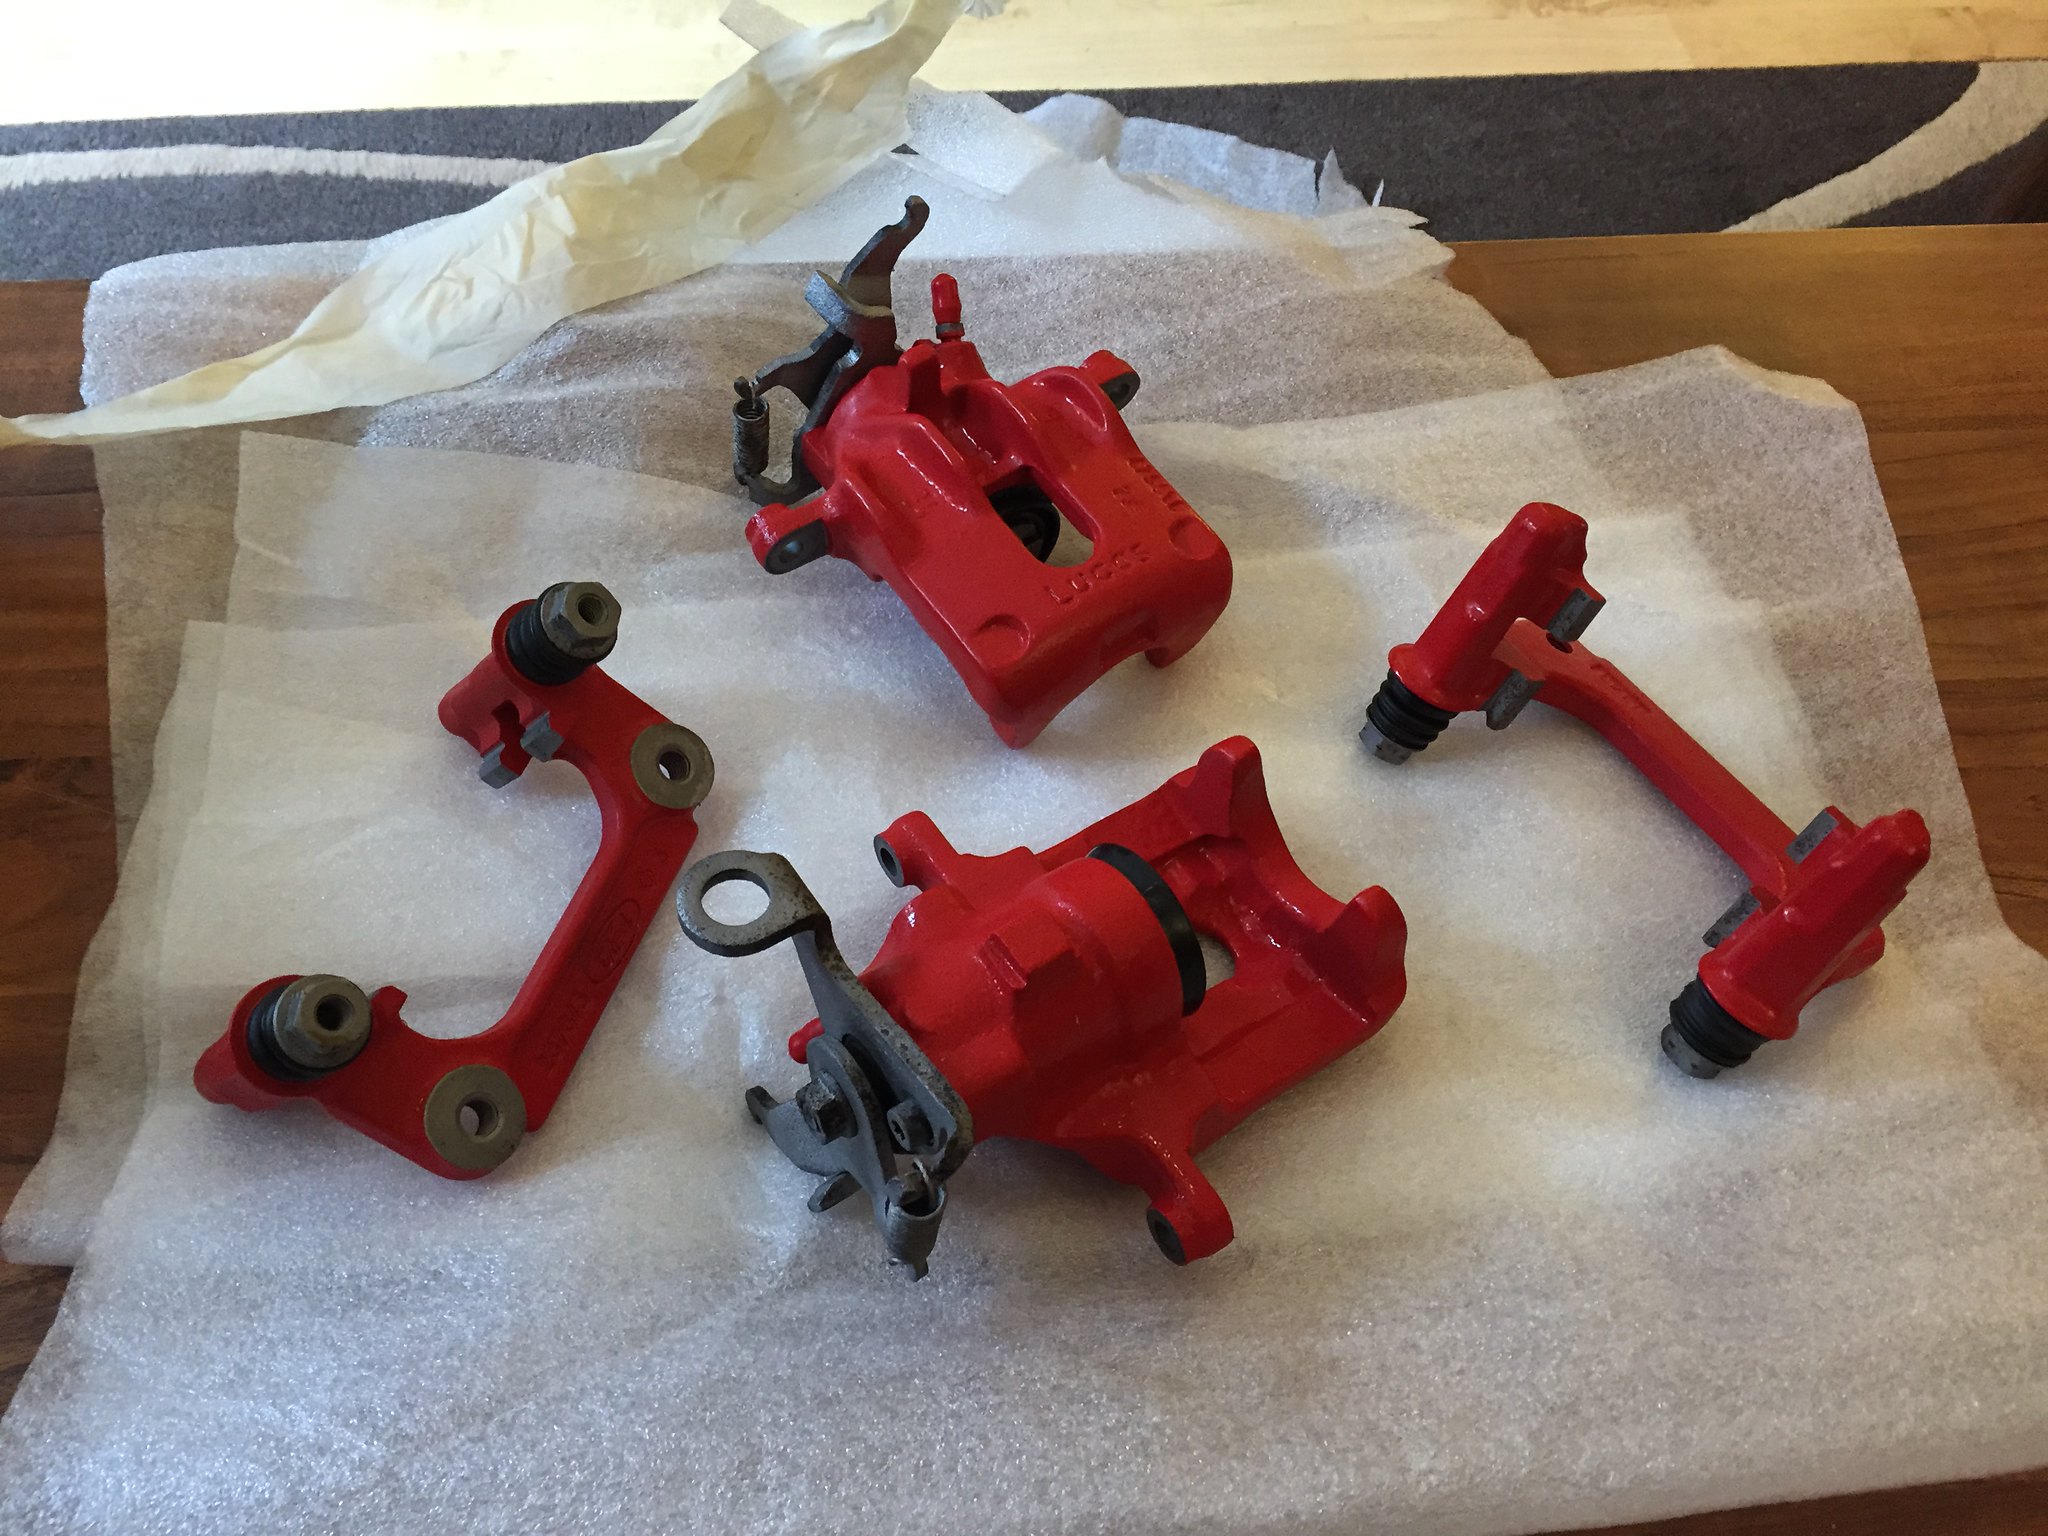
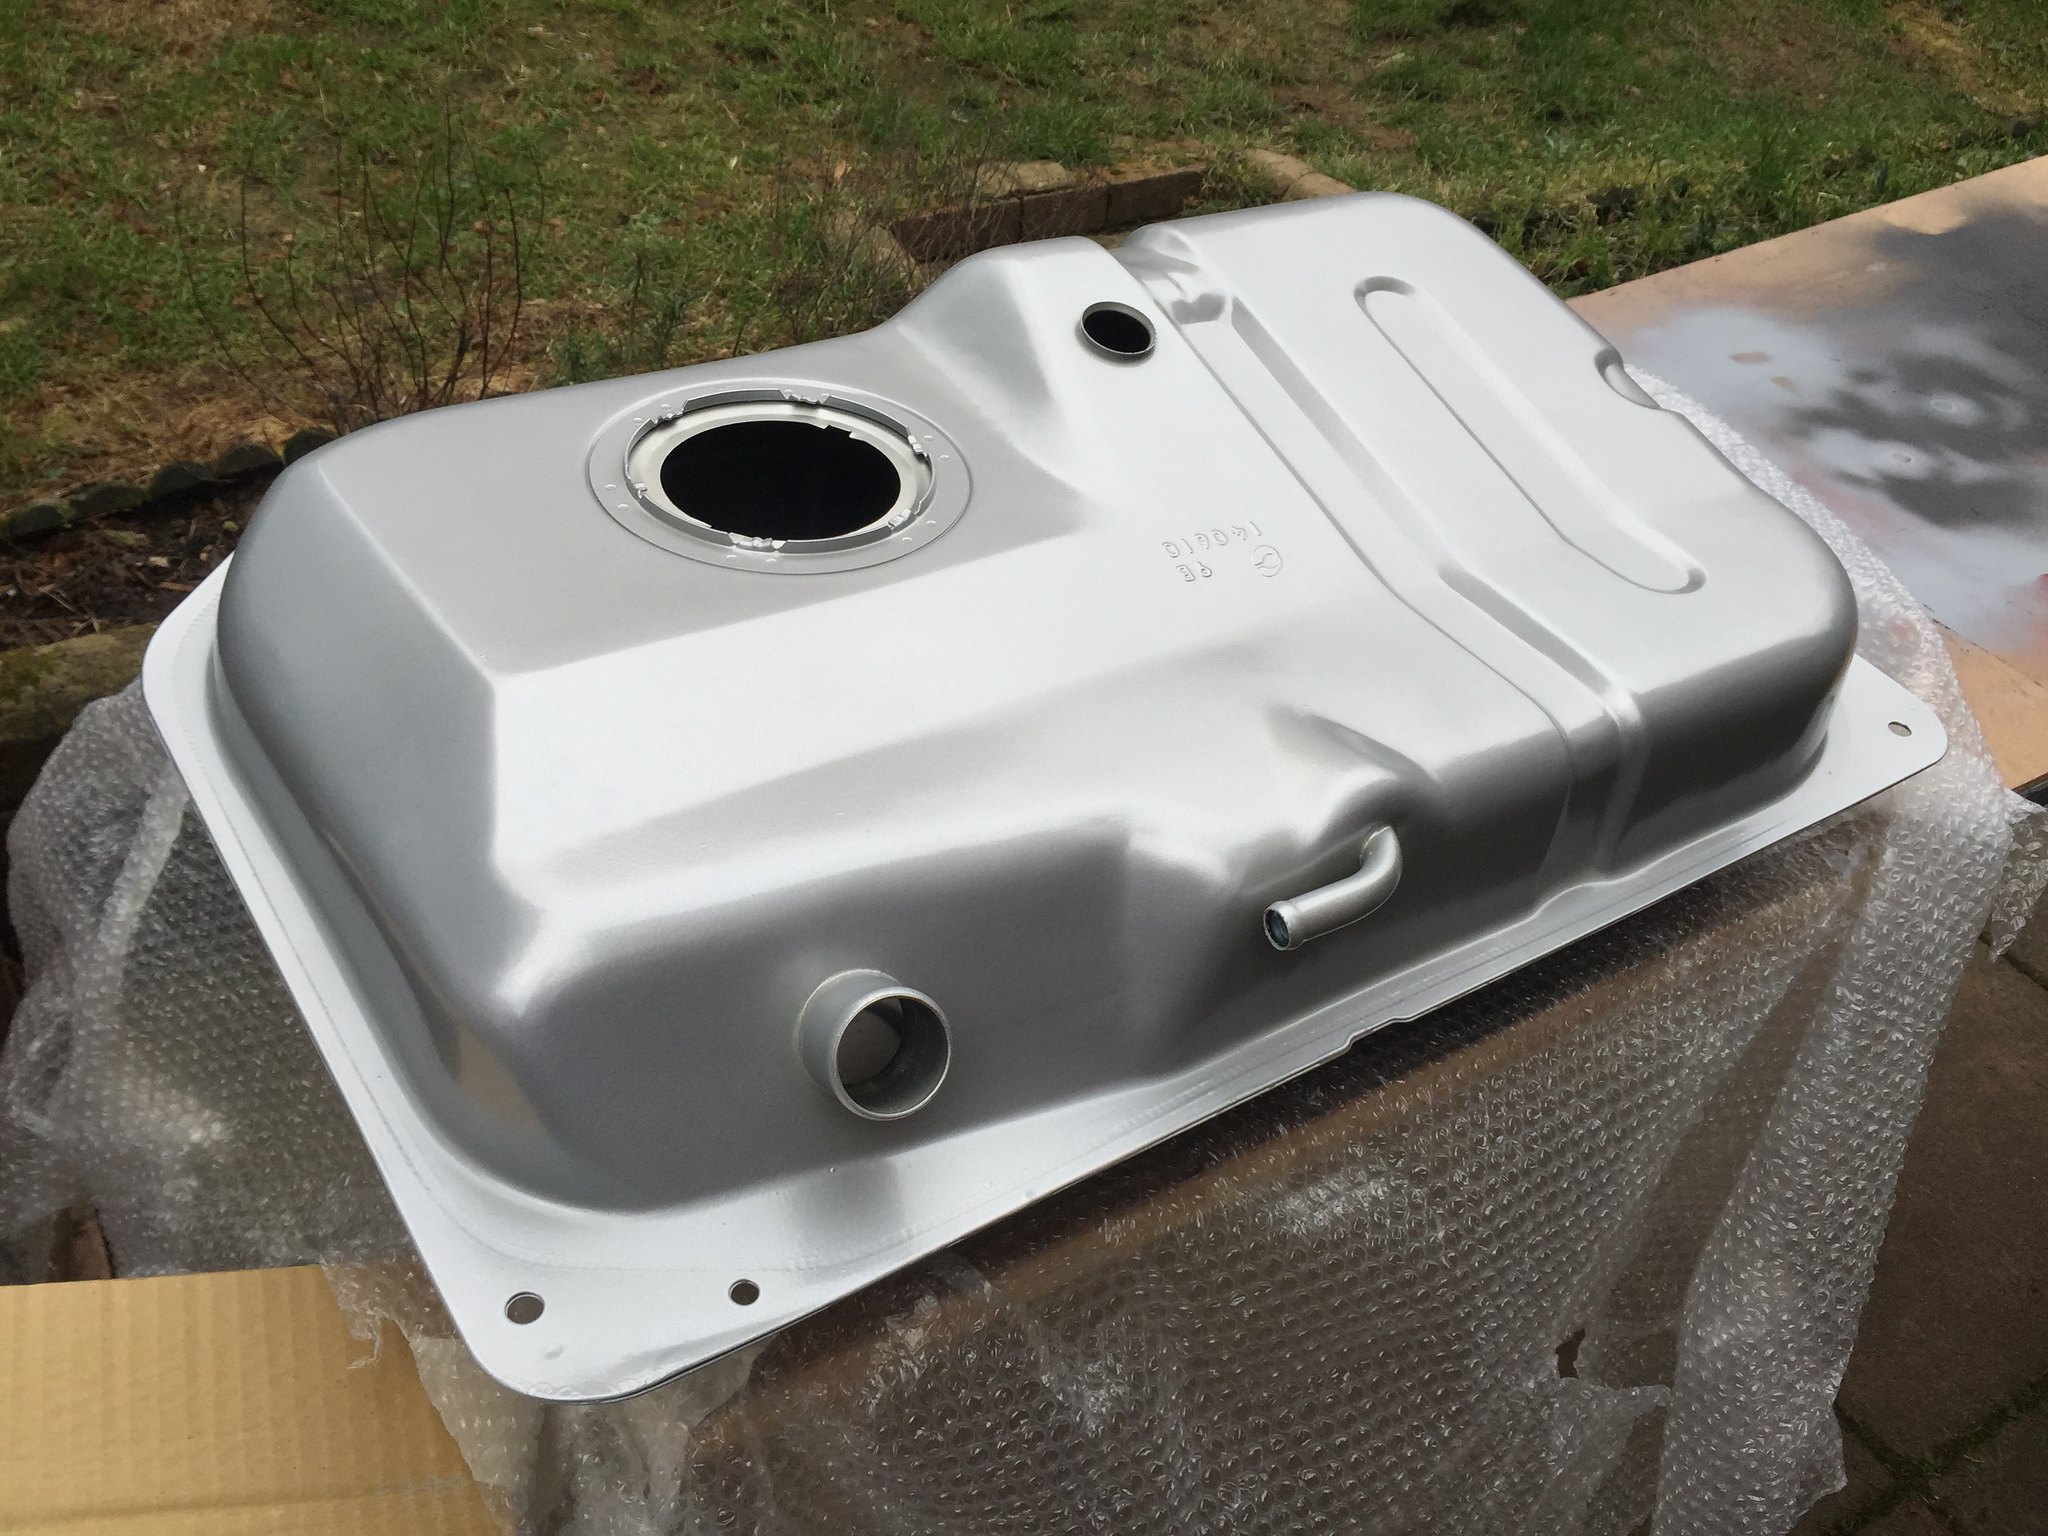
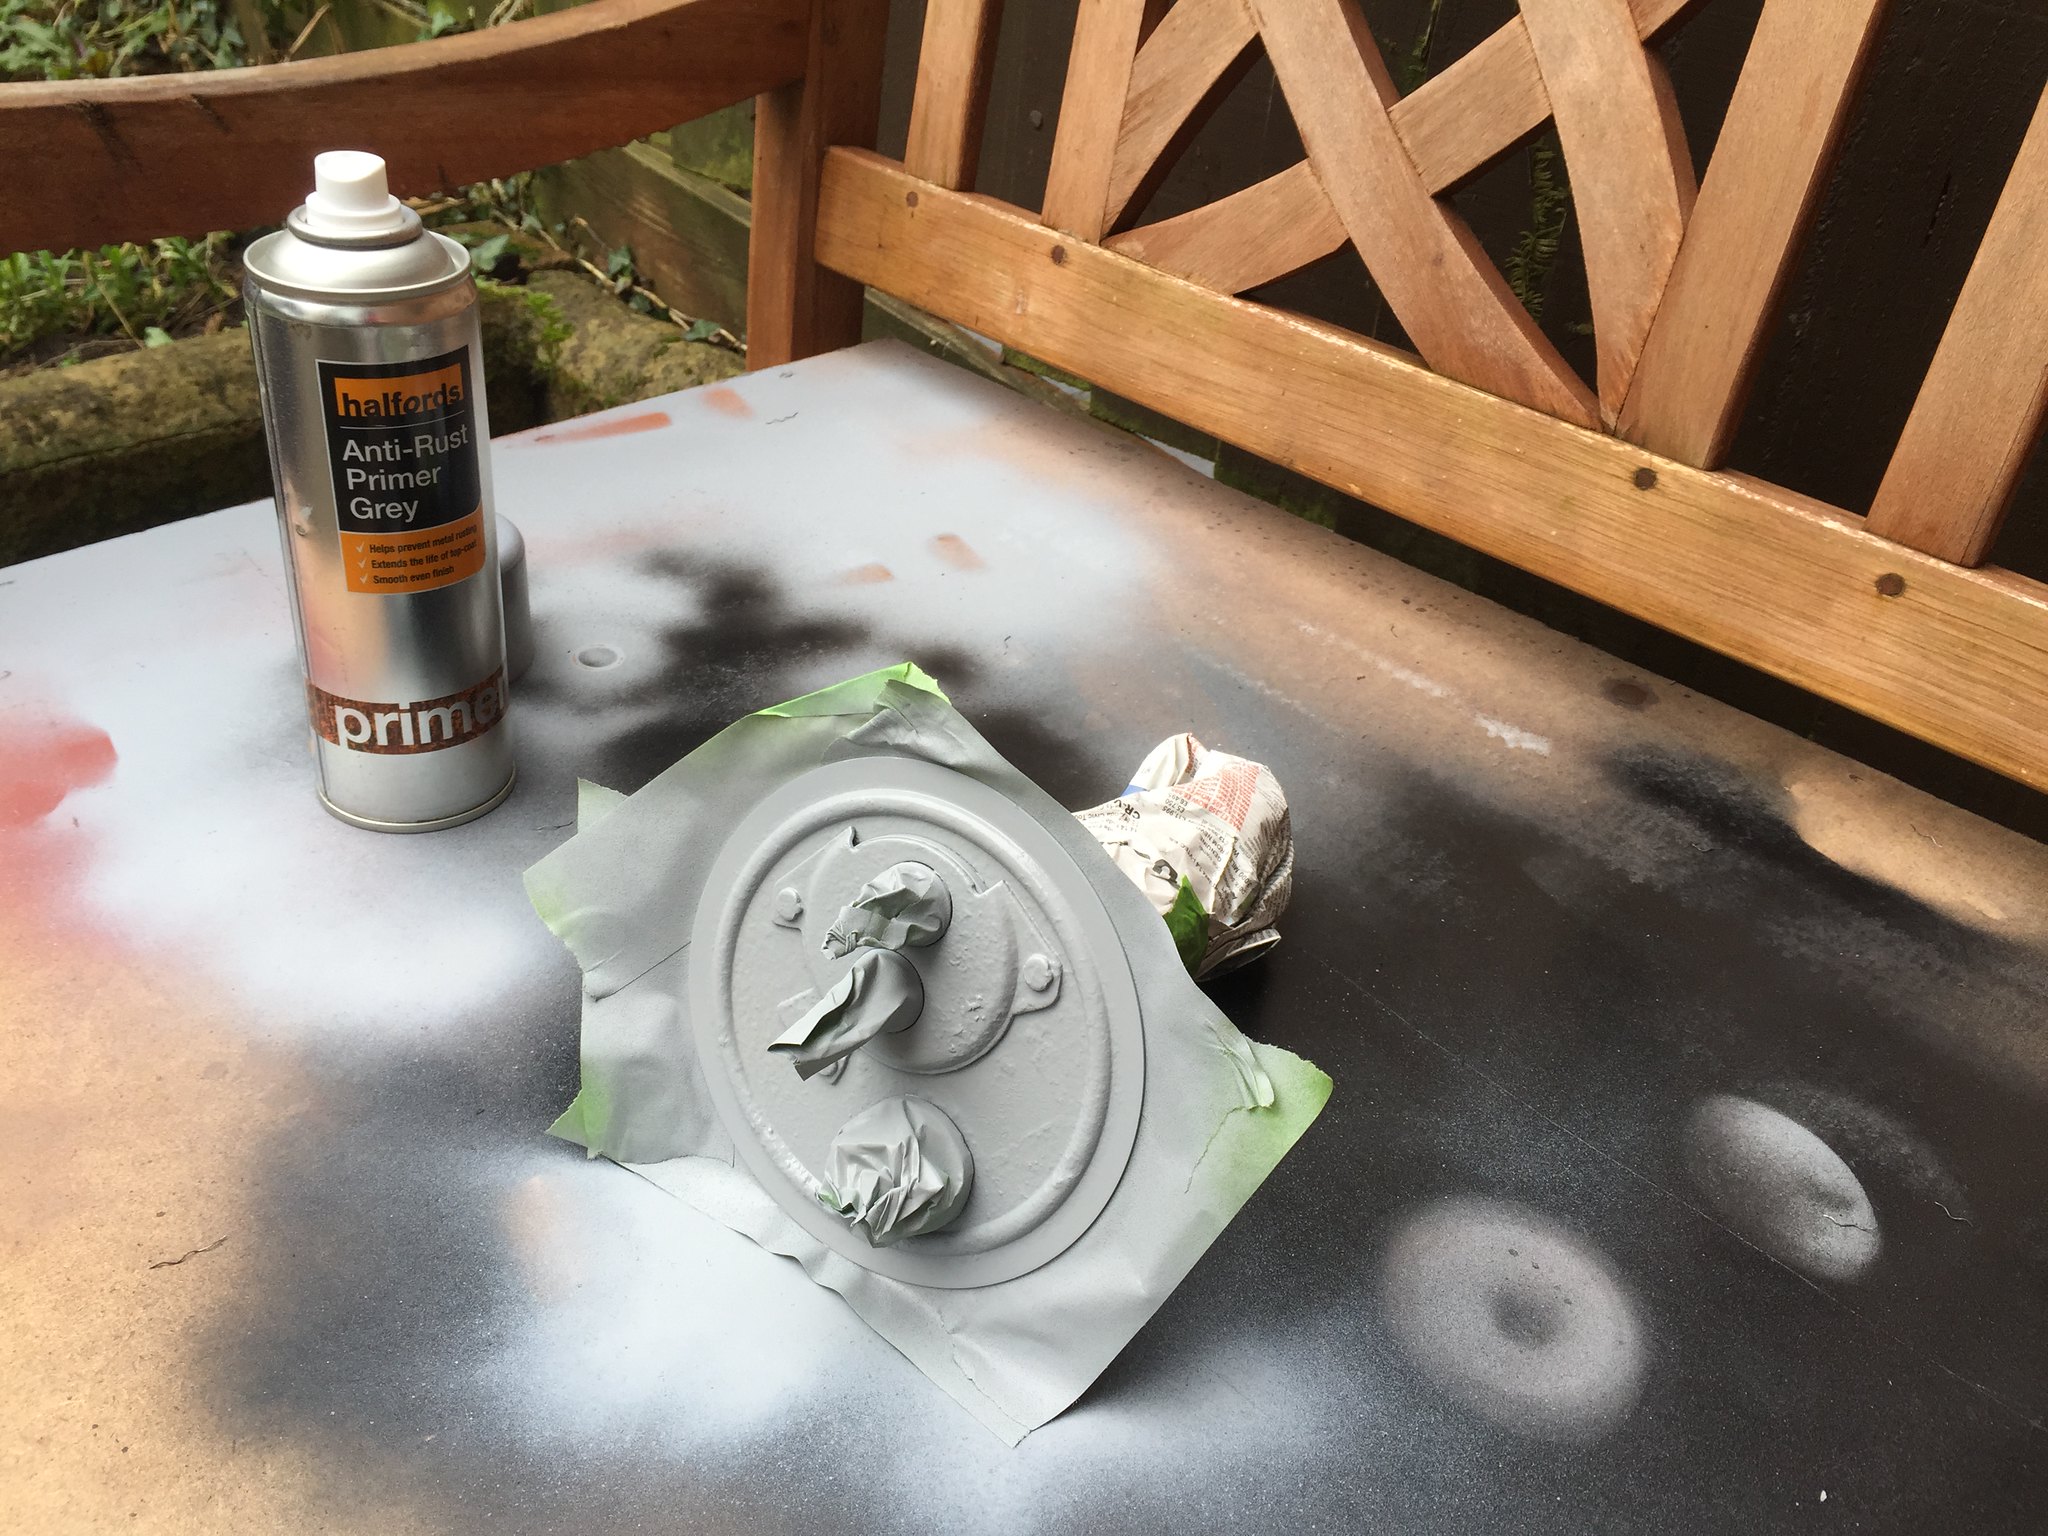
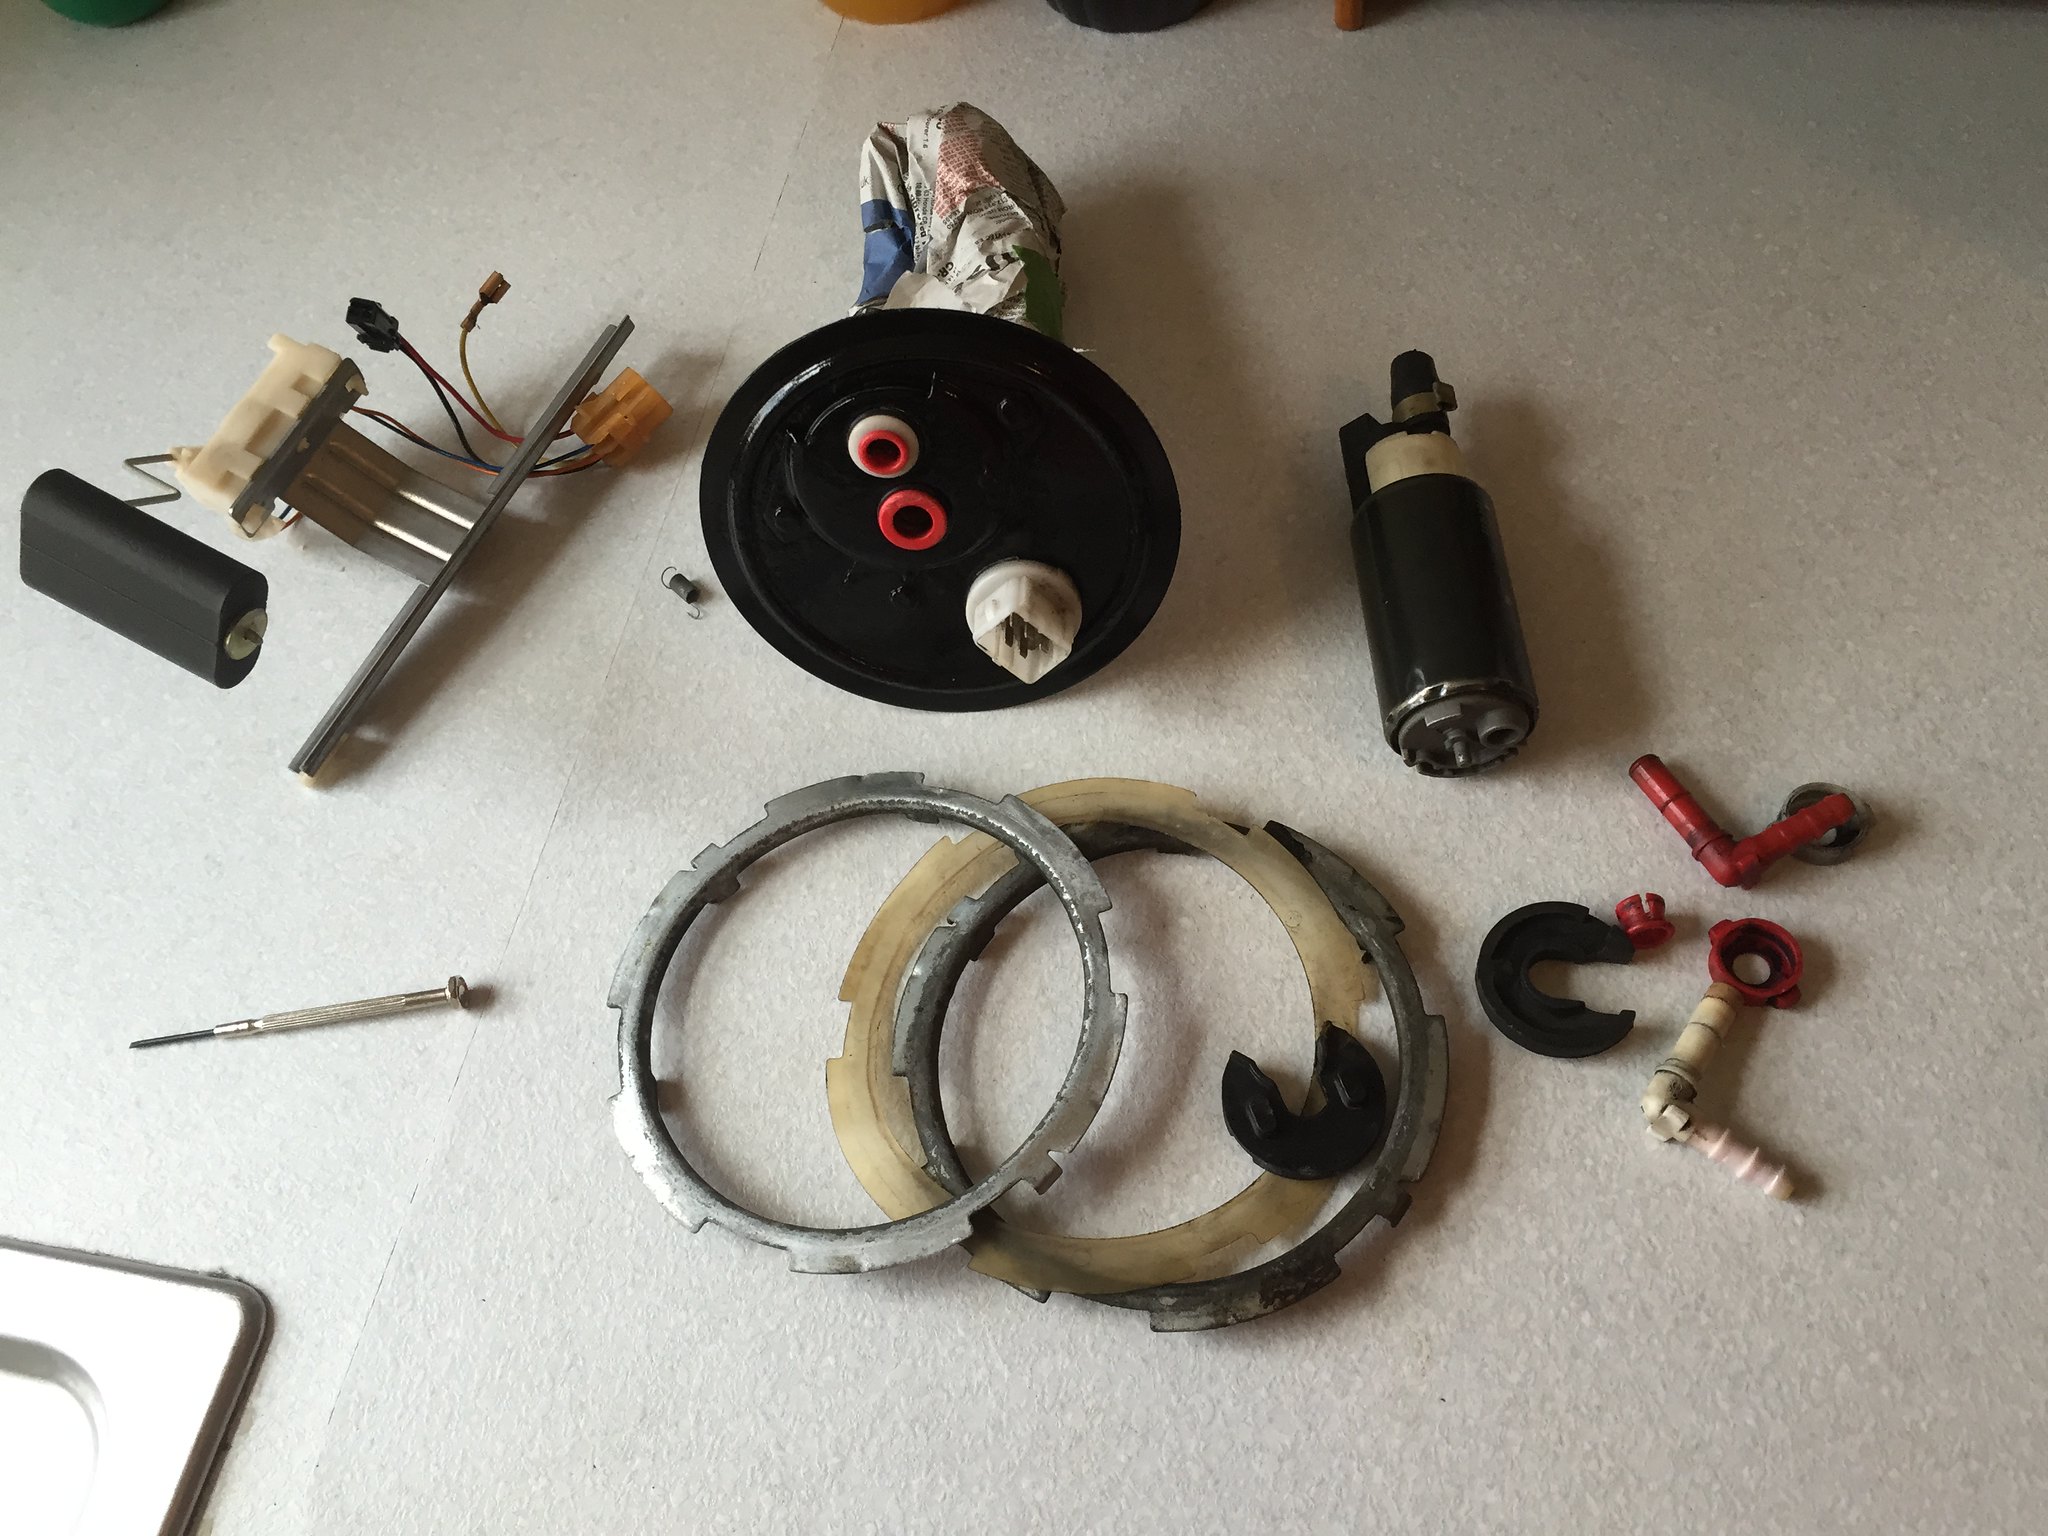
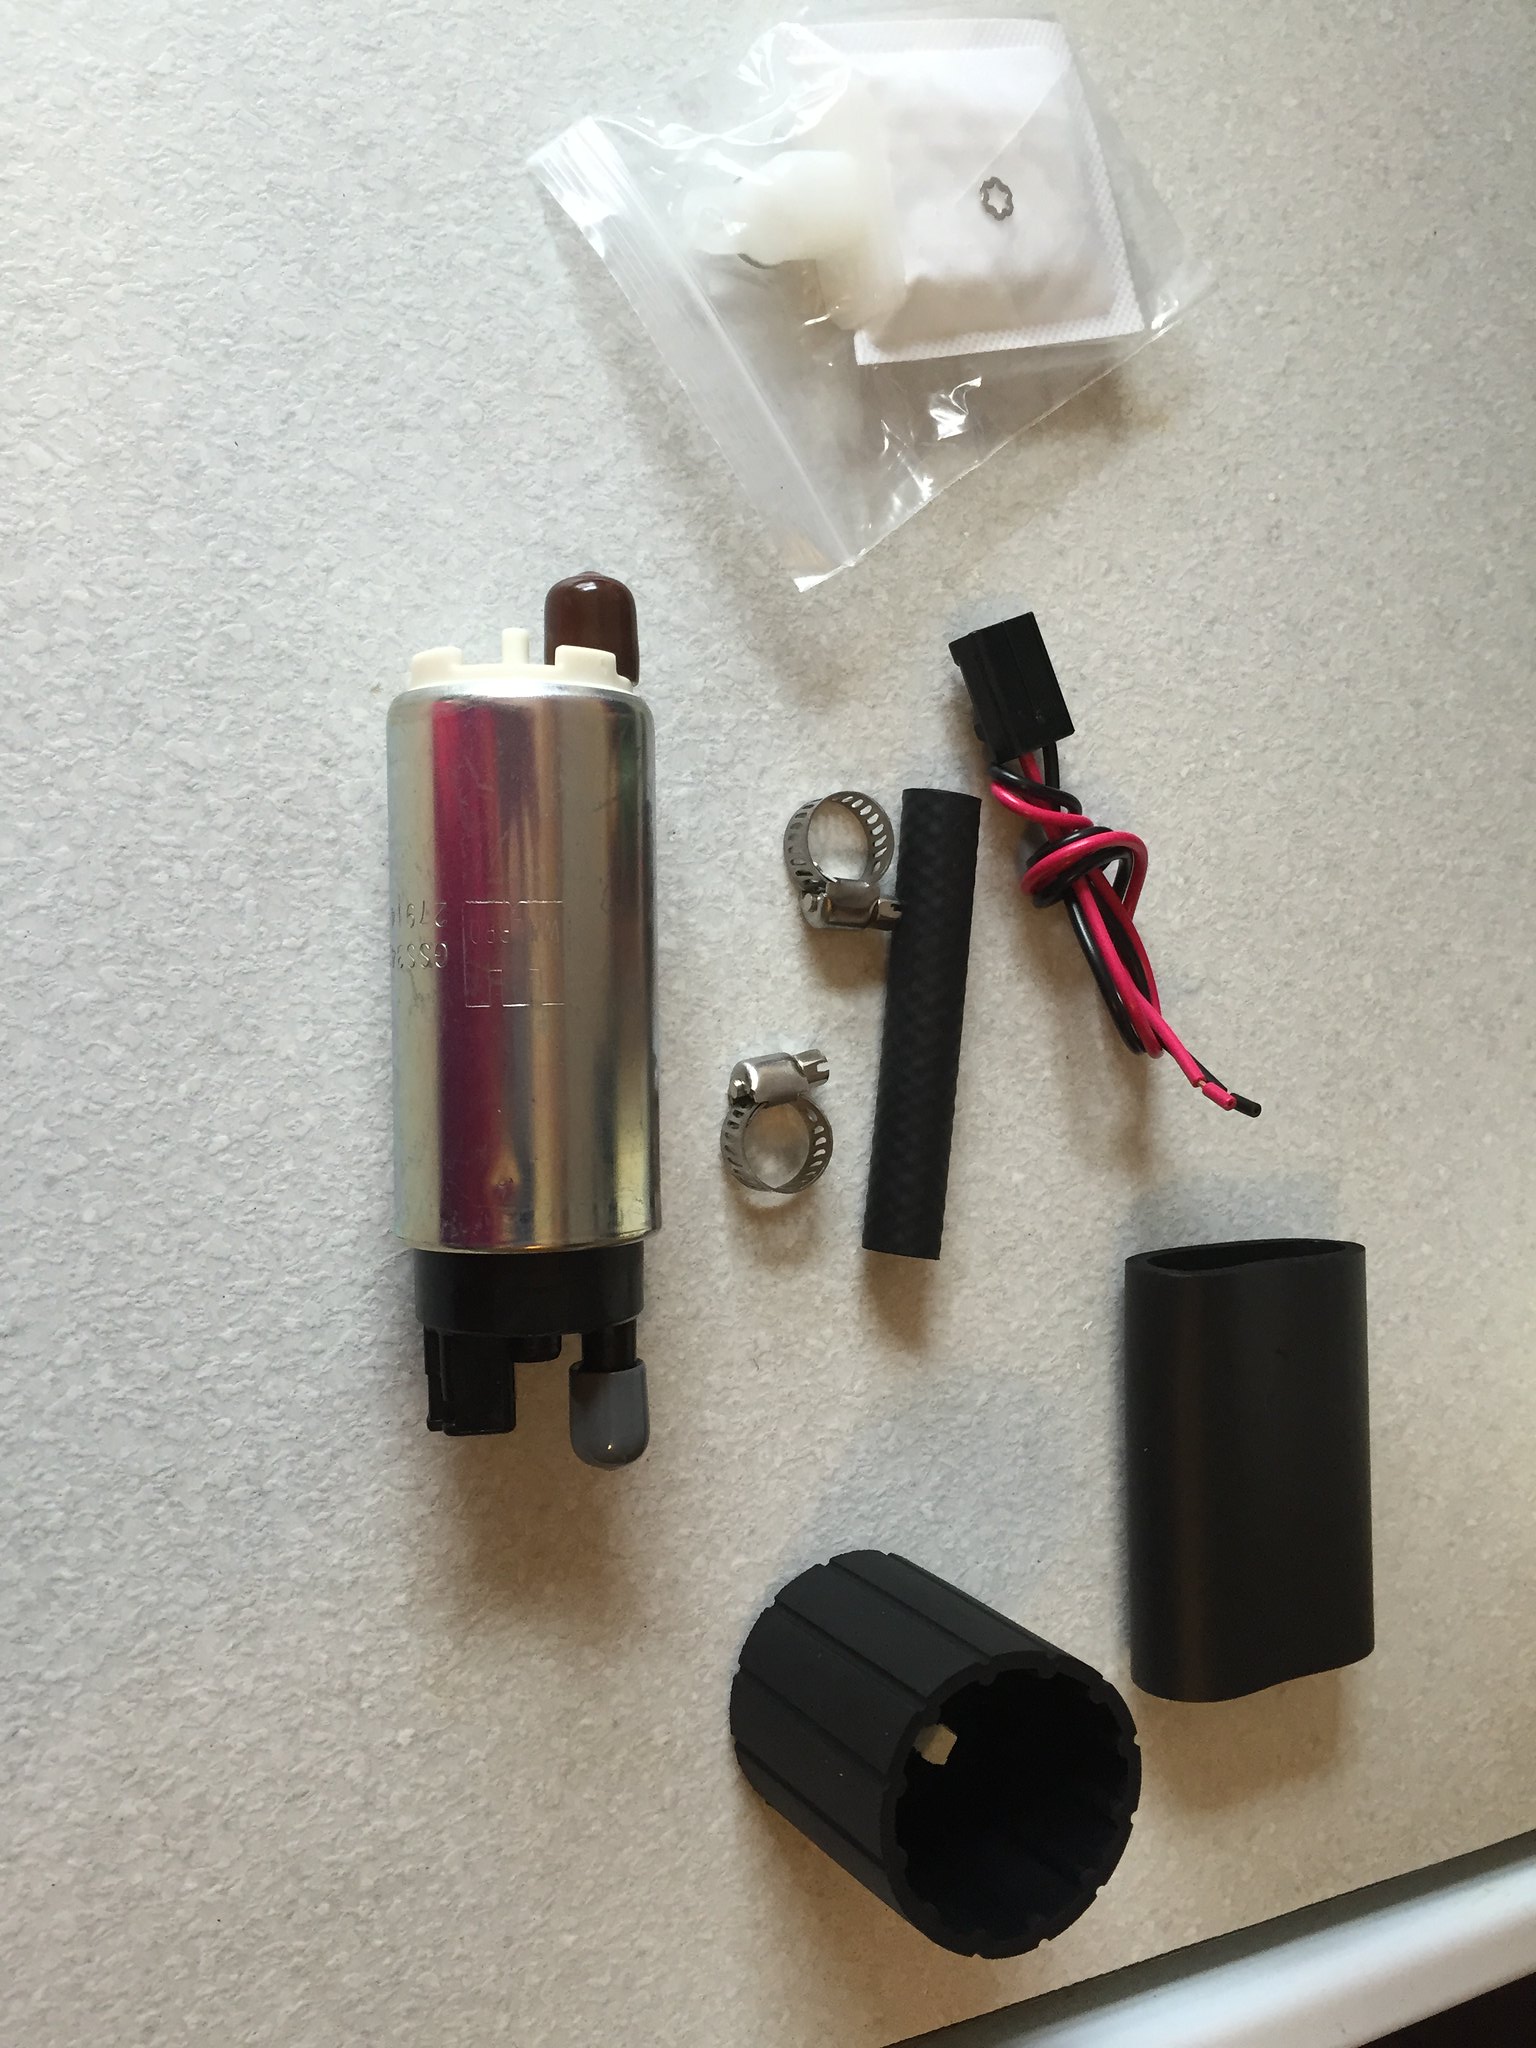
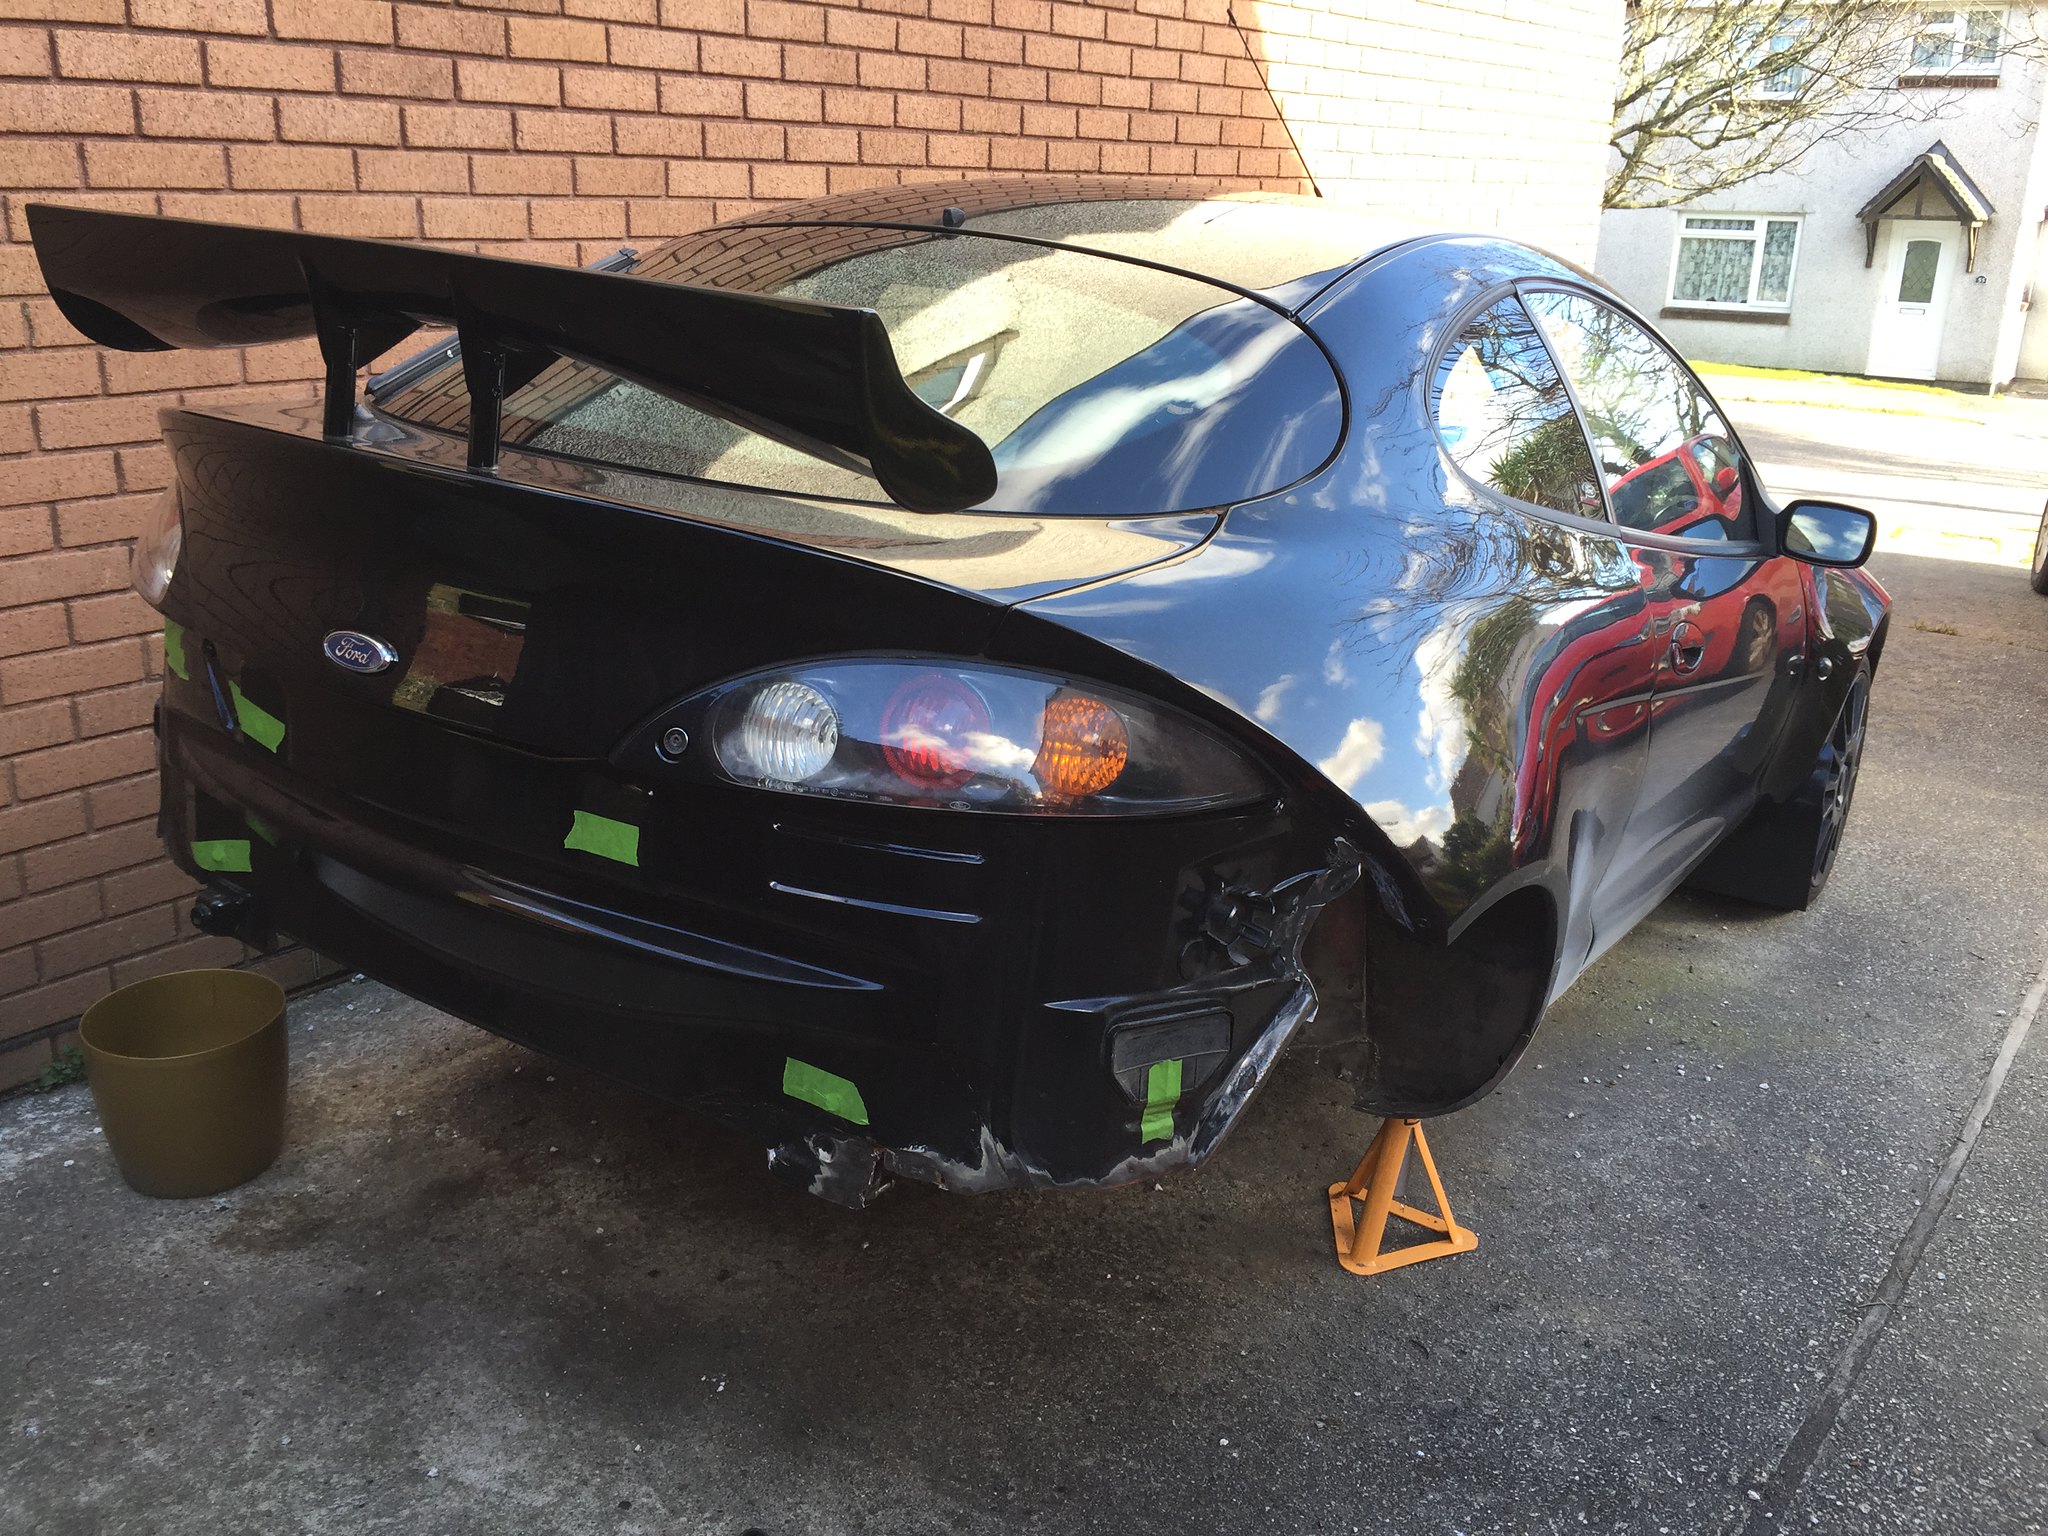
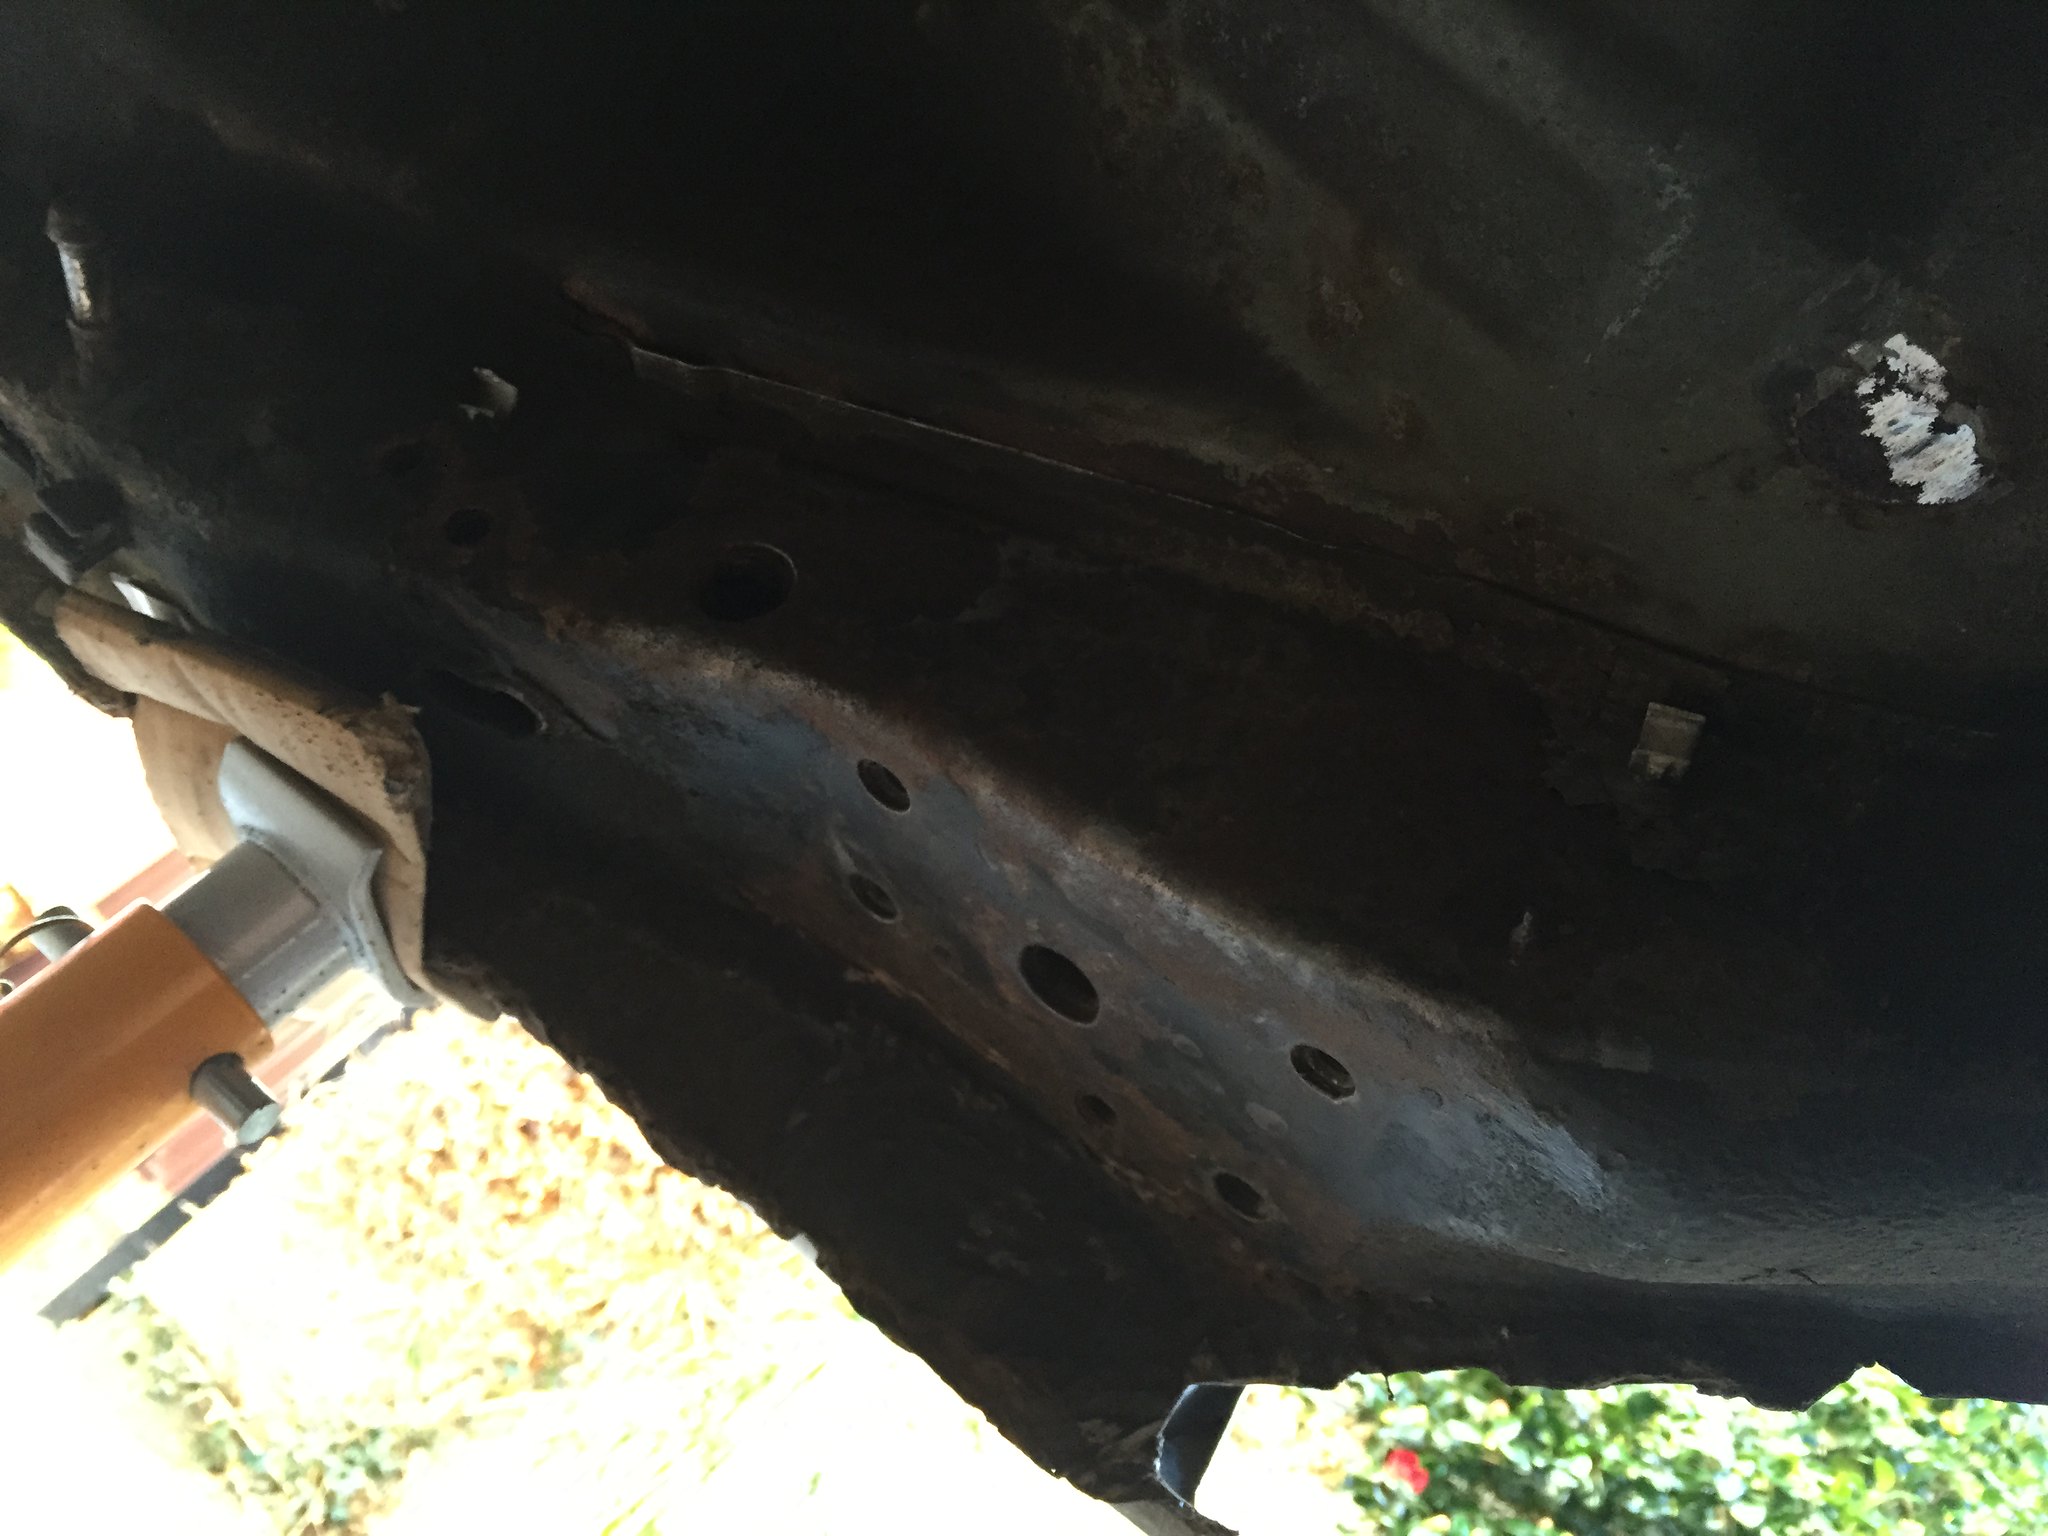
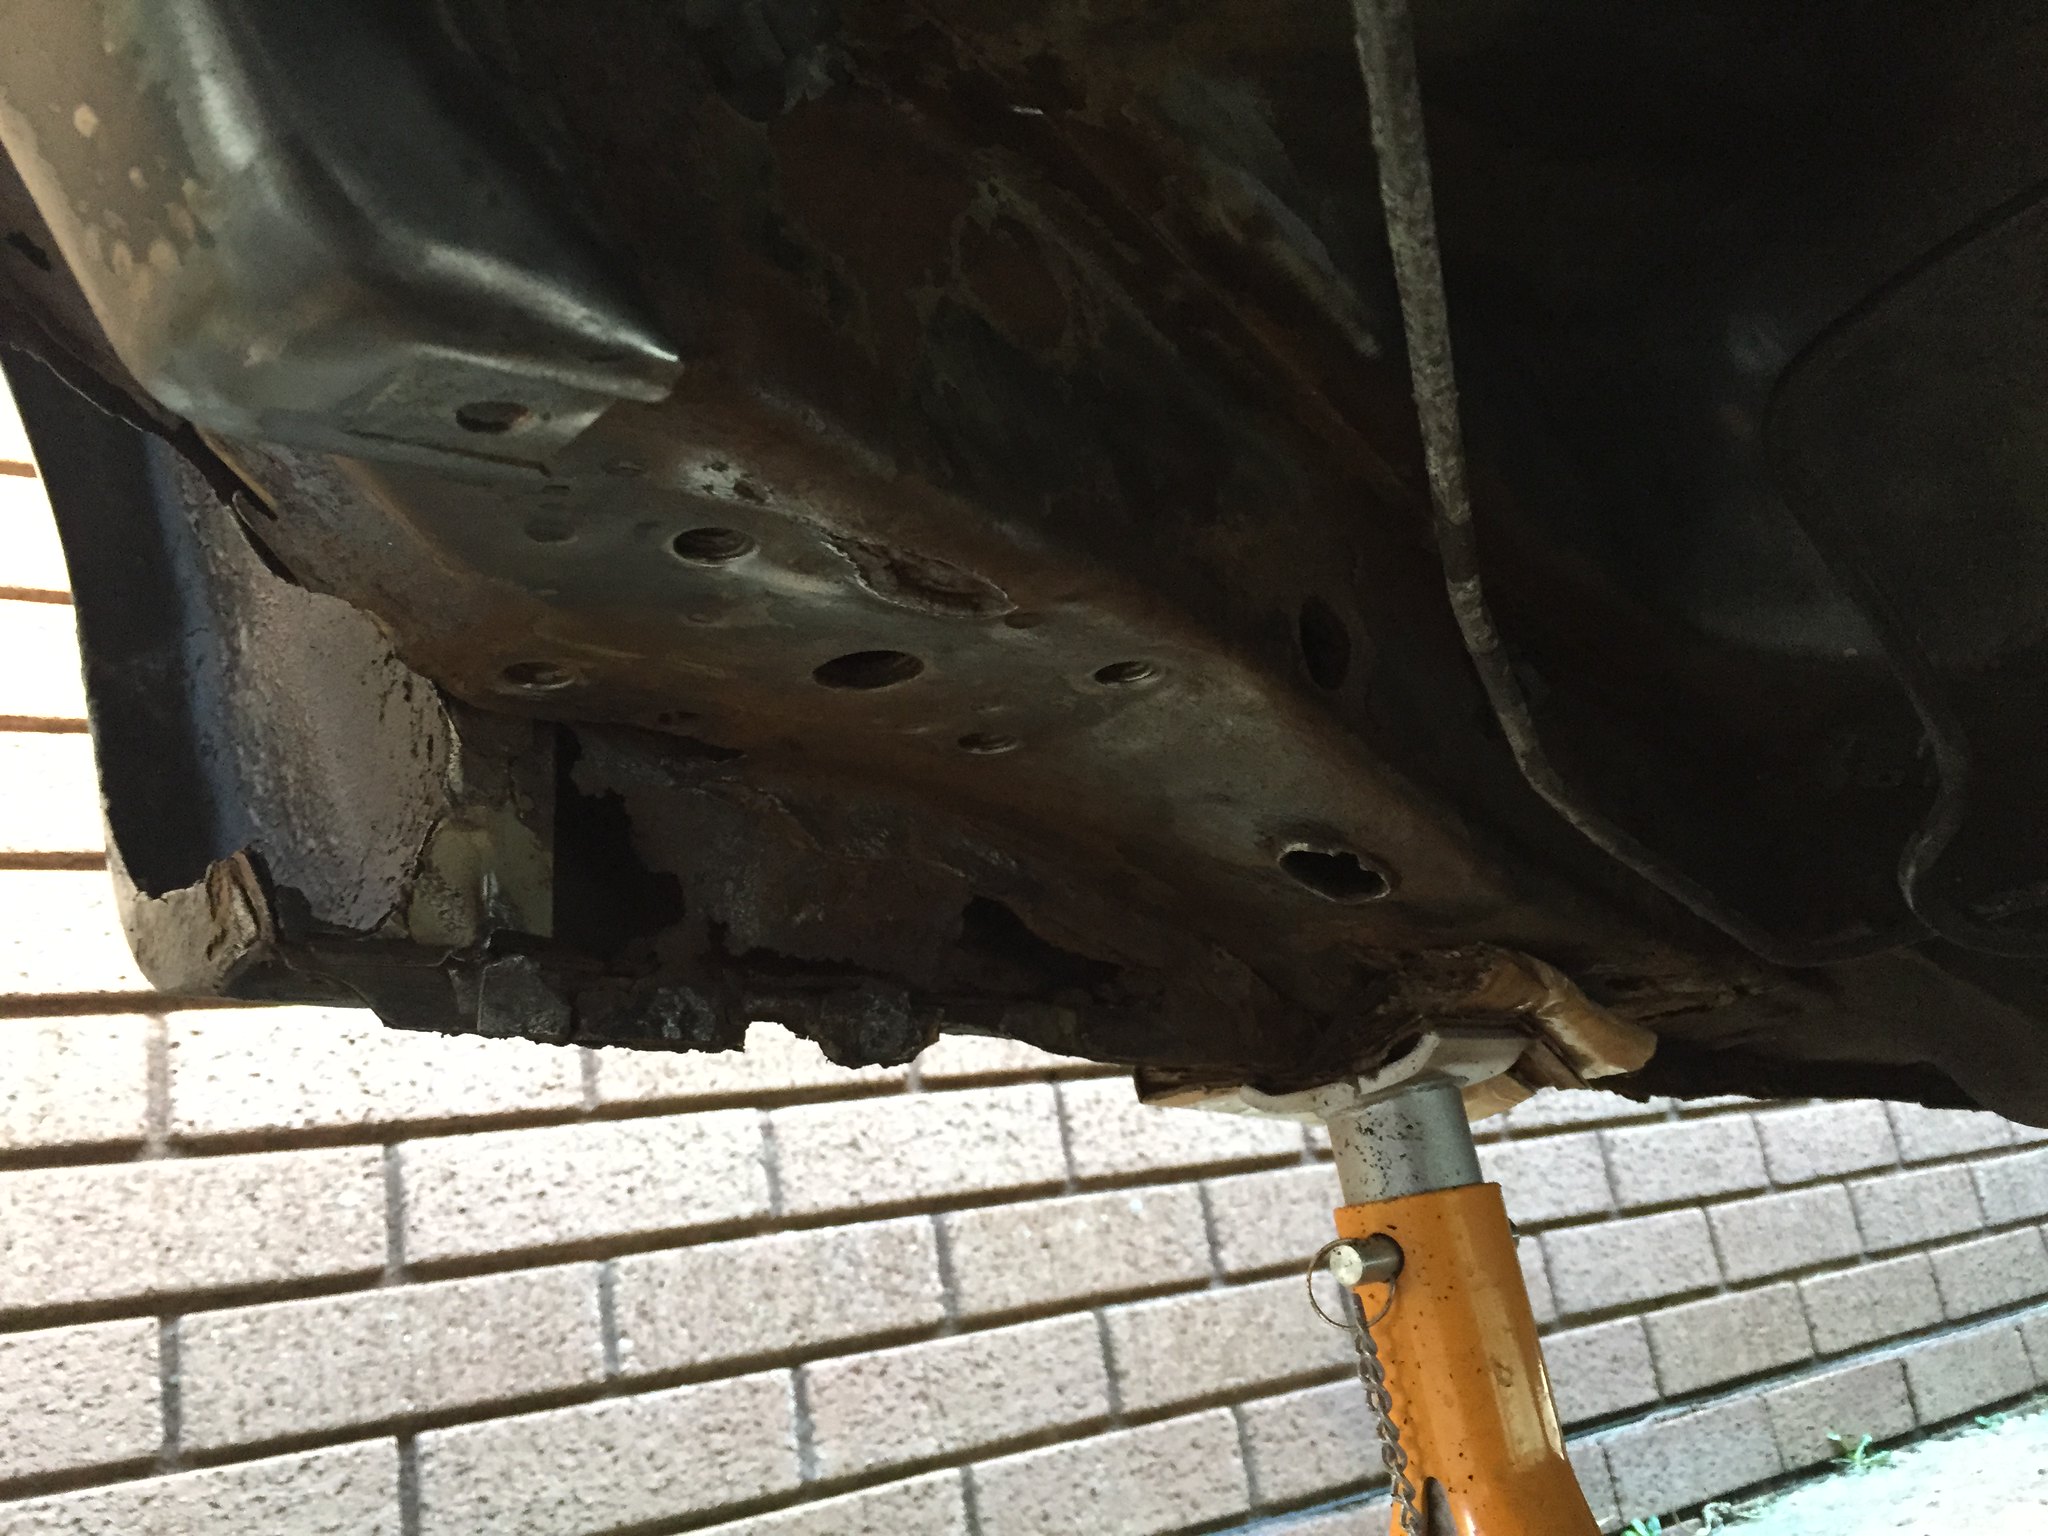
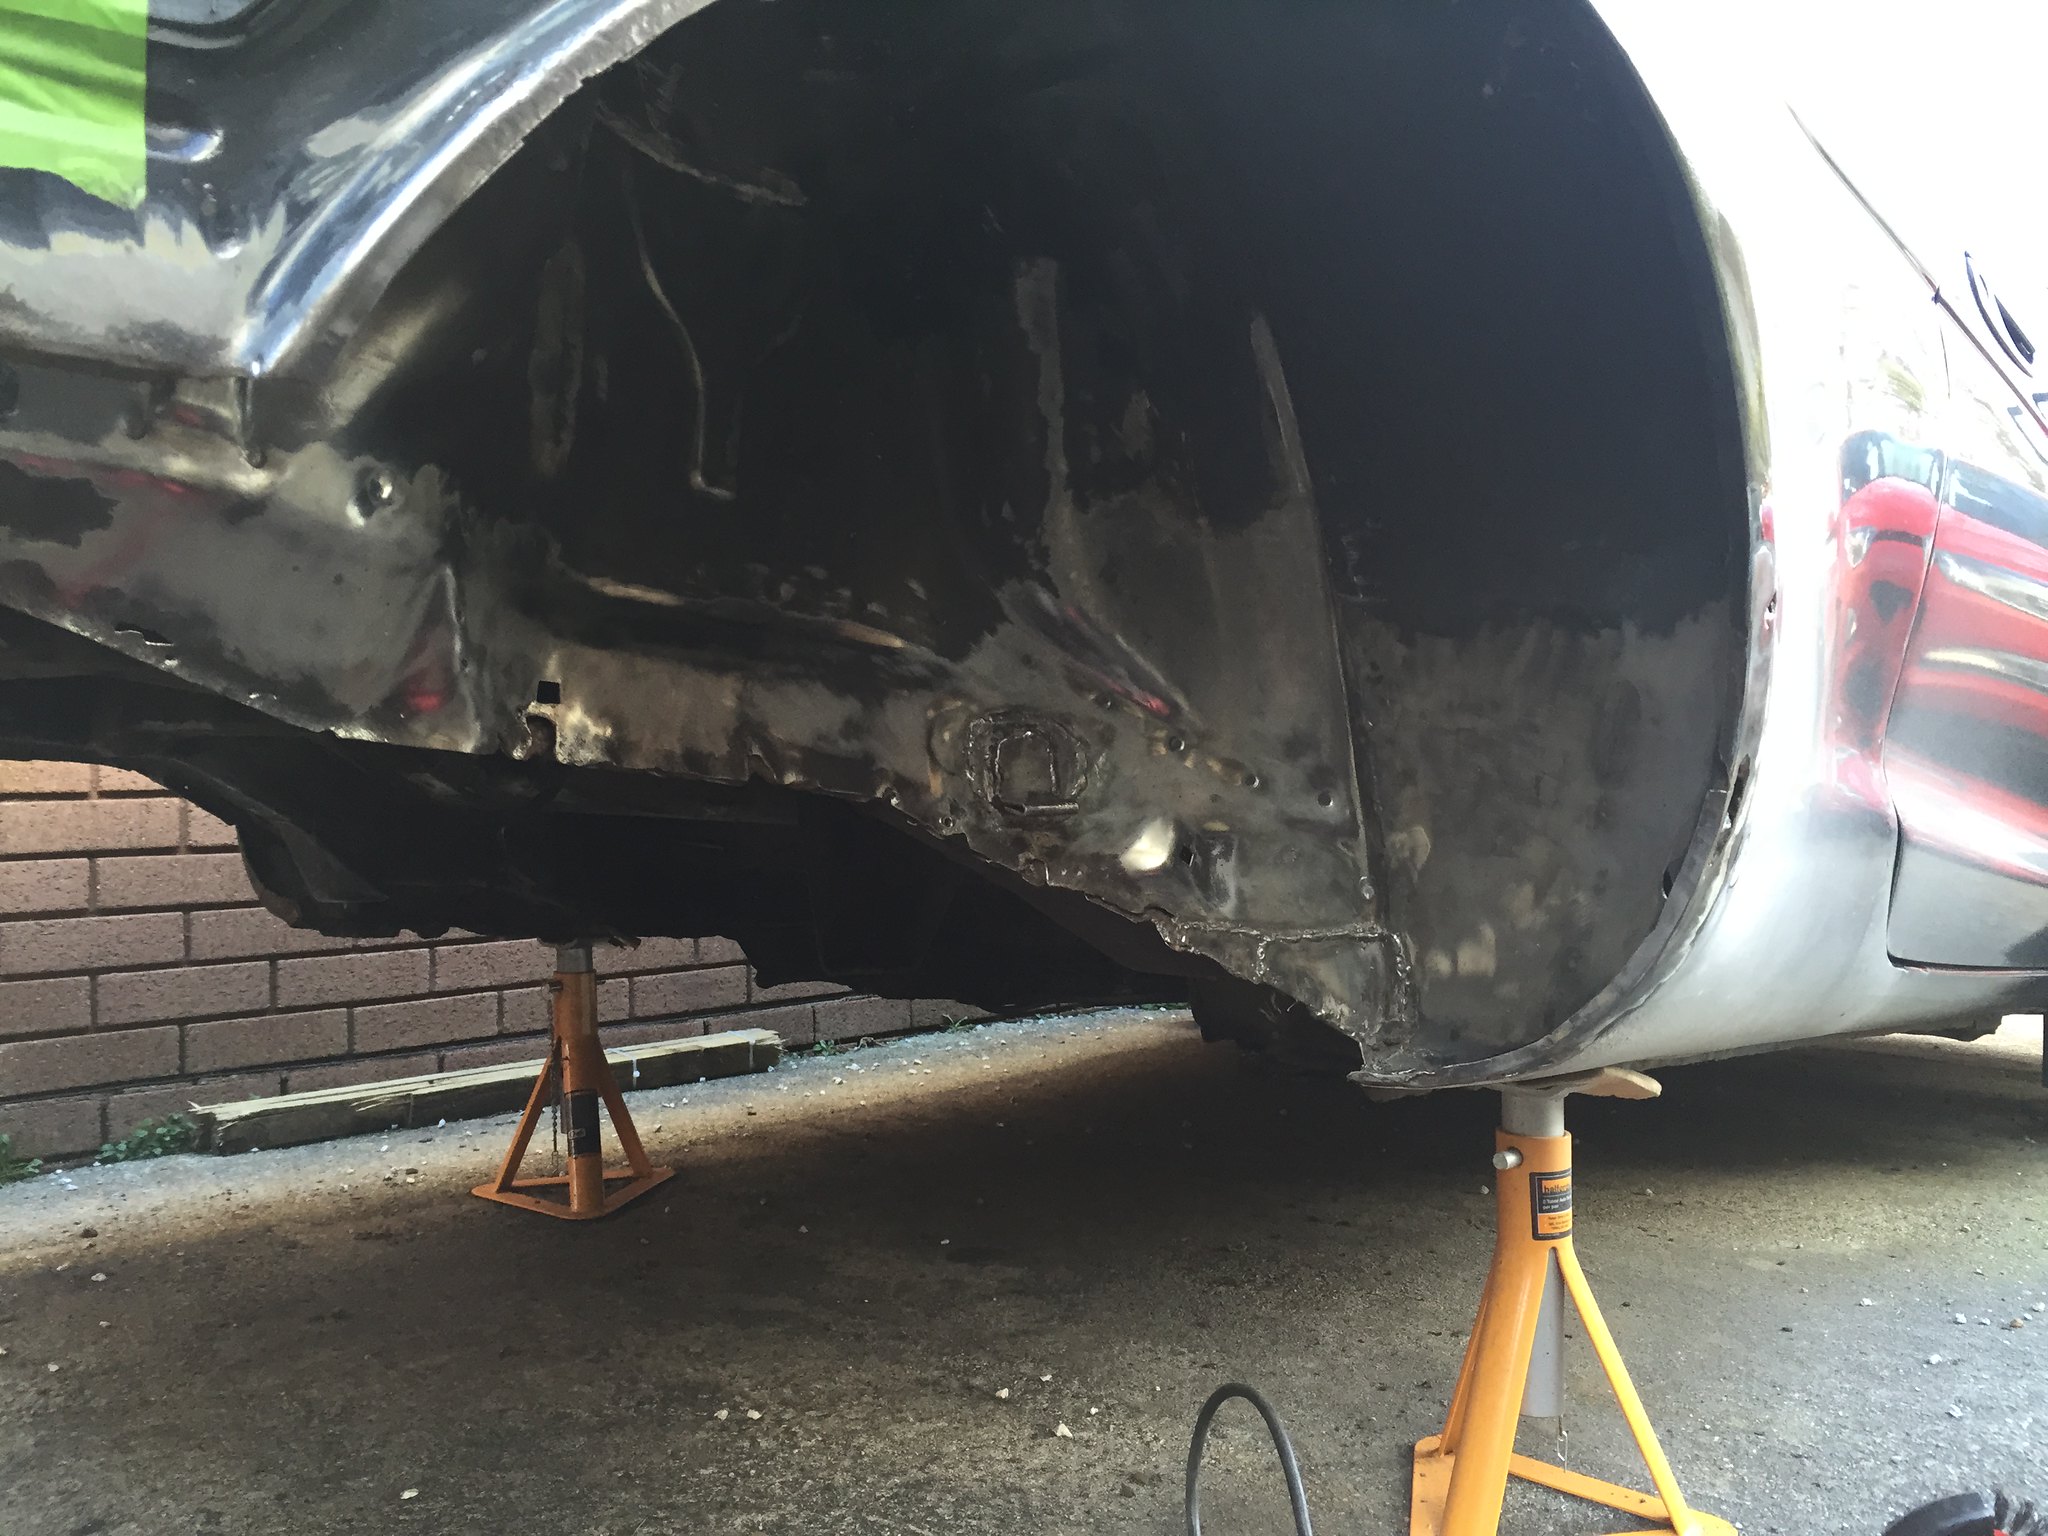
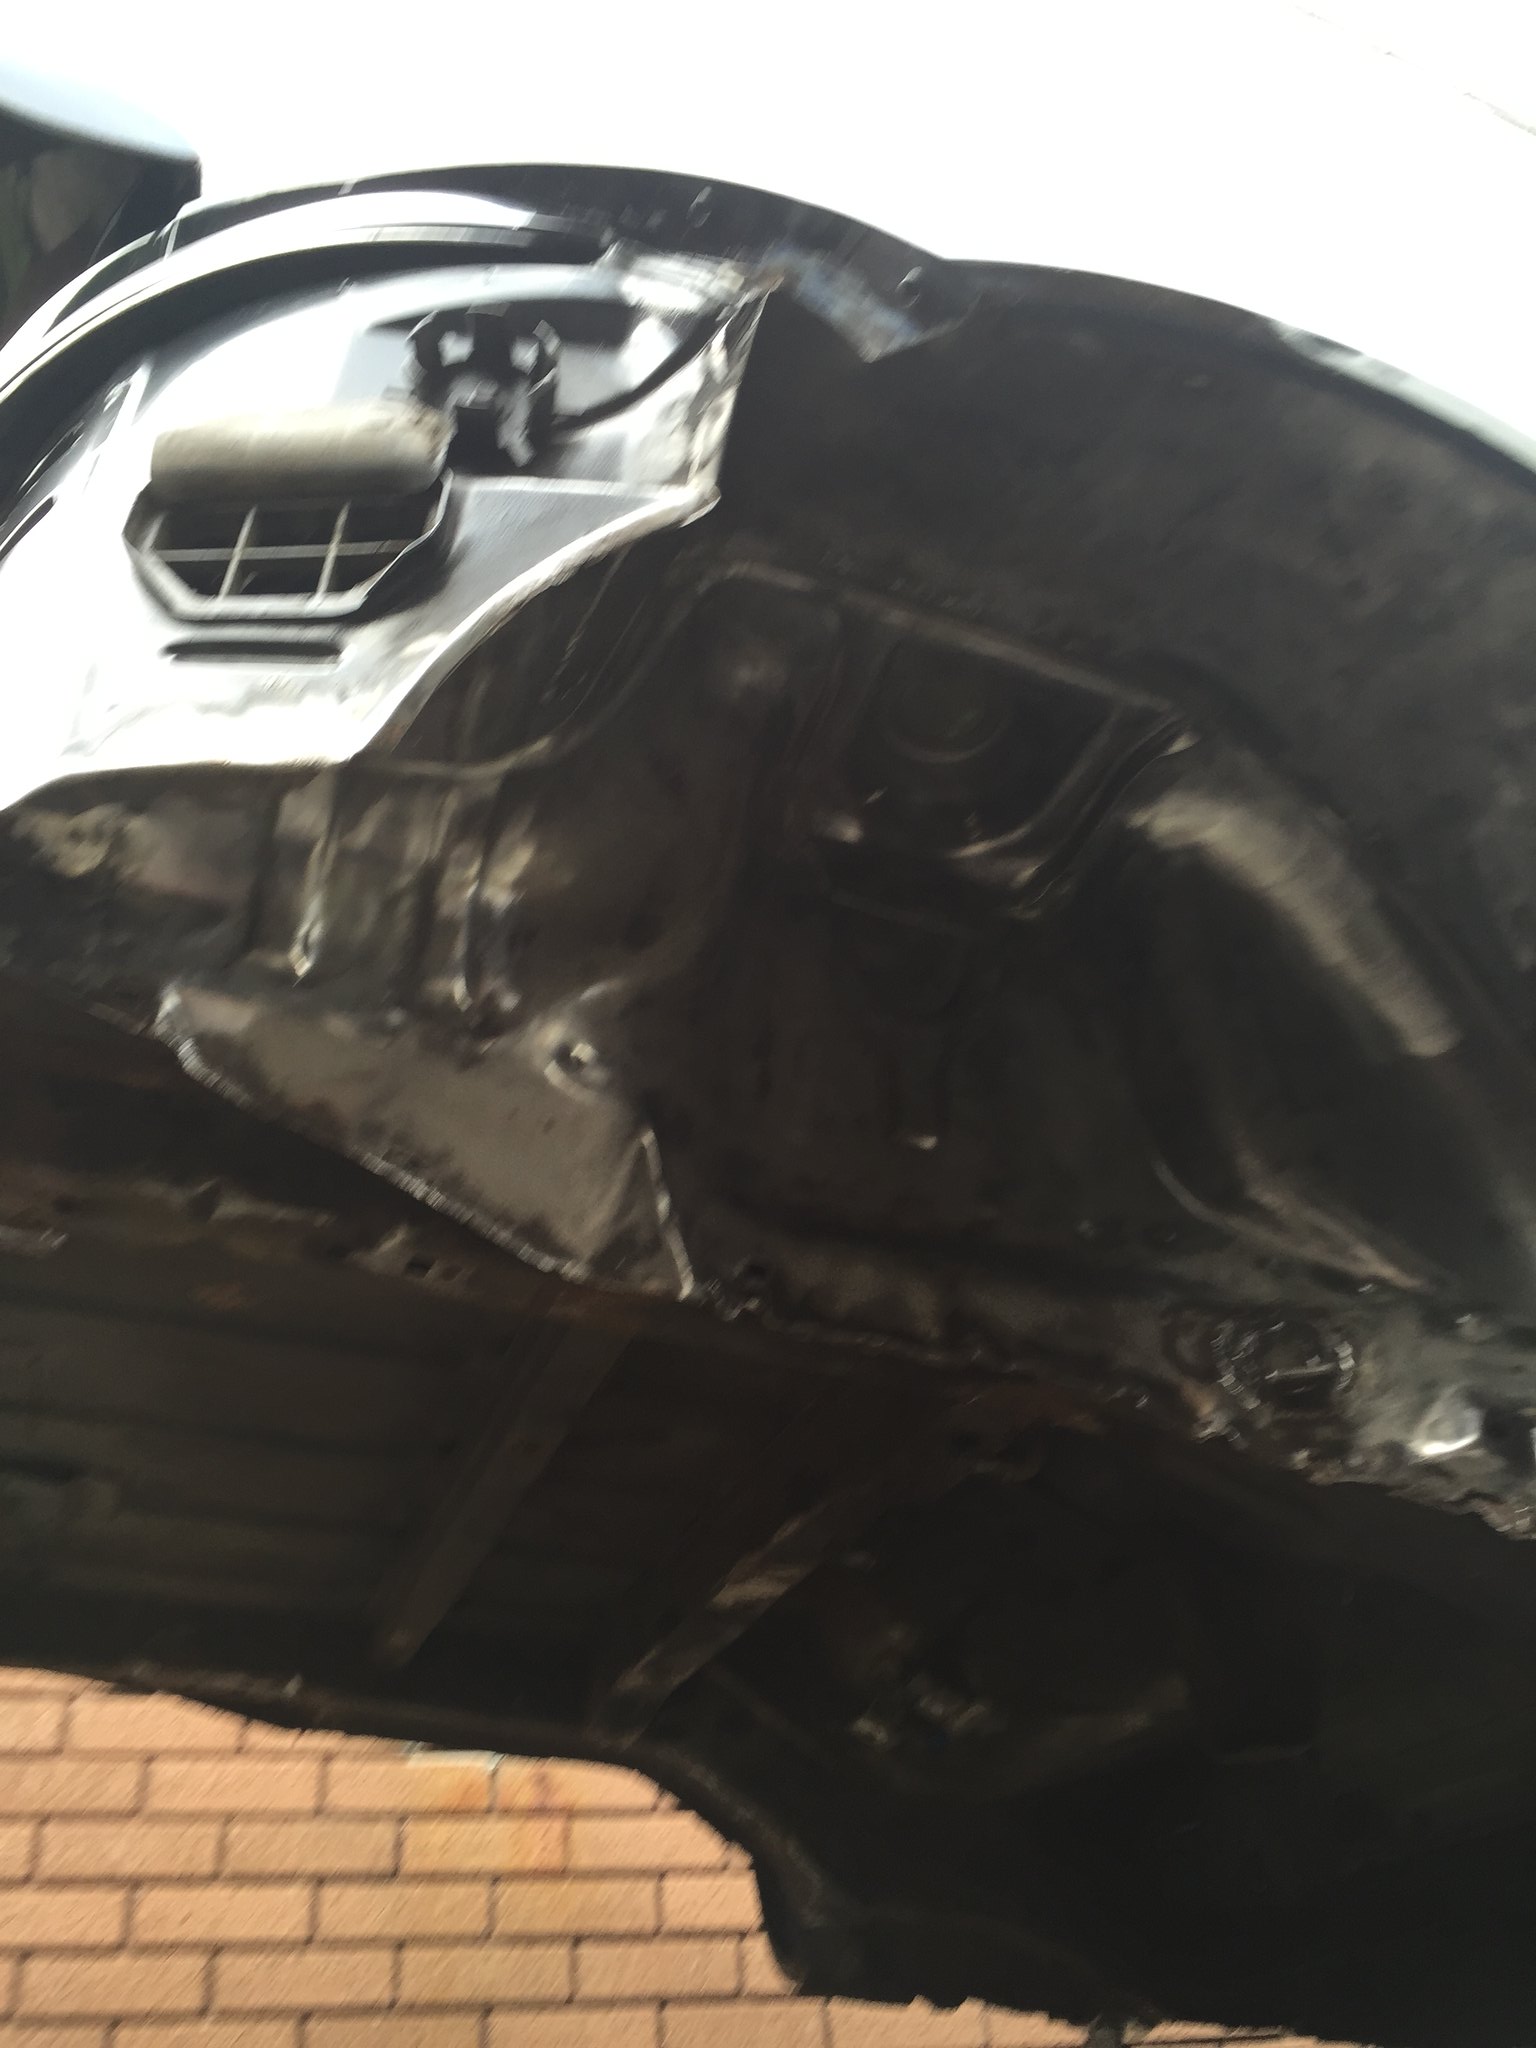
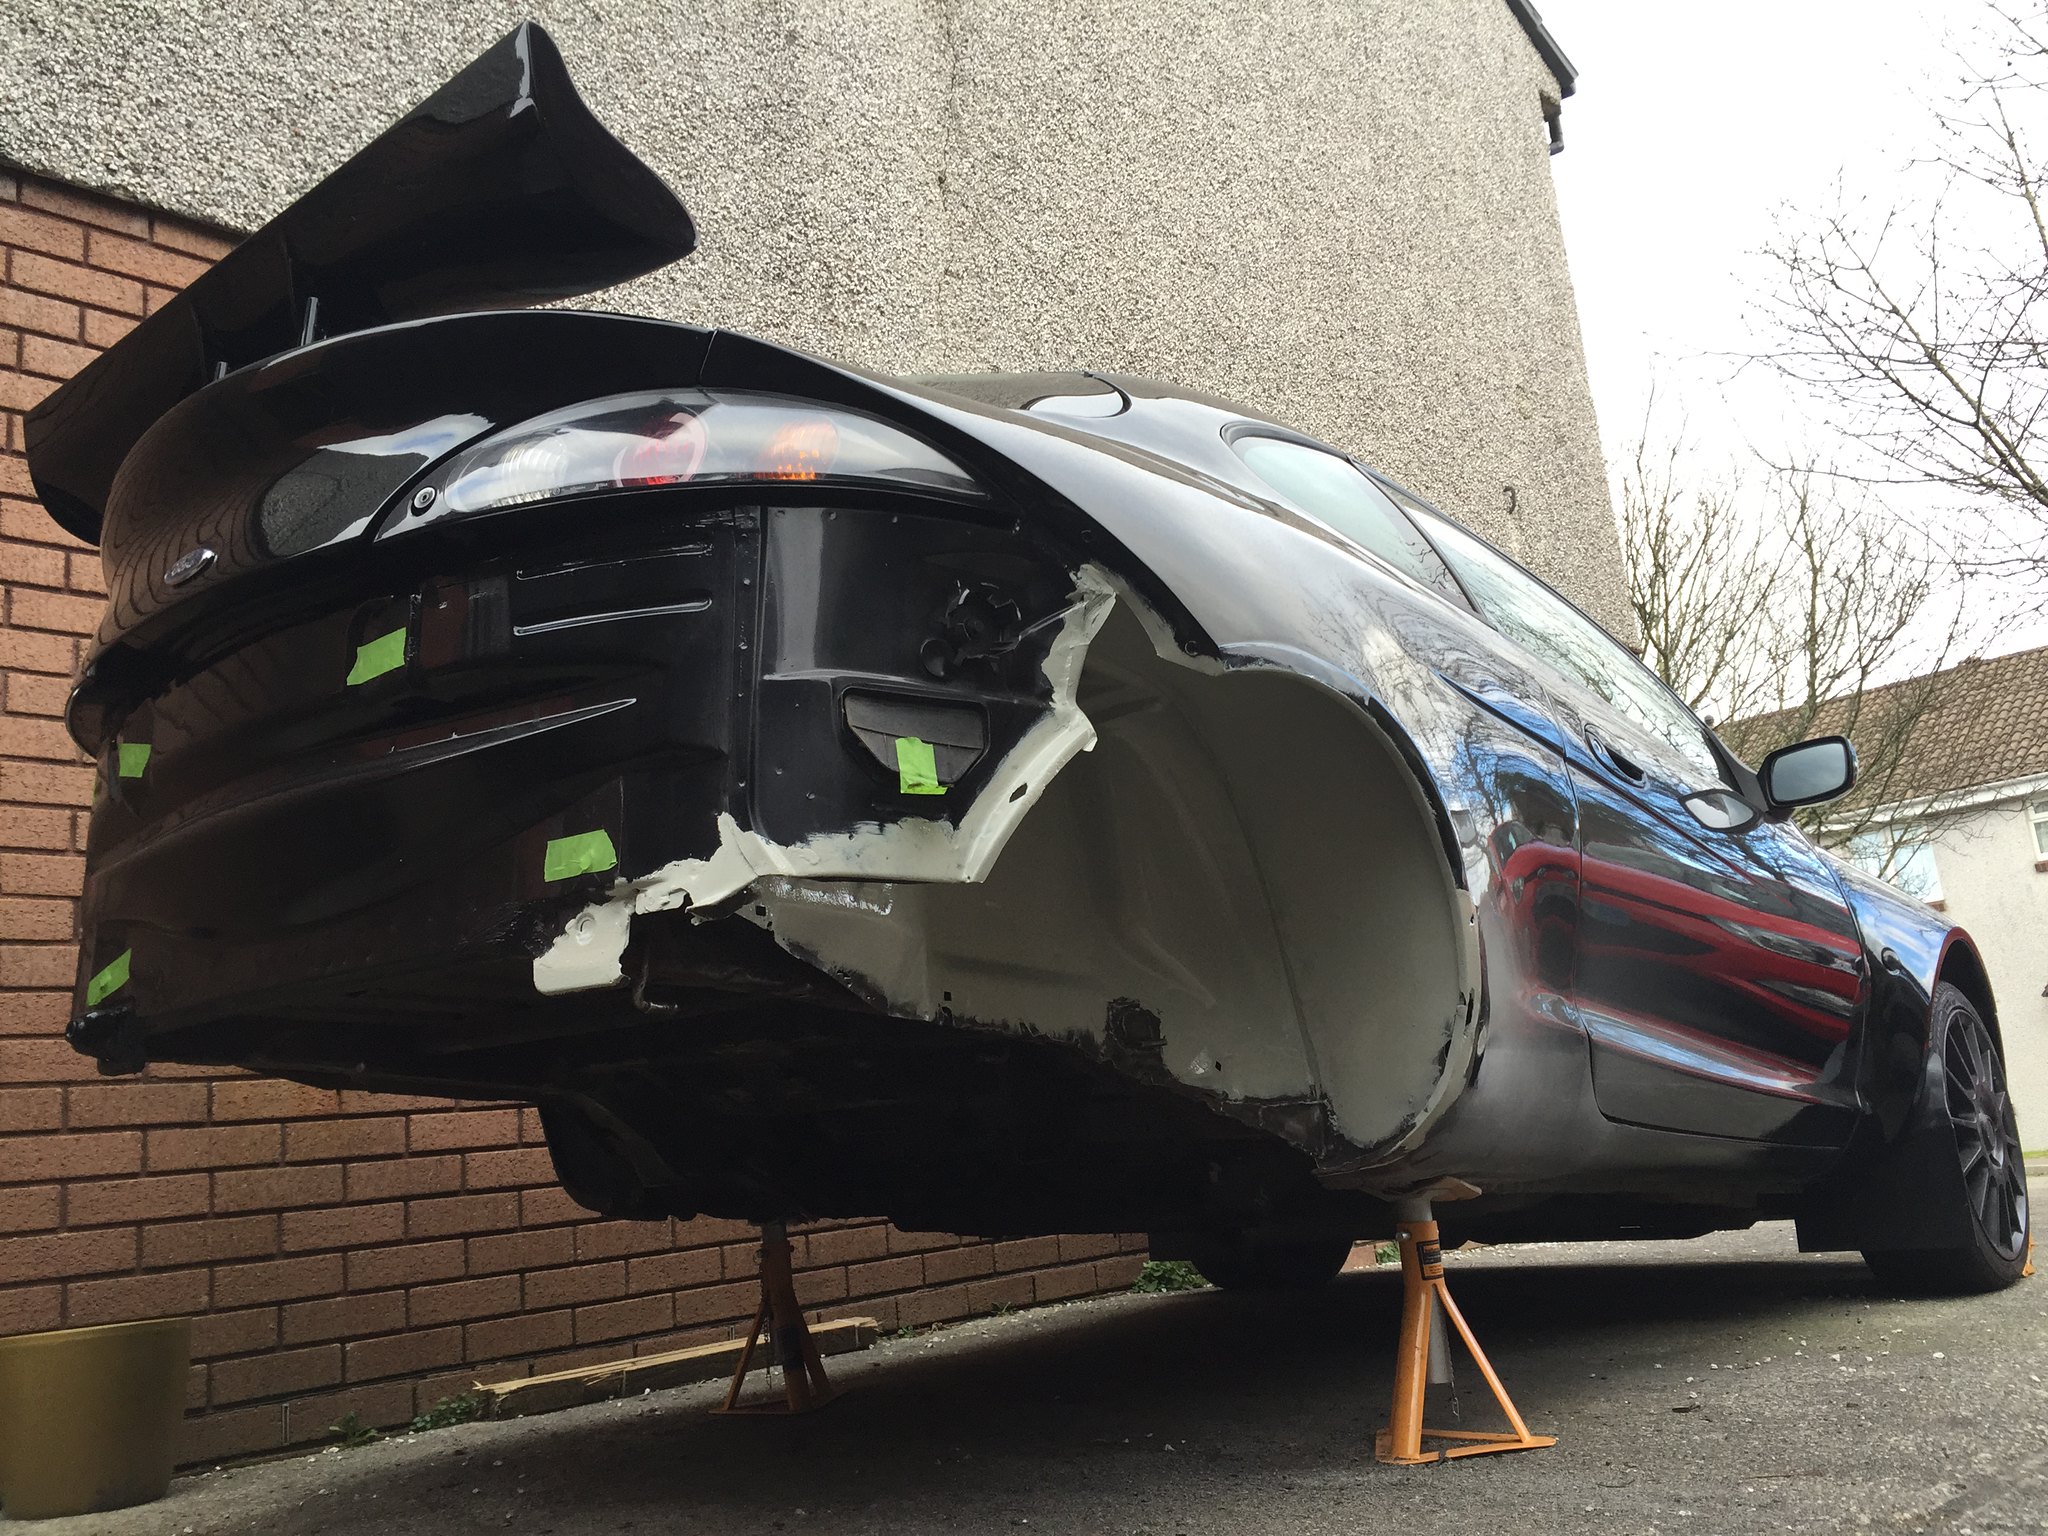
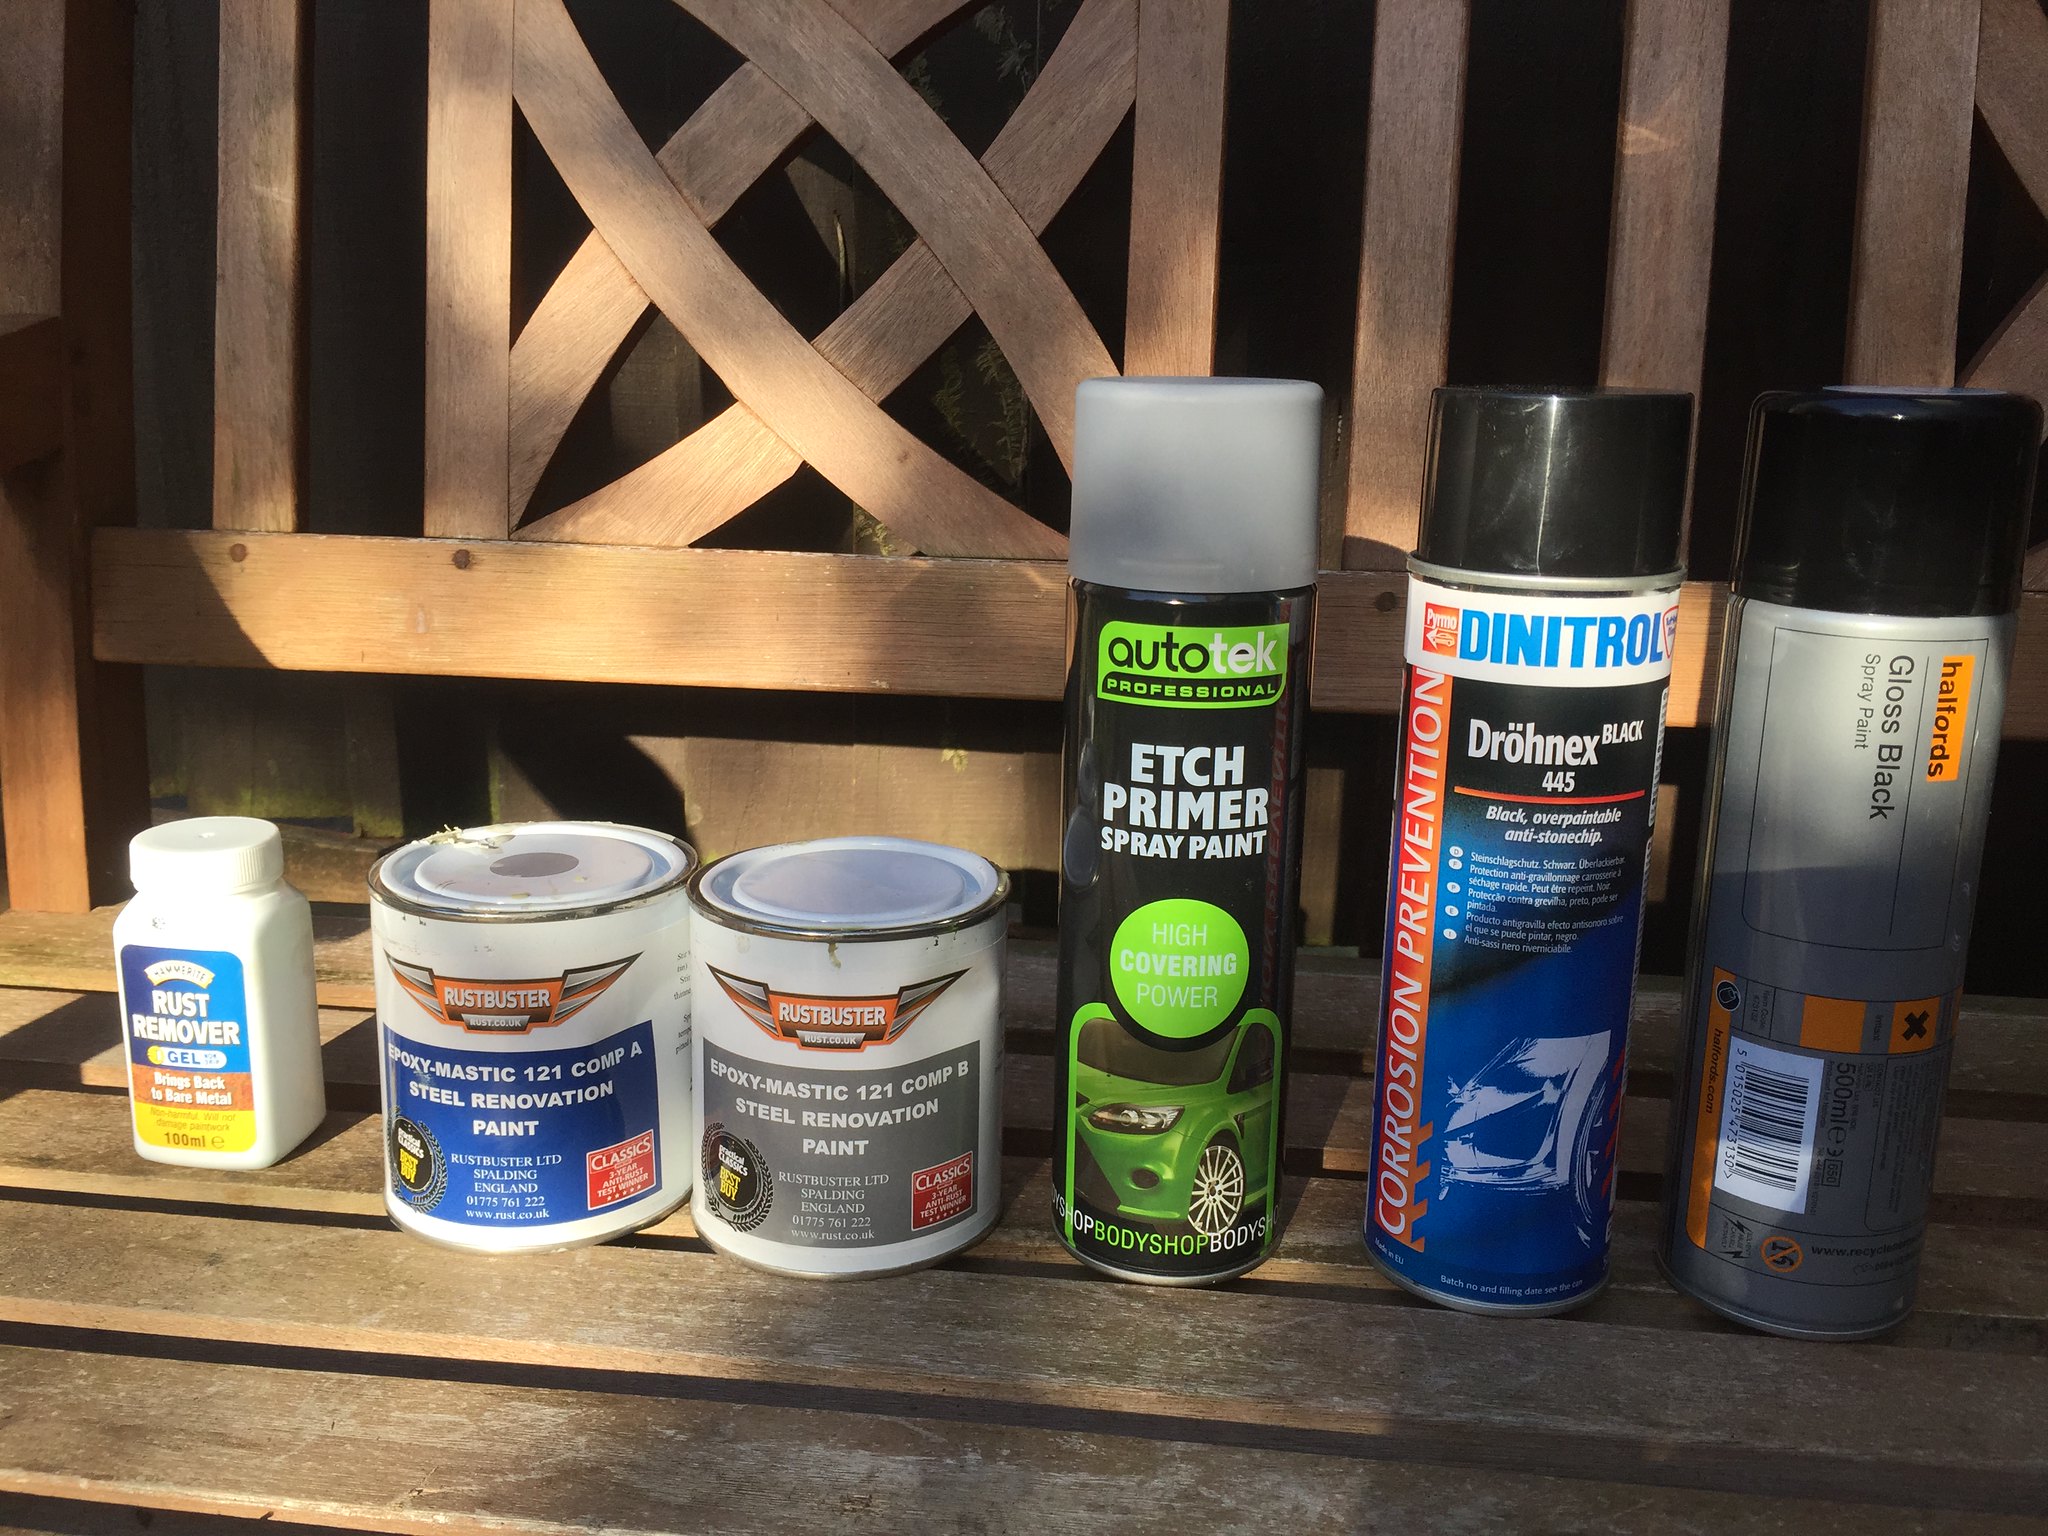
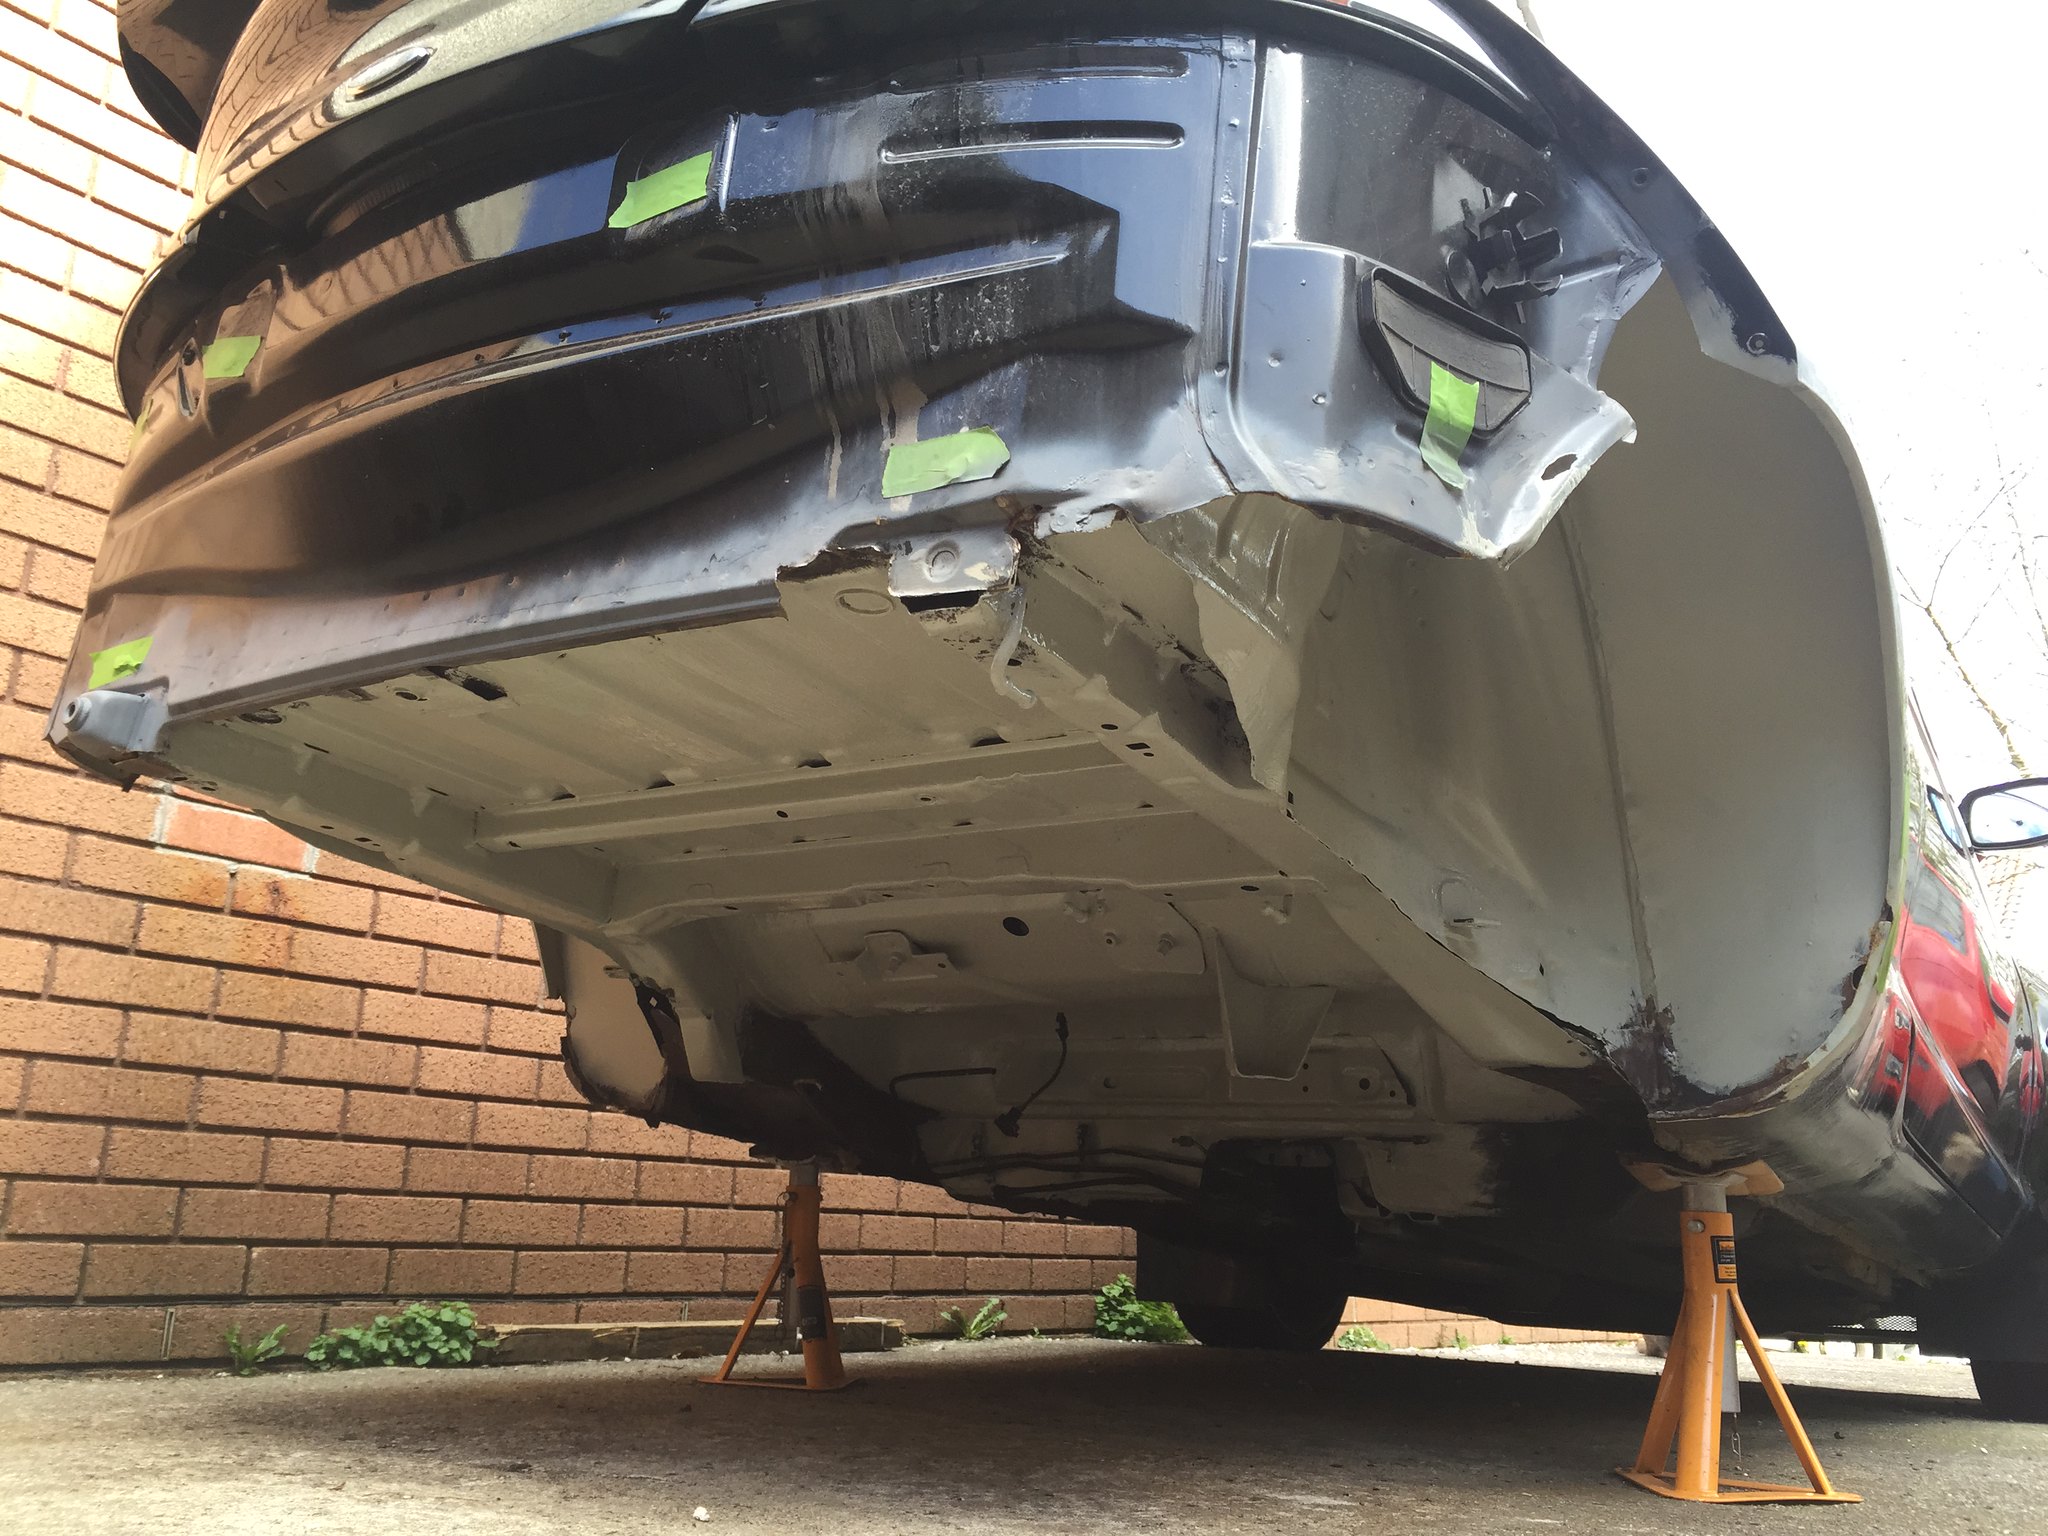
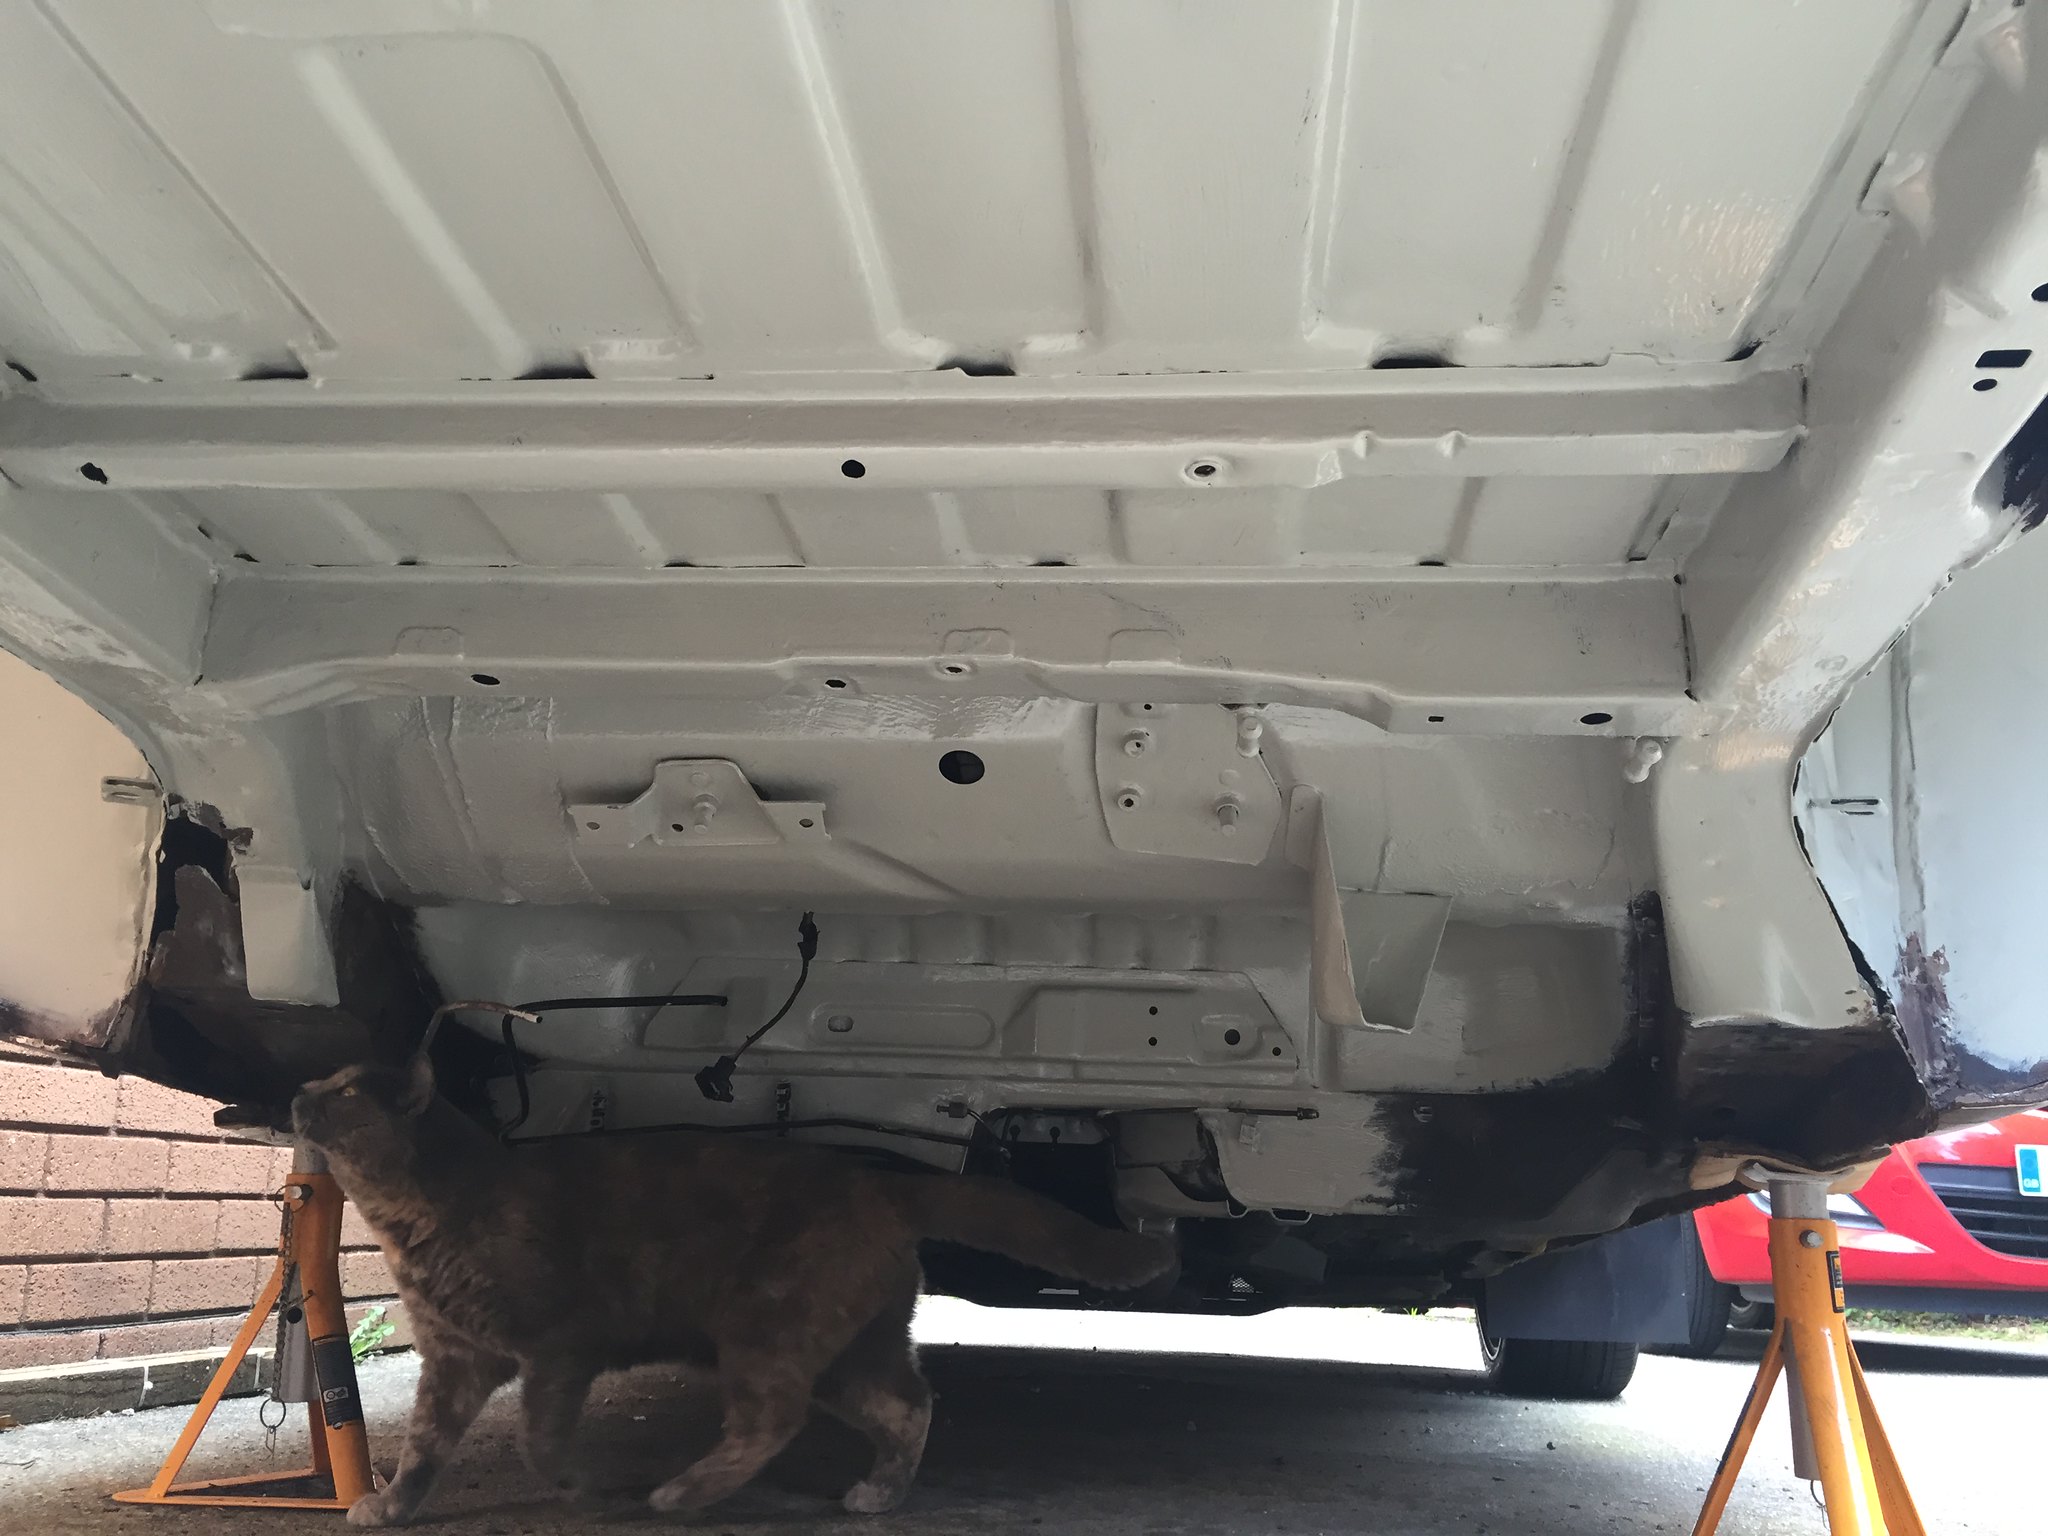
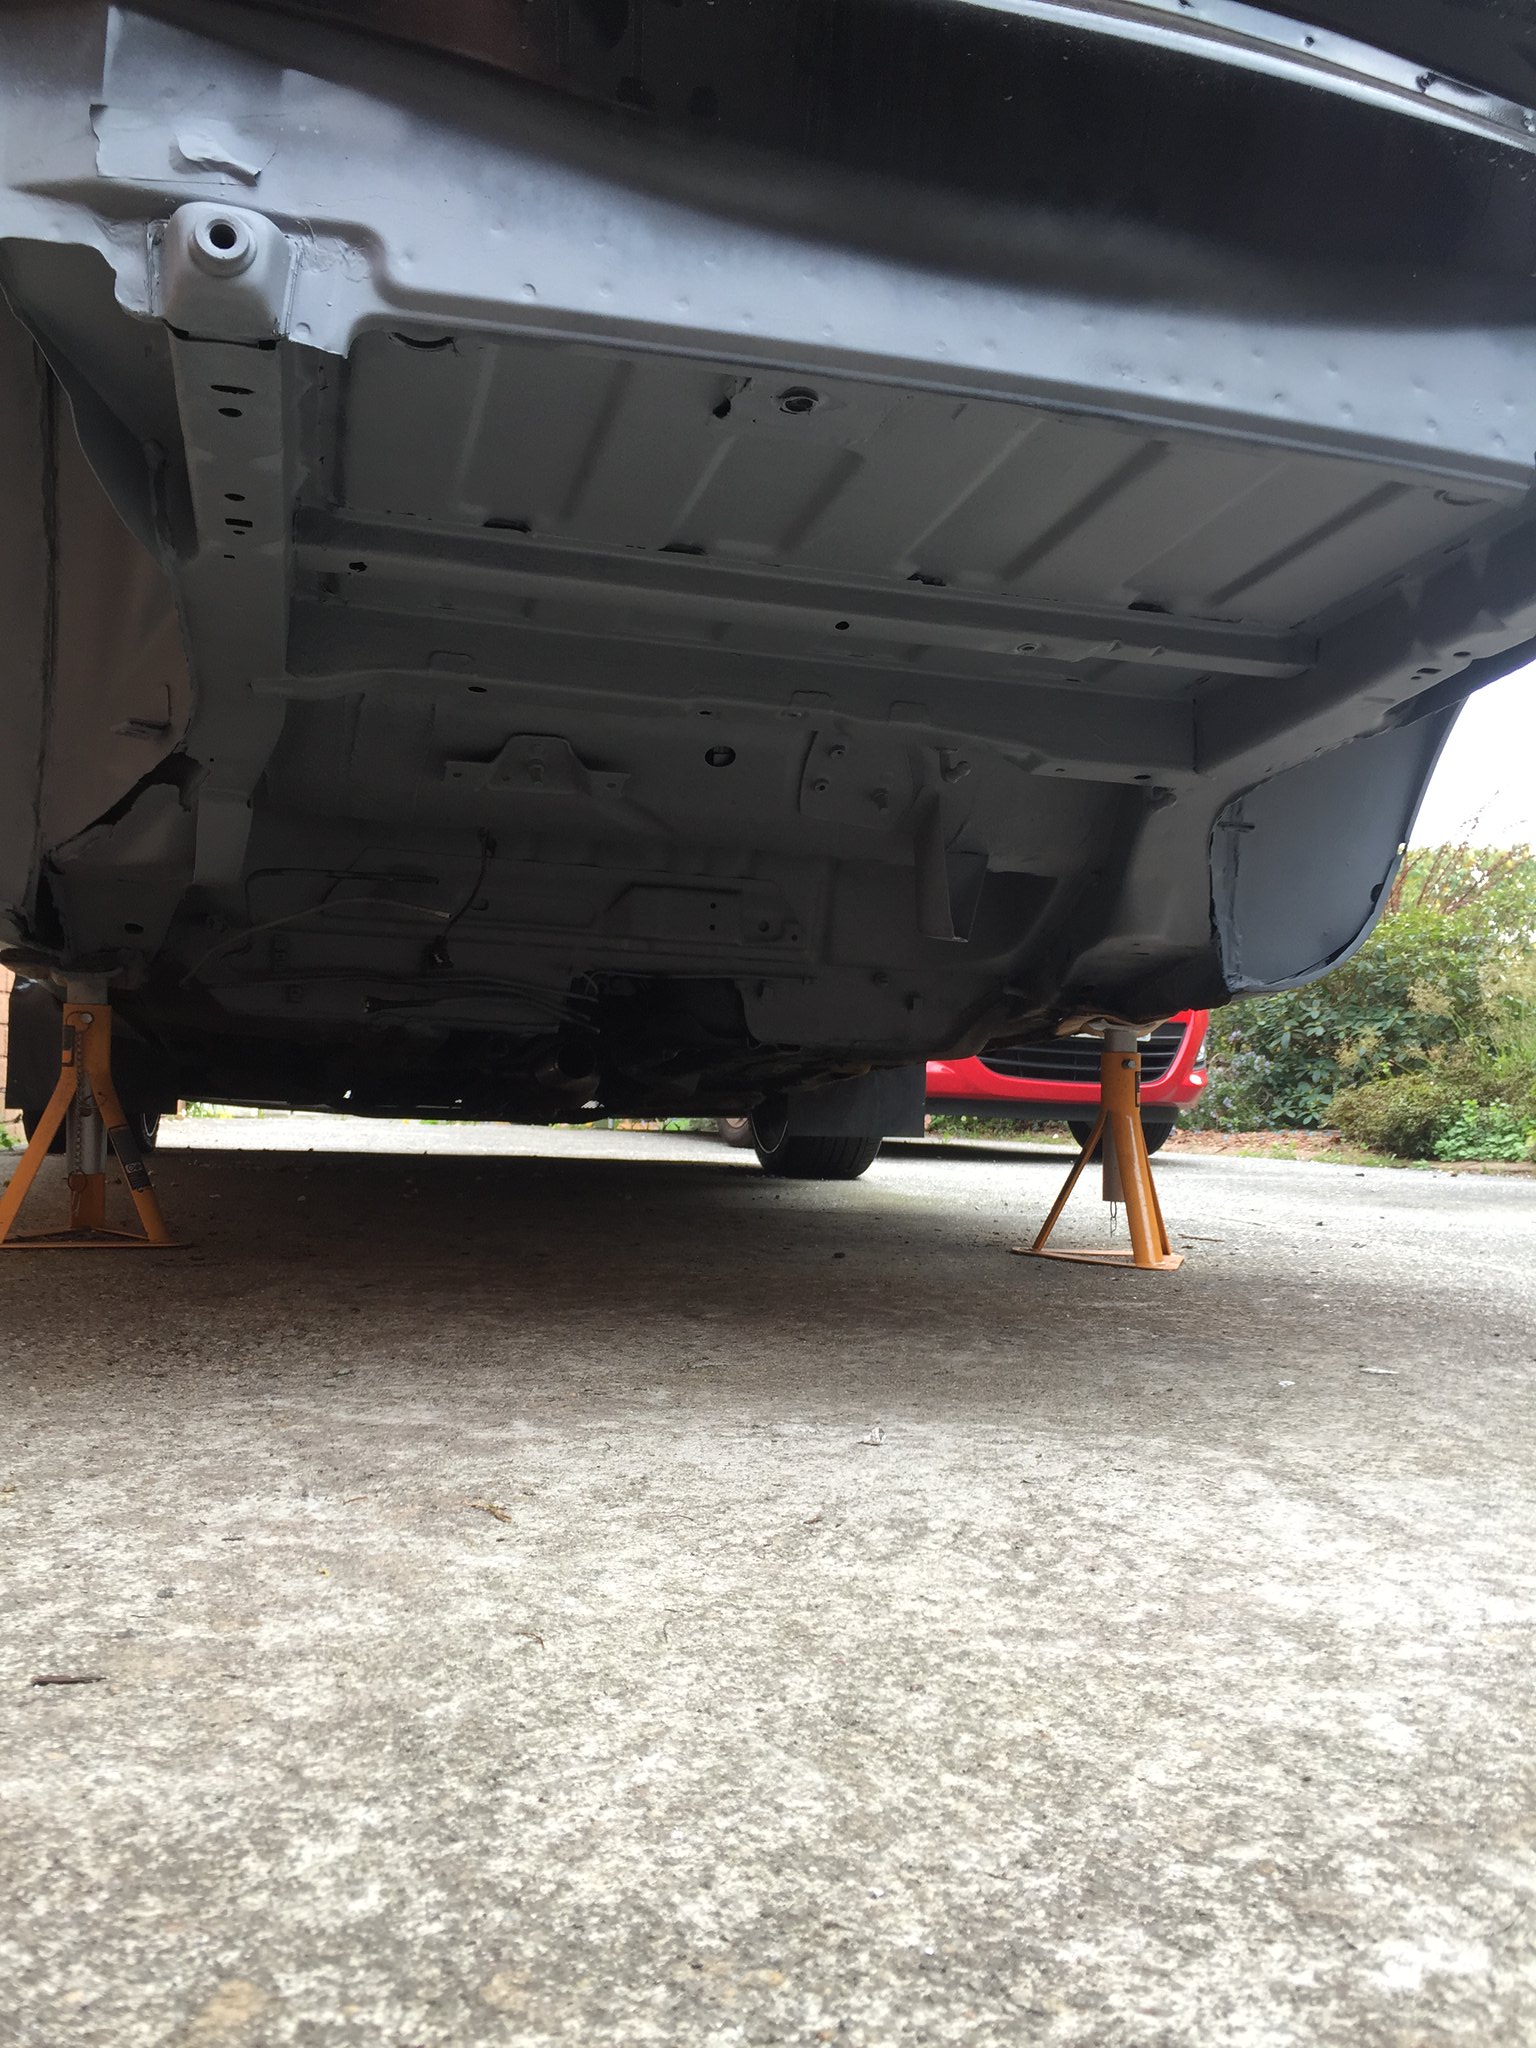
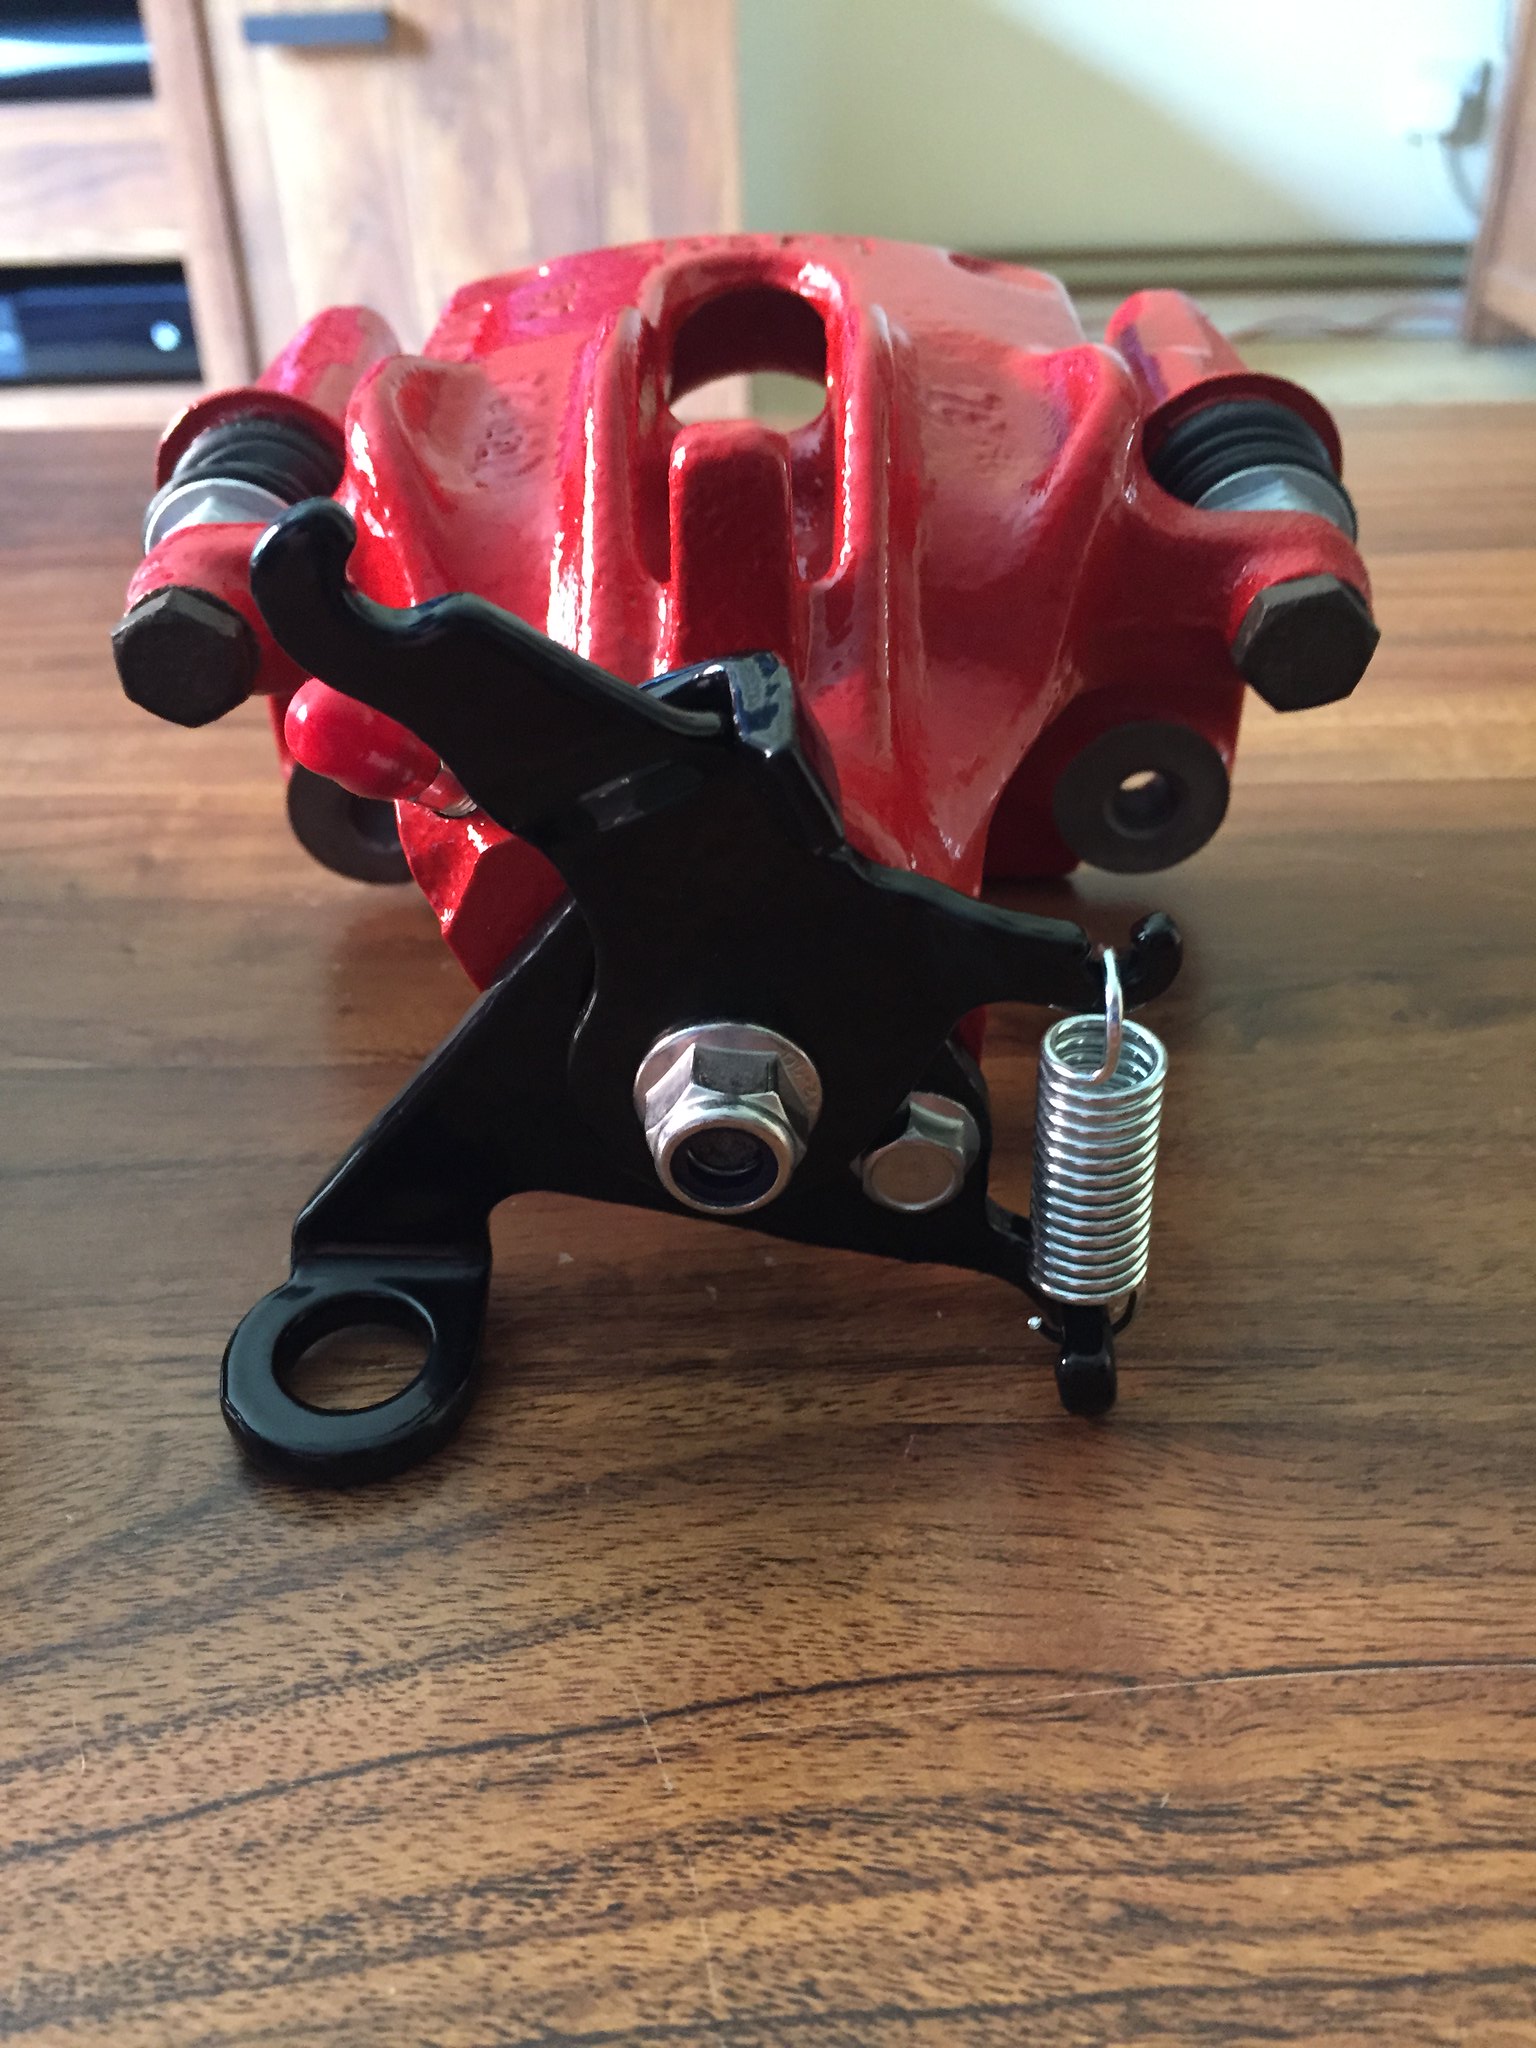
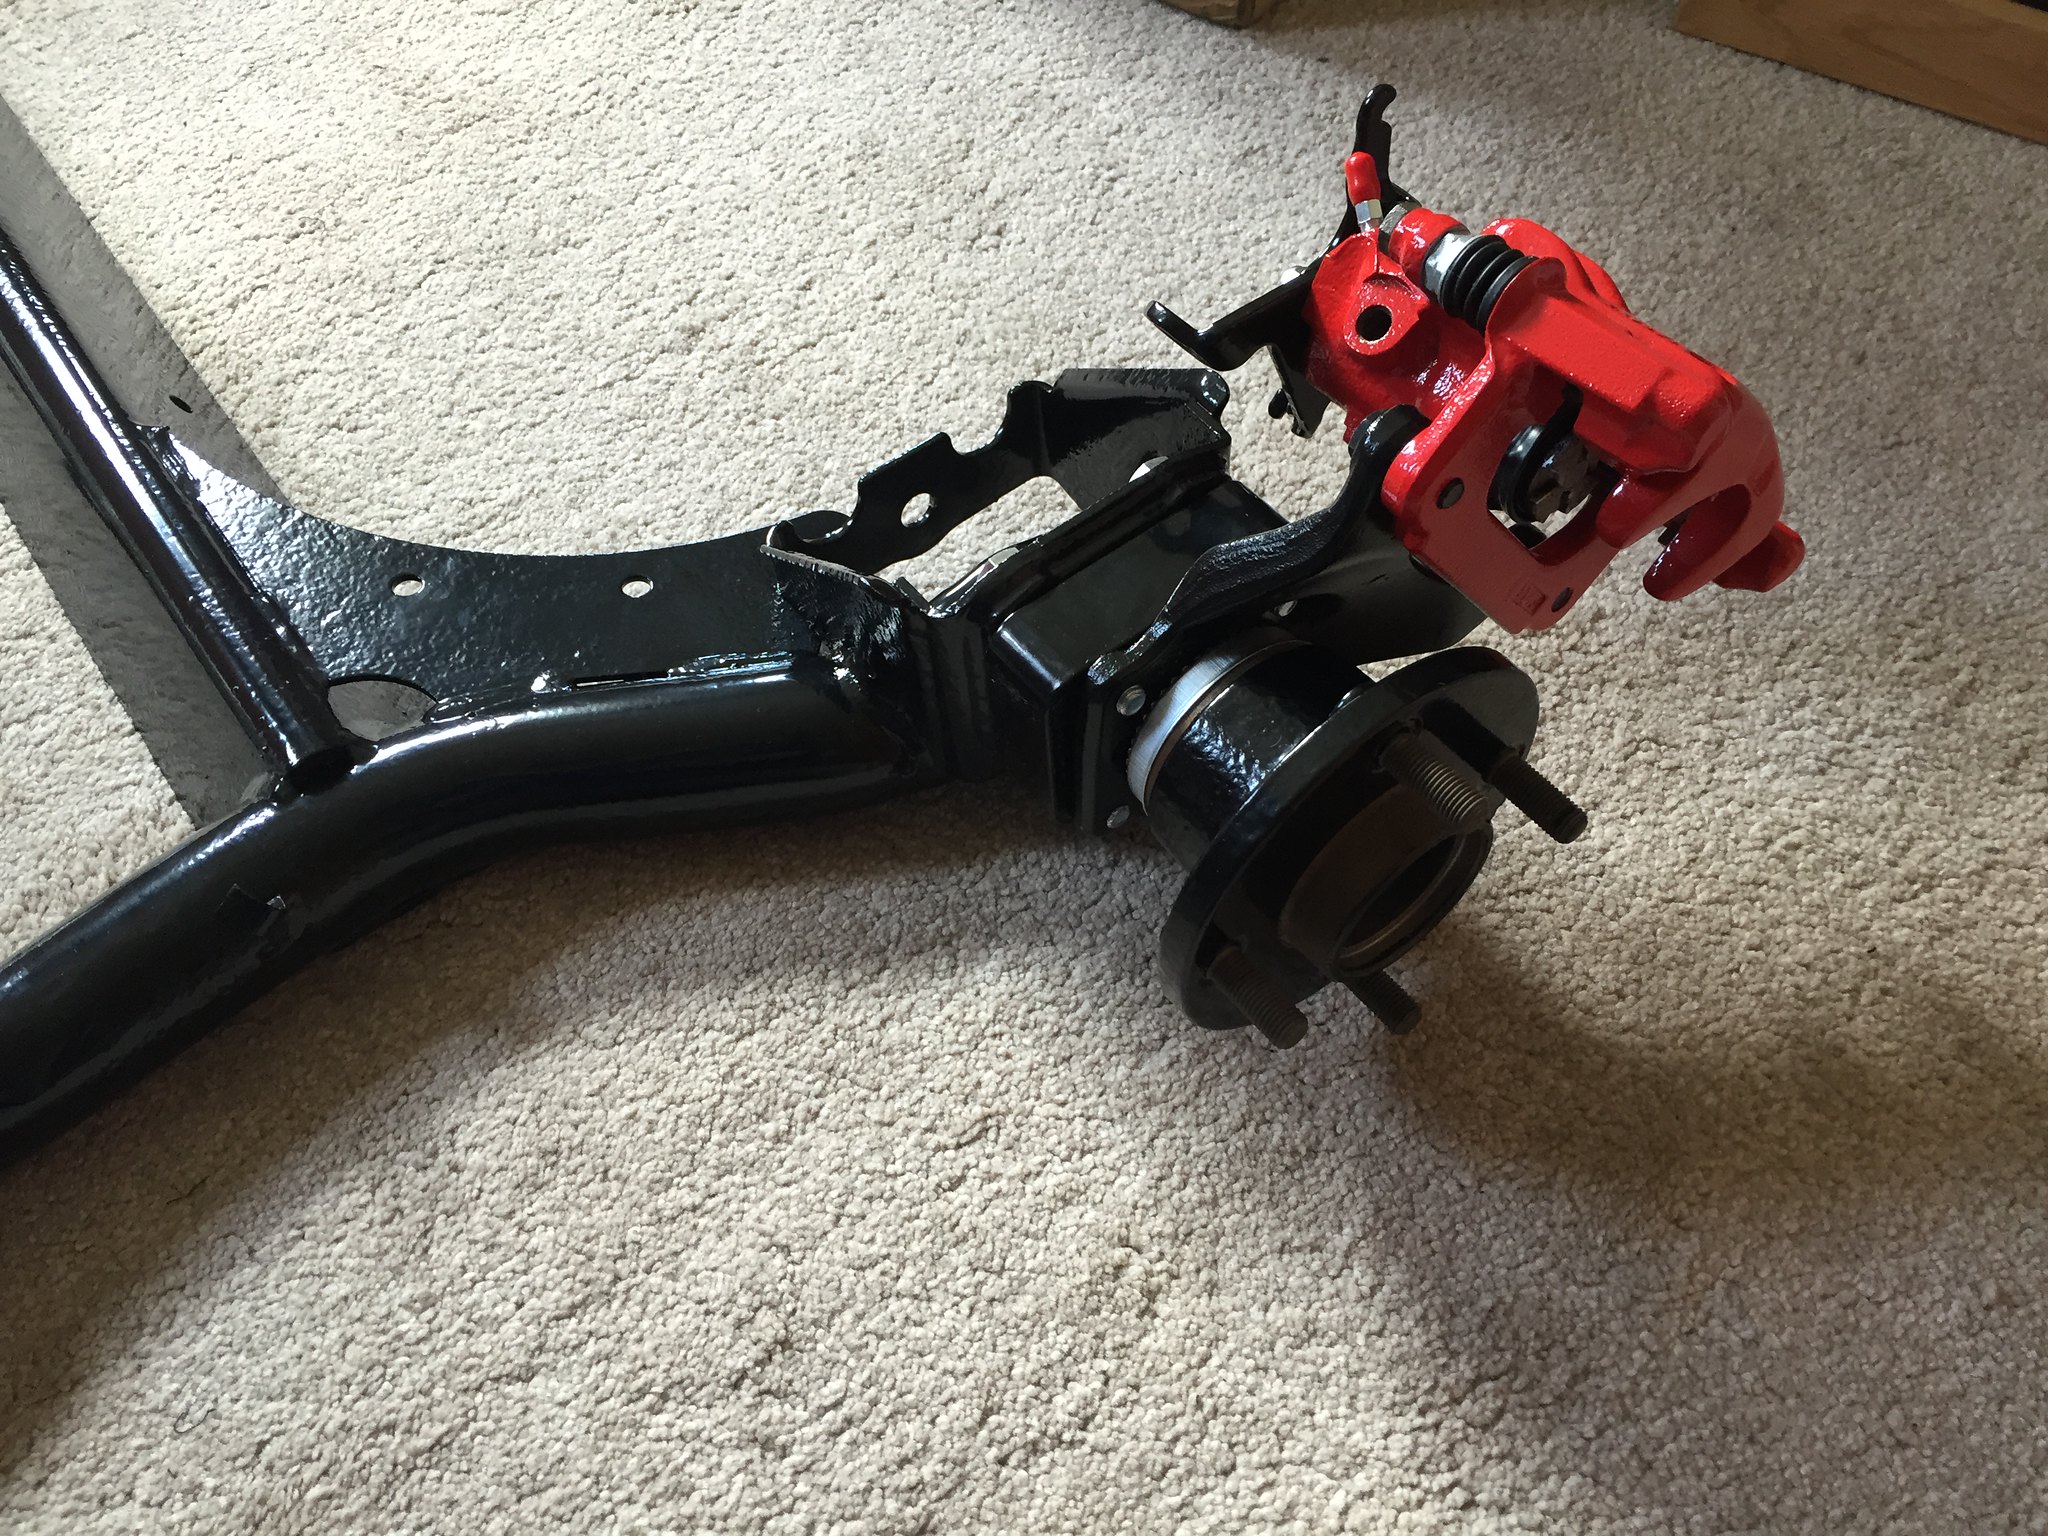
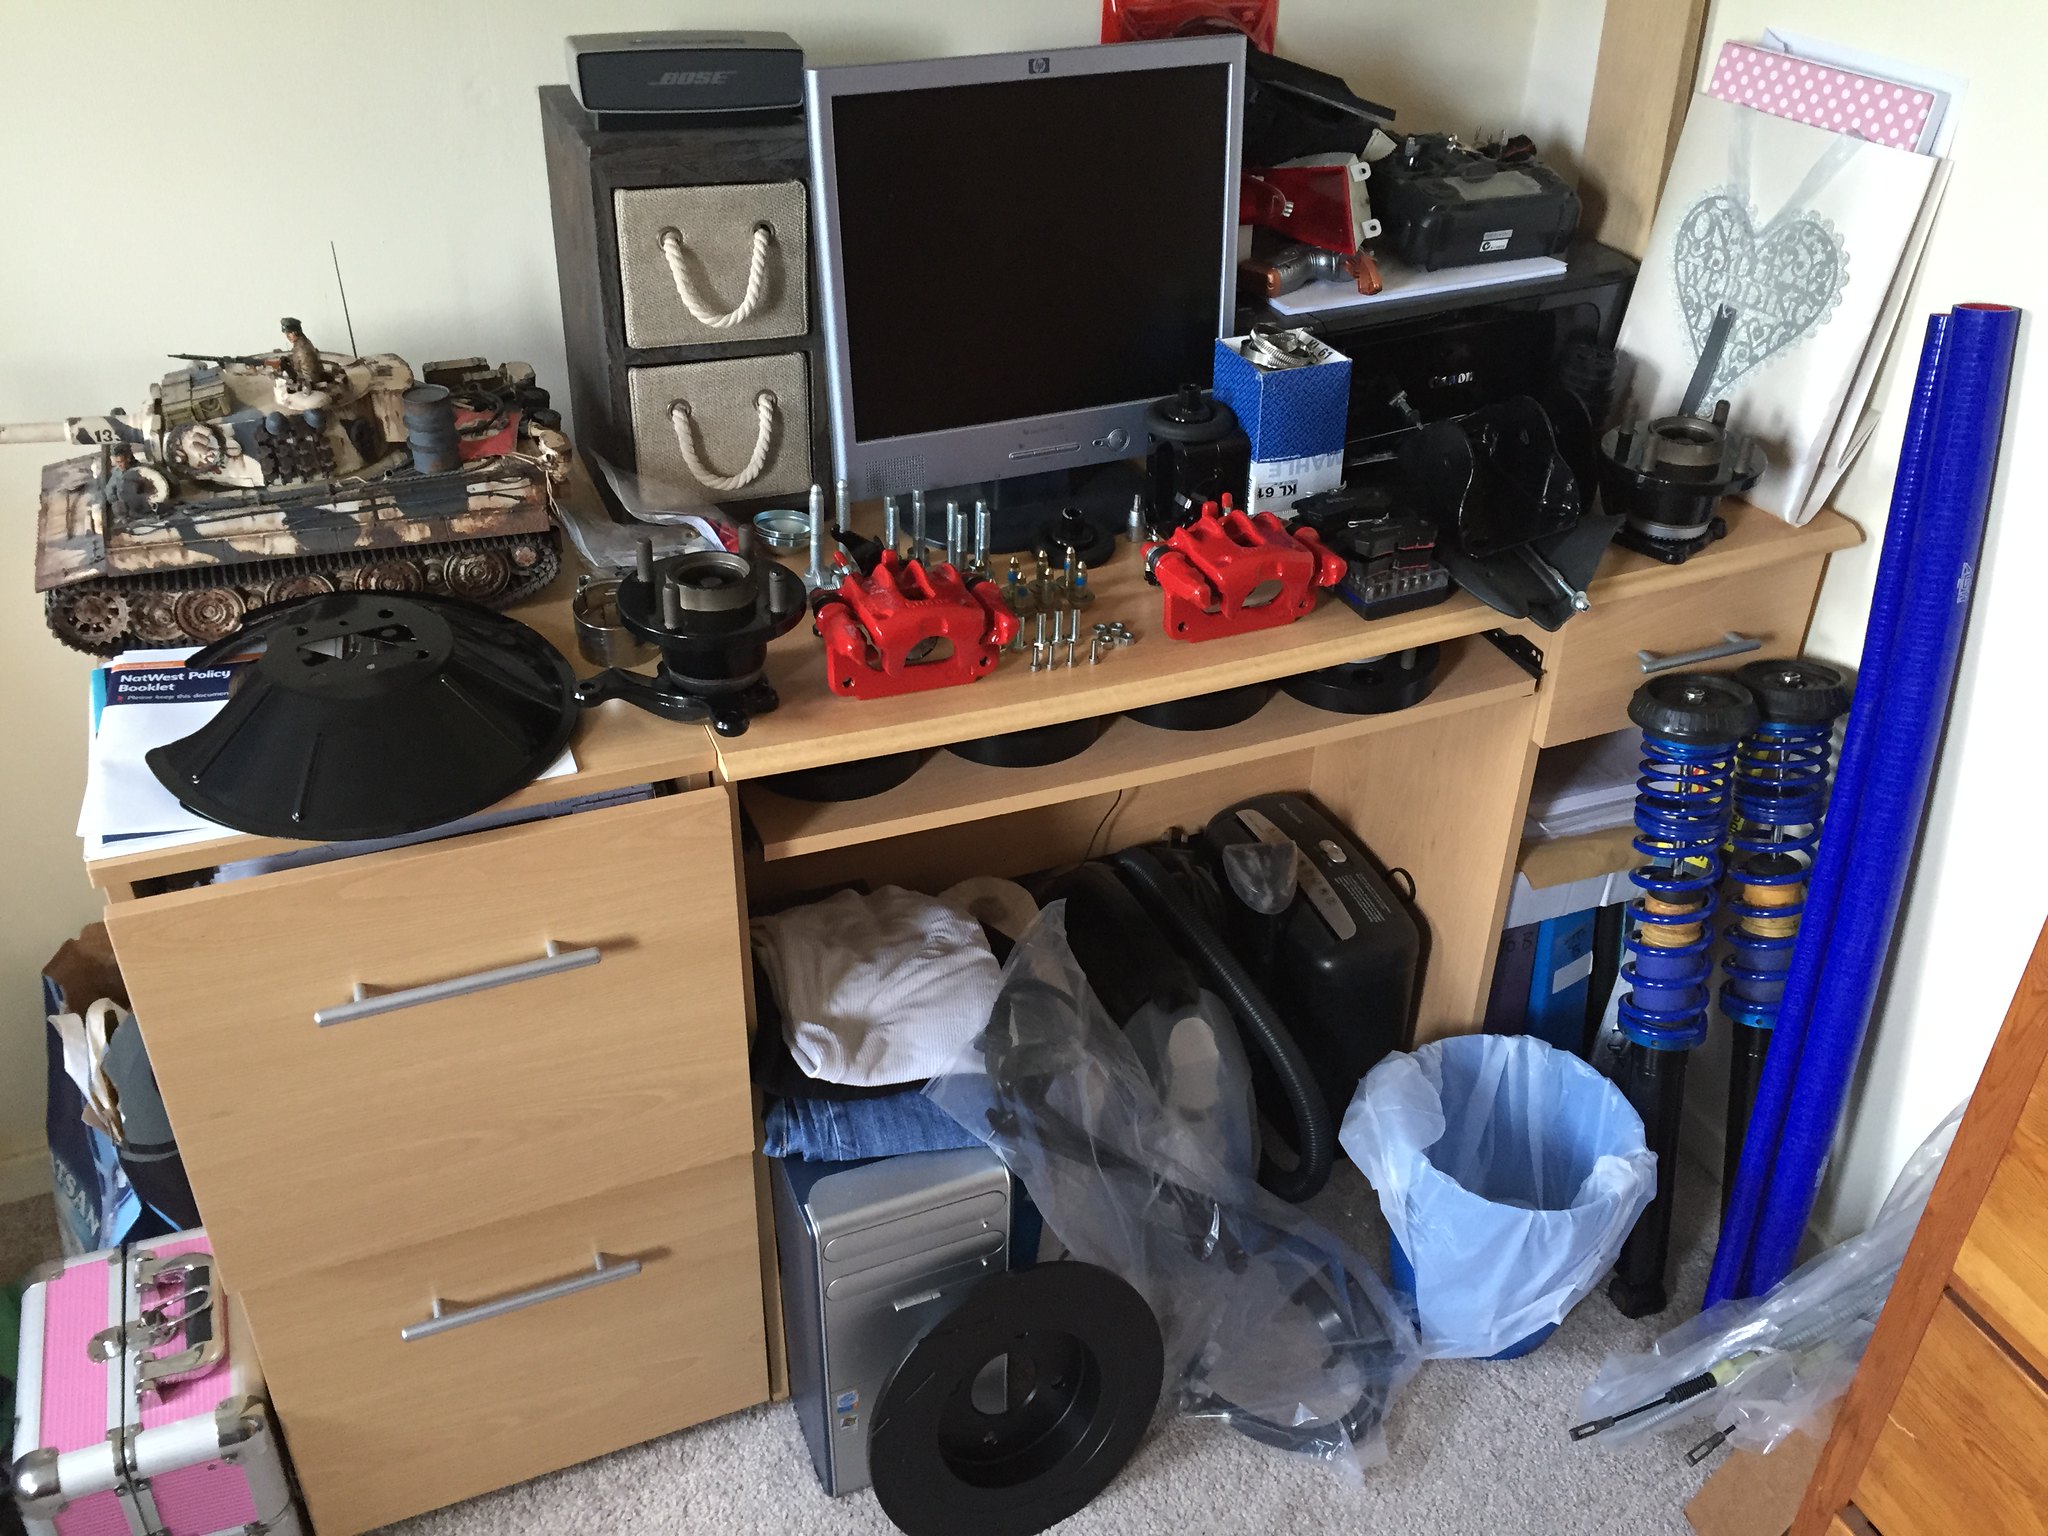
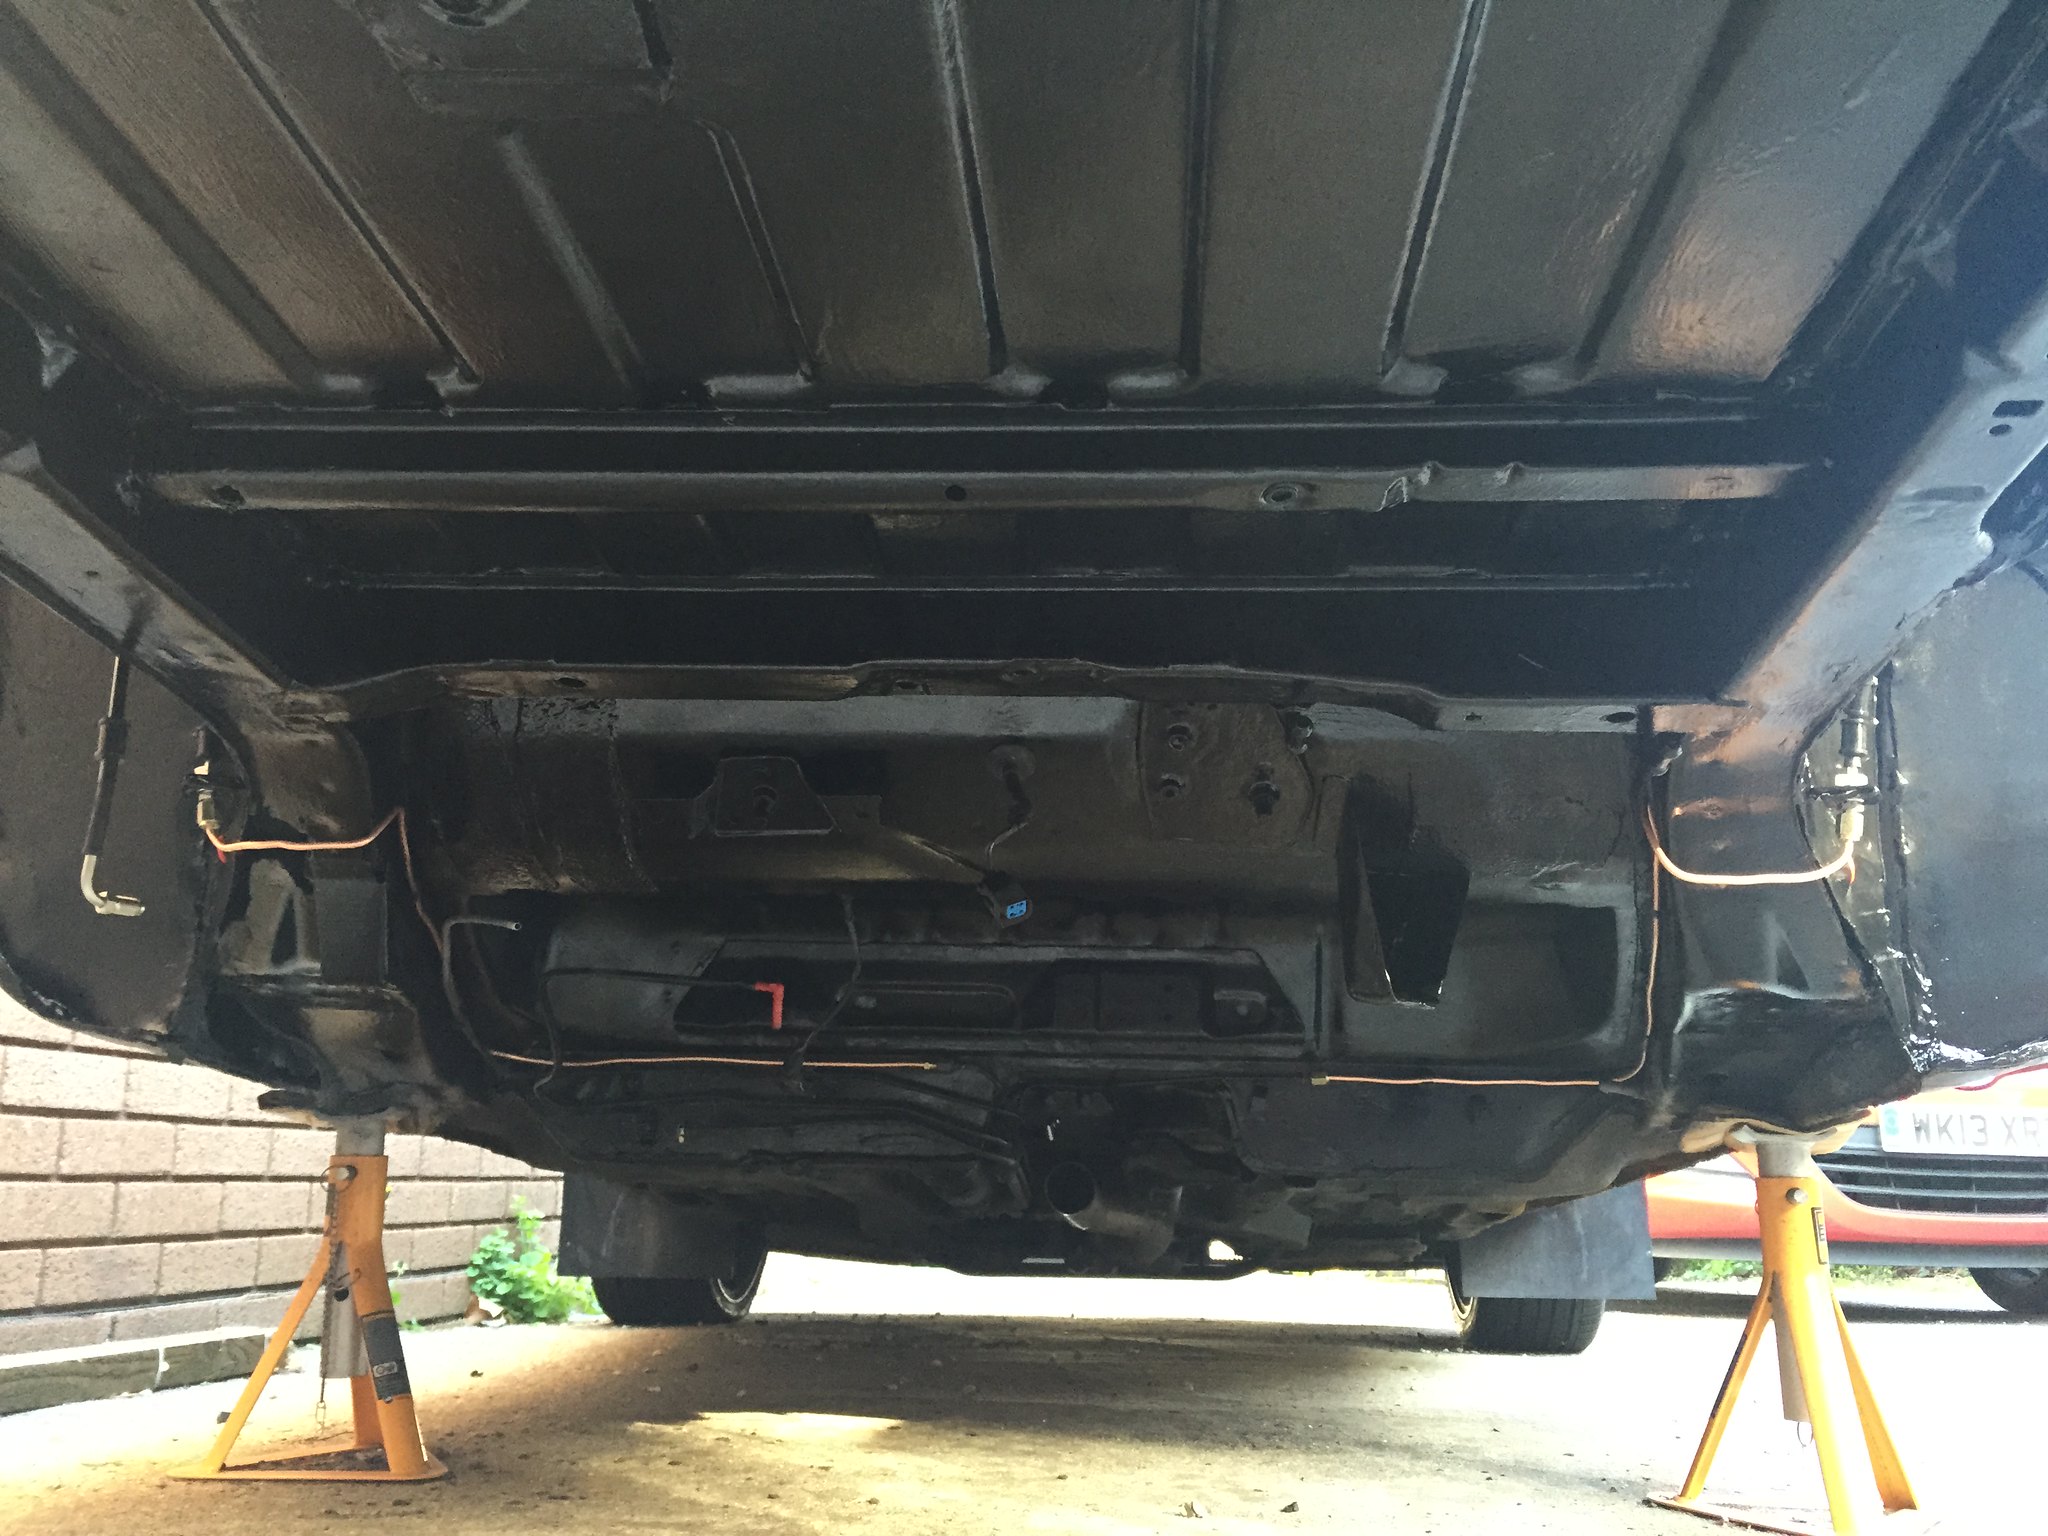
OK so I've been doing a lot of work on the car to get it ready for its MOT, unfortunately the expiry date has been and gone on the old MOT so the car is off the road for the next few weeks till its all tidied up and sorted, essentially there were a loads of jobs to do from last years MOT, but with the wedding and other stuff I never got round to it, the rear callipers are quite grotty and sticking plus the handbrake cable snapped just before I started work on the car, plus around the rear beam mounts the car is starting to get very crusty and rotten, so I thought I had better give it an almighty overhaul so I don't have to worry about it again for a while, so at the moment the car has had the rear beam/axles/brakes removed, the callipers i have sent off to be cleaned up and powder coated, i have had the rear beam sand blasted and powder coated gloss black, the rear hubs splash guards and axle spacers are going off next week to be sand blasted and powder coated and im fitting new hand brake cable (both front and rear section) new ABS sensors, discs, pads, new wheel bearings, and im going to get a new fuel tank (also powder coated silver) as they are quite cheap, whilst everything underneath is removed im going to clean it up and repair the rot, also i got a couple of other parts powder coated at the same time, any way here are some pics of the job so far
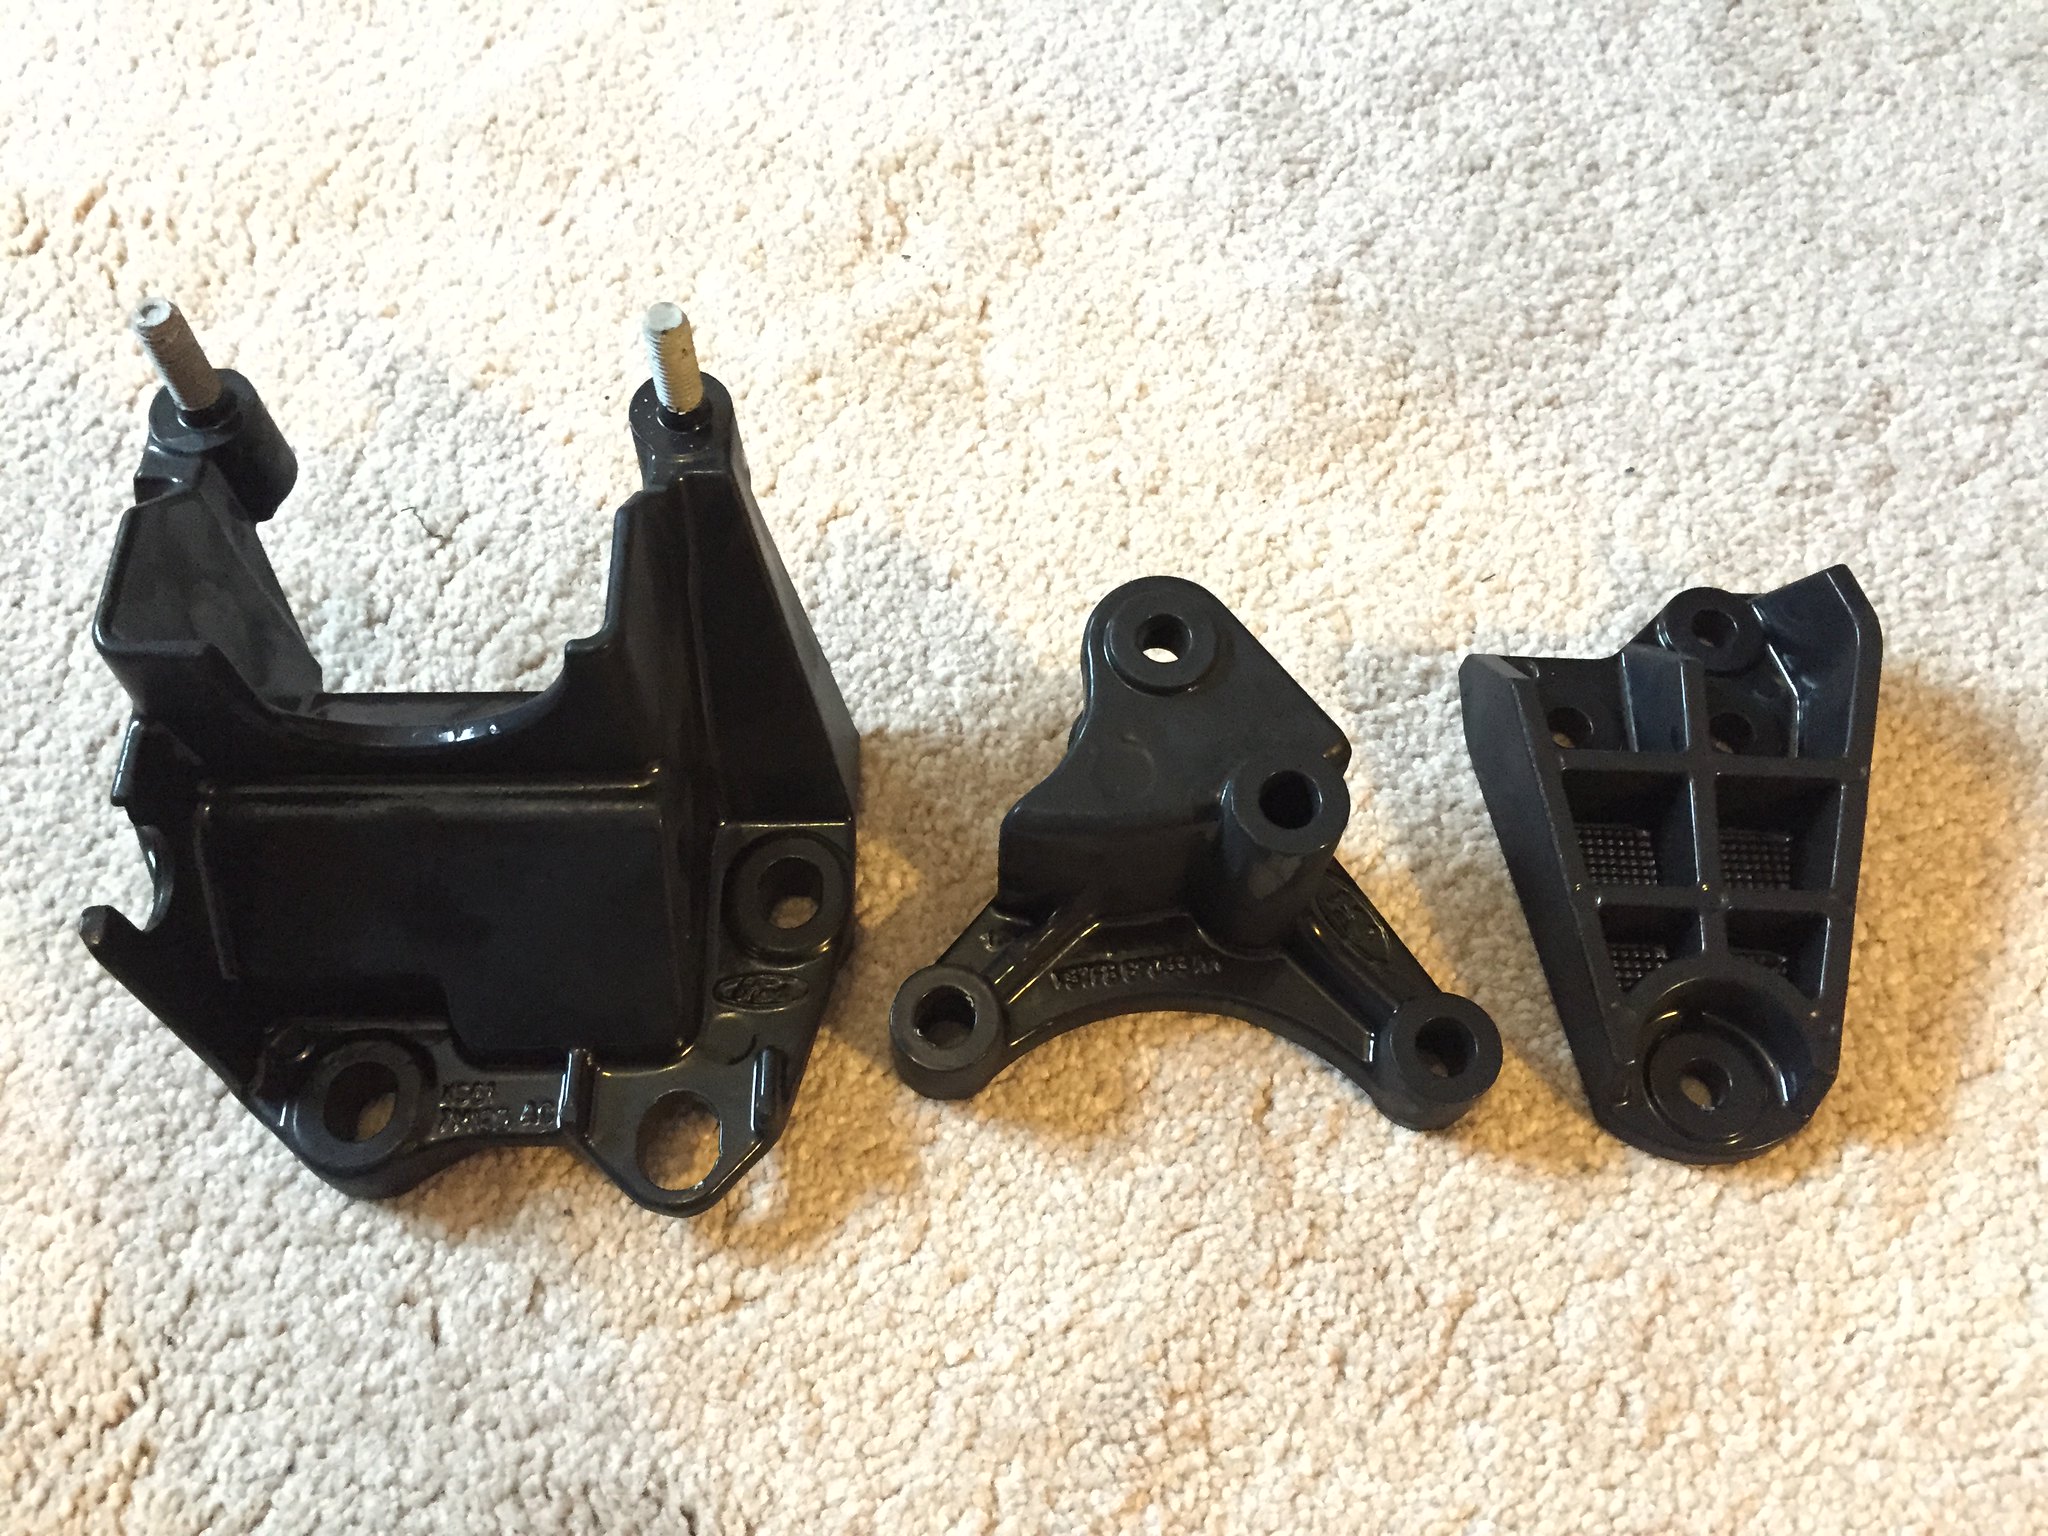
engine mounts
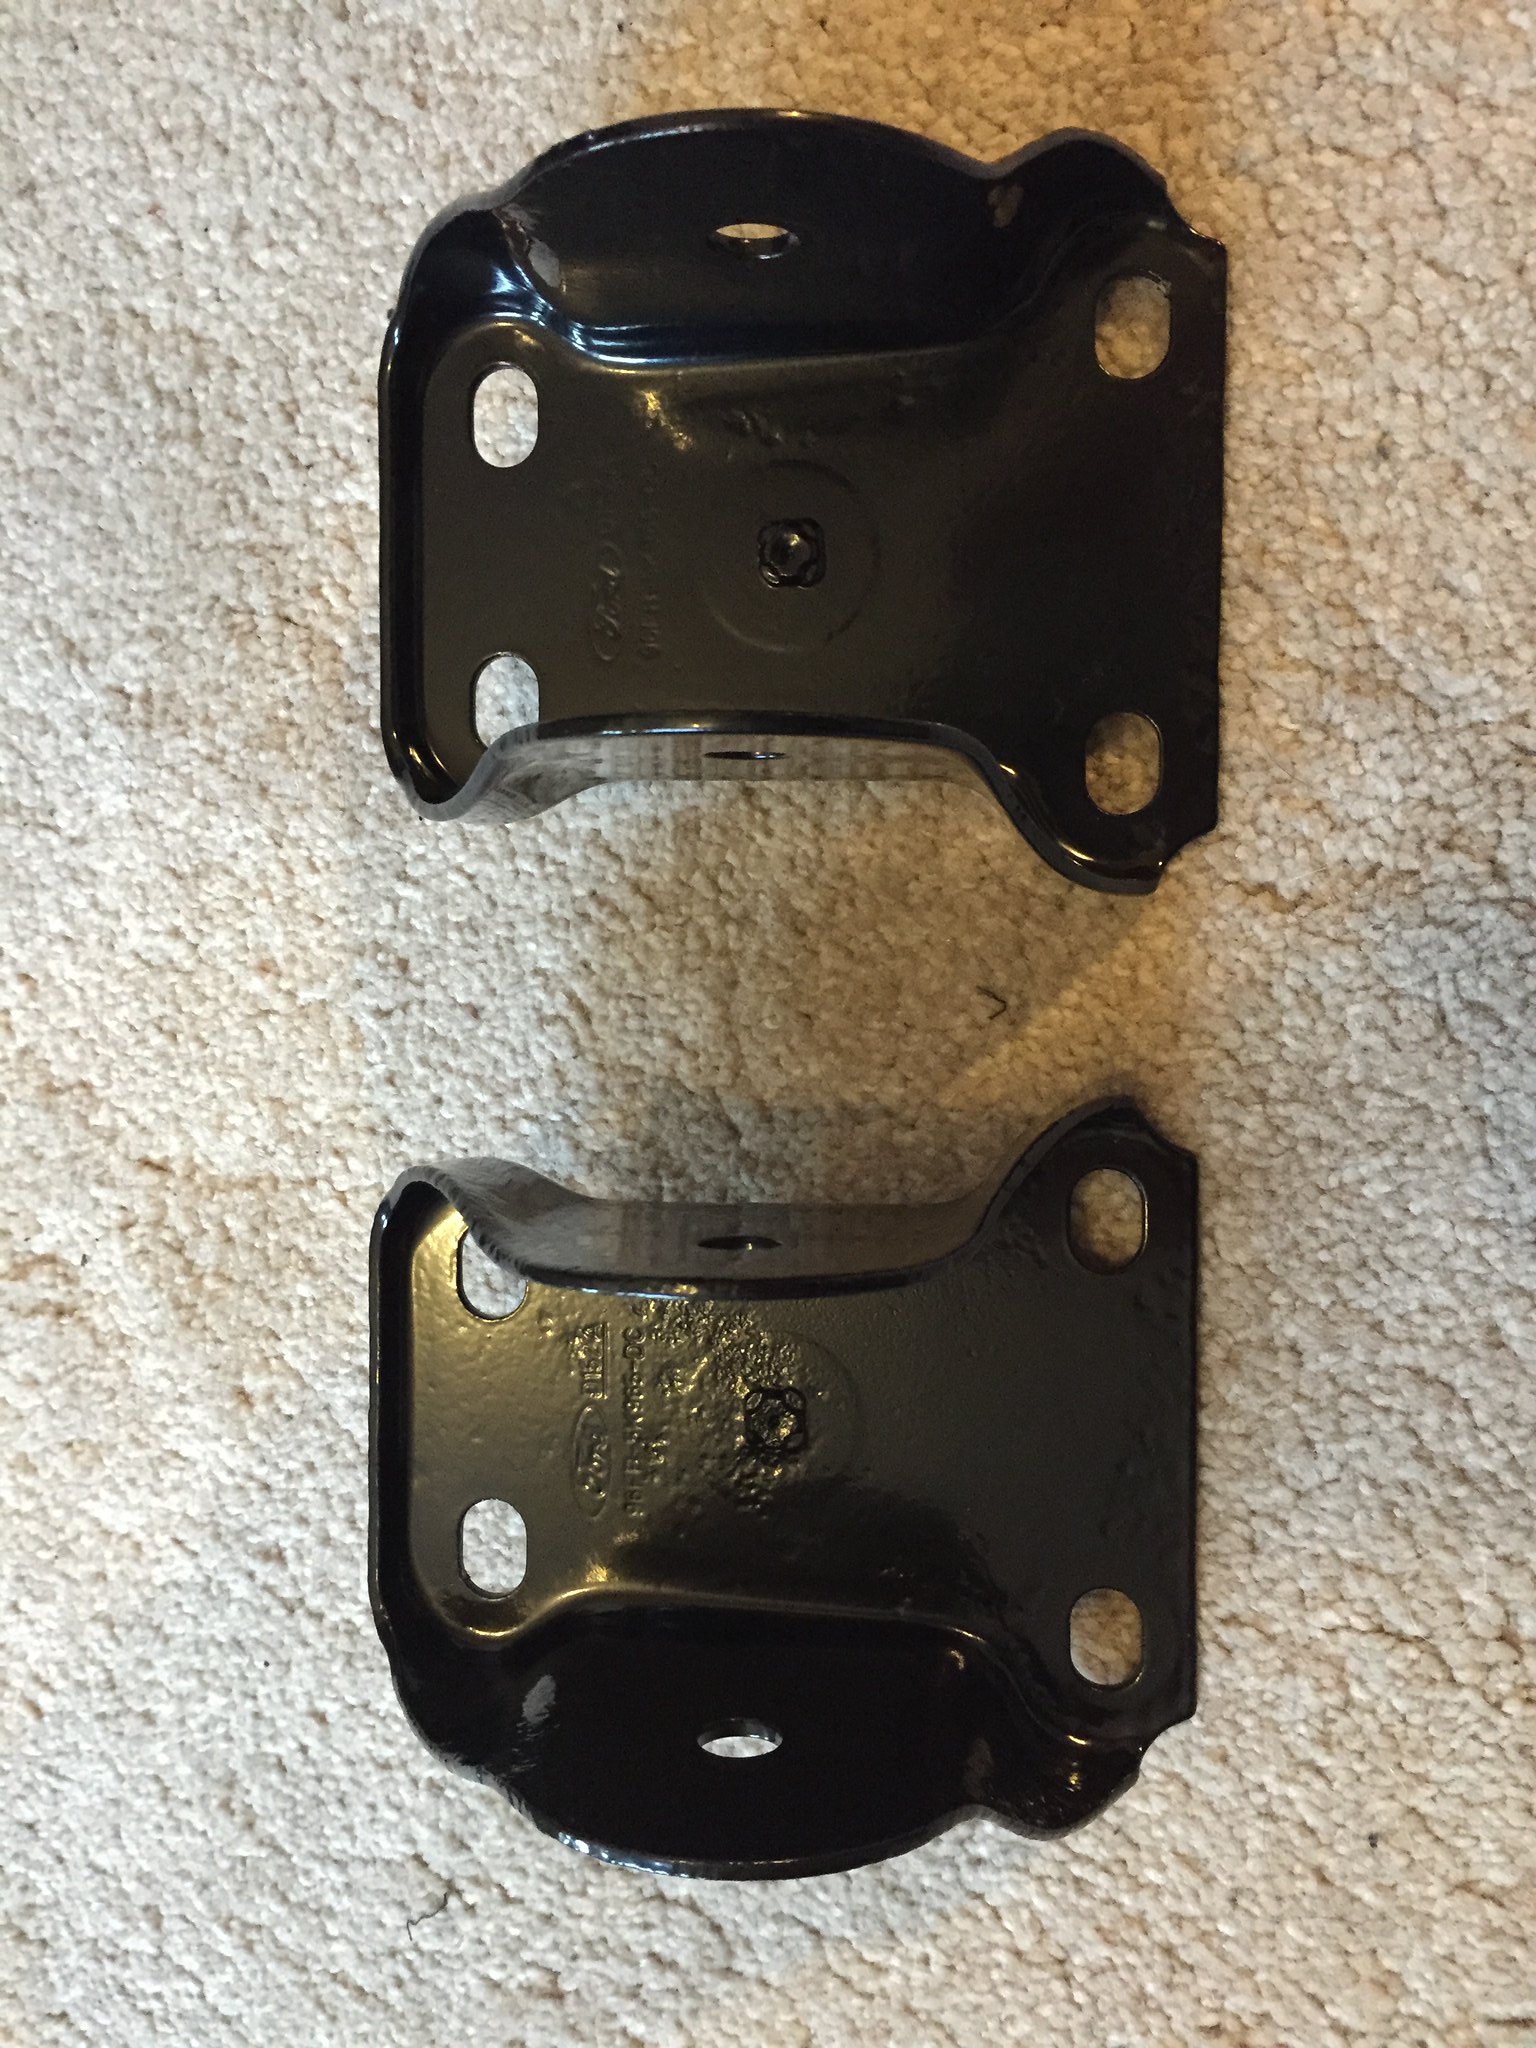
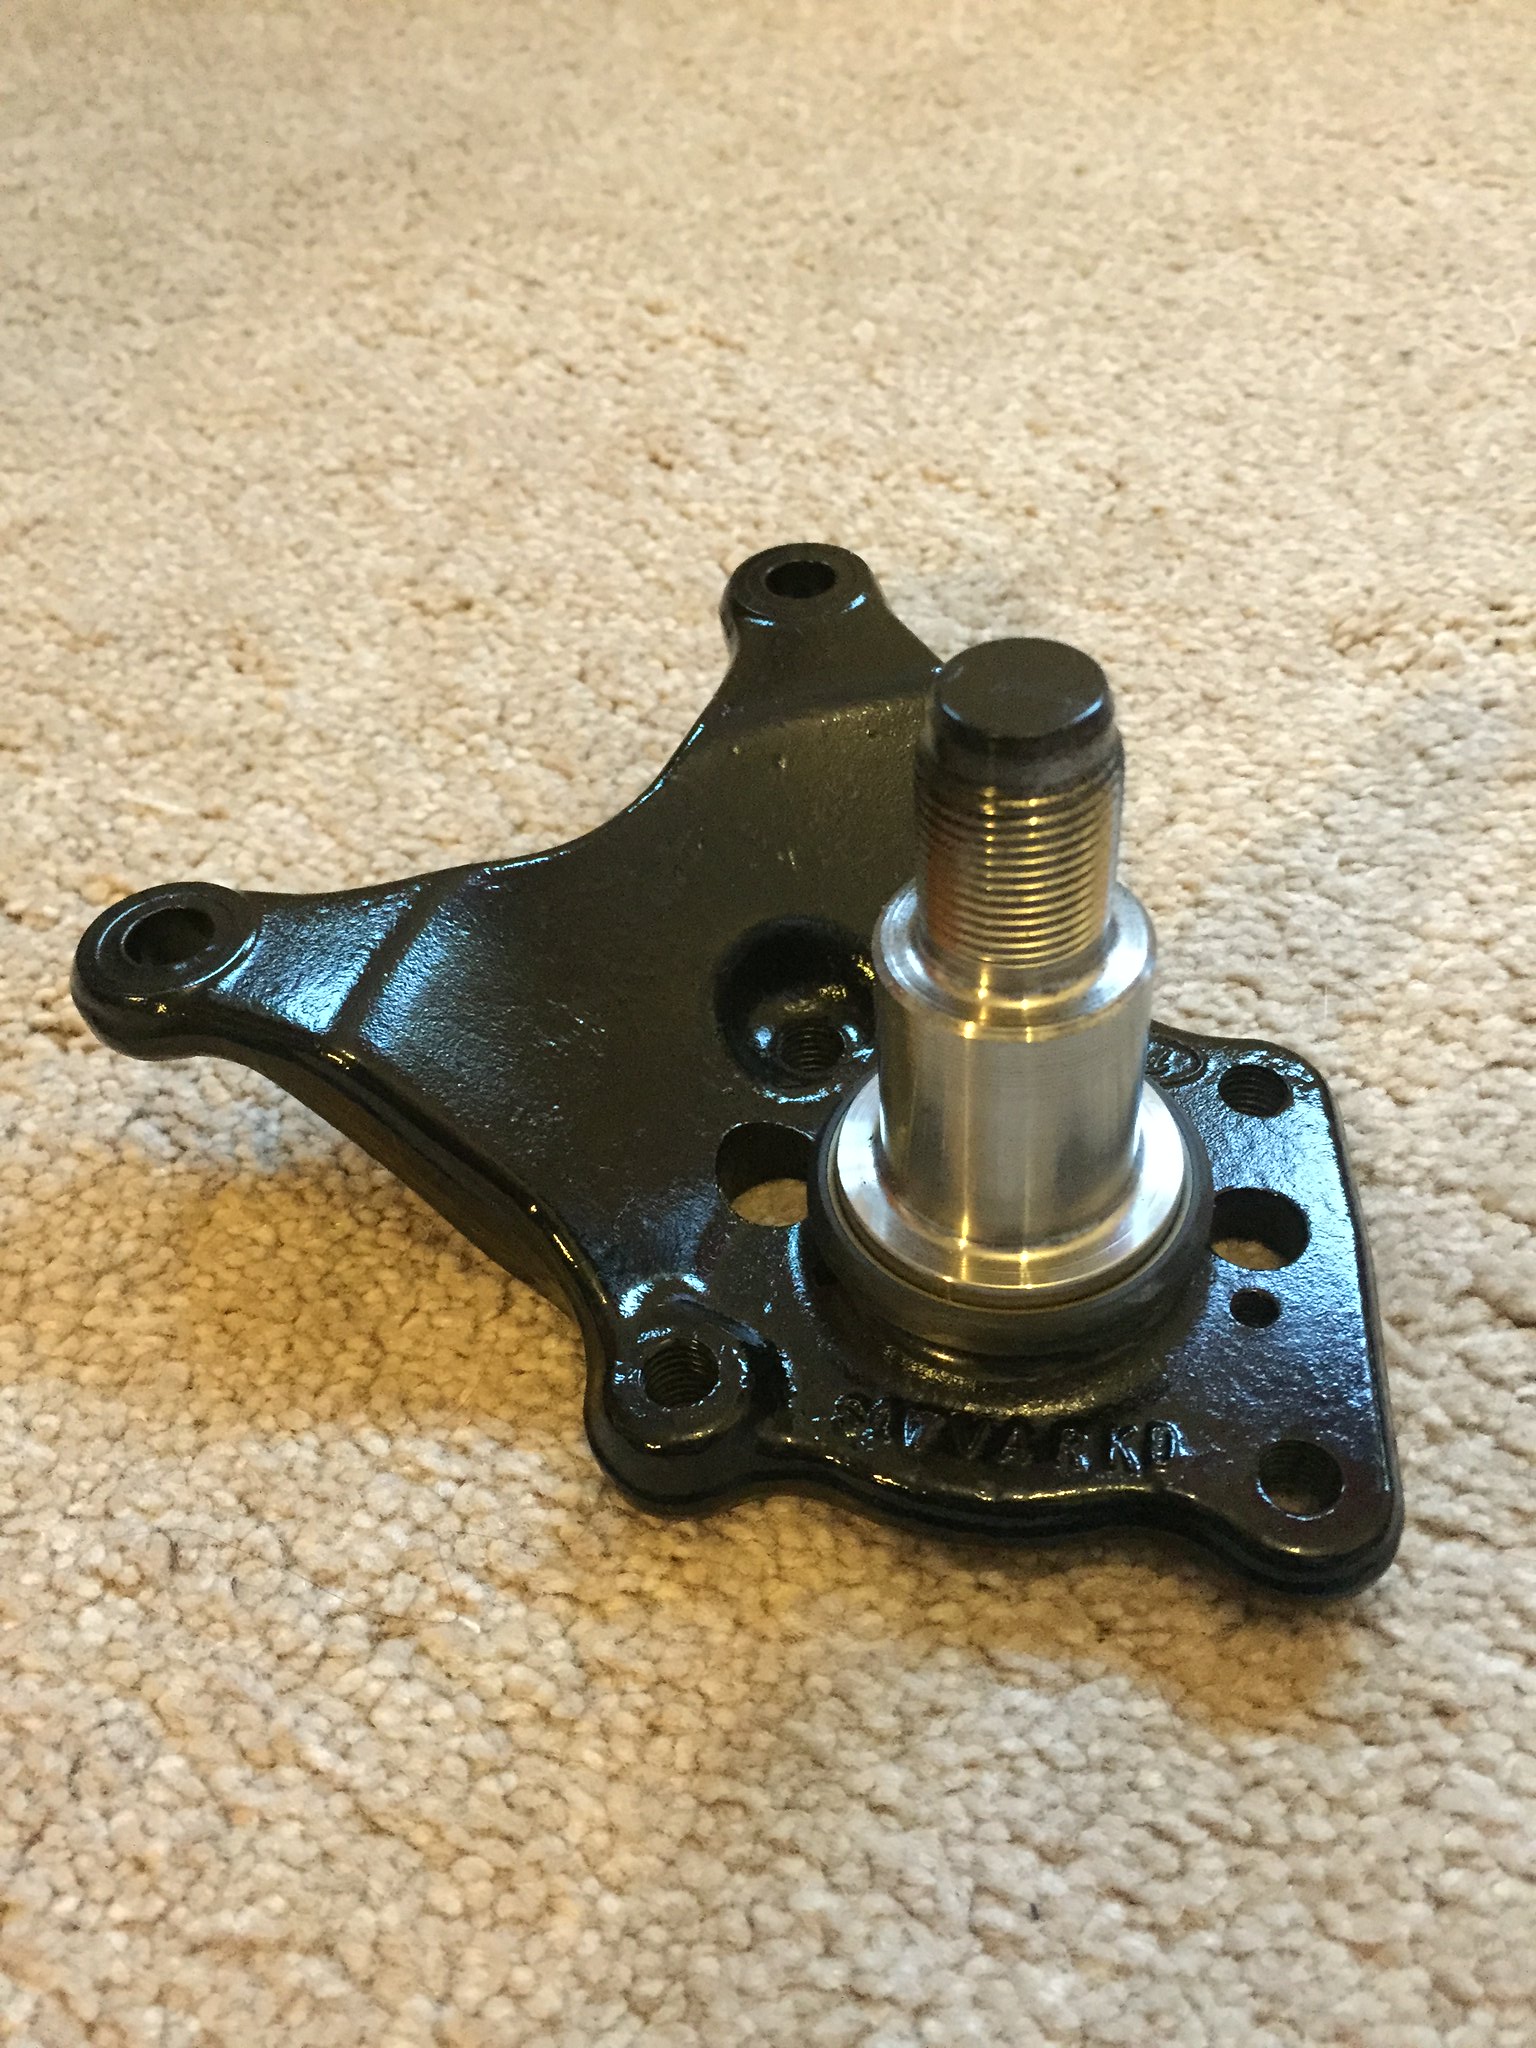
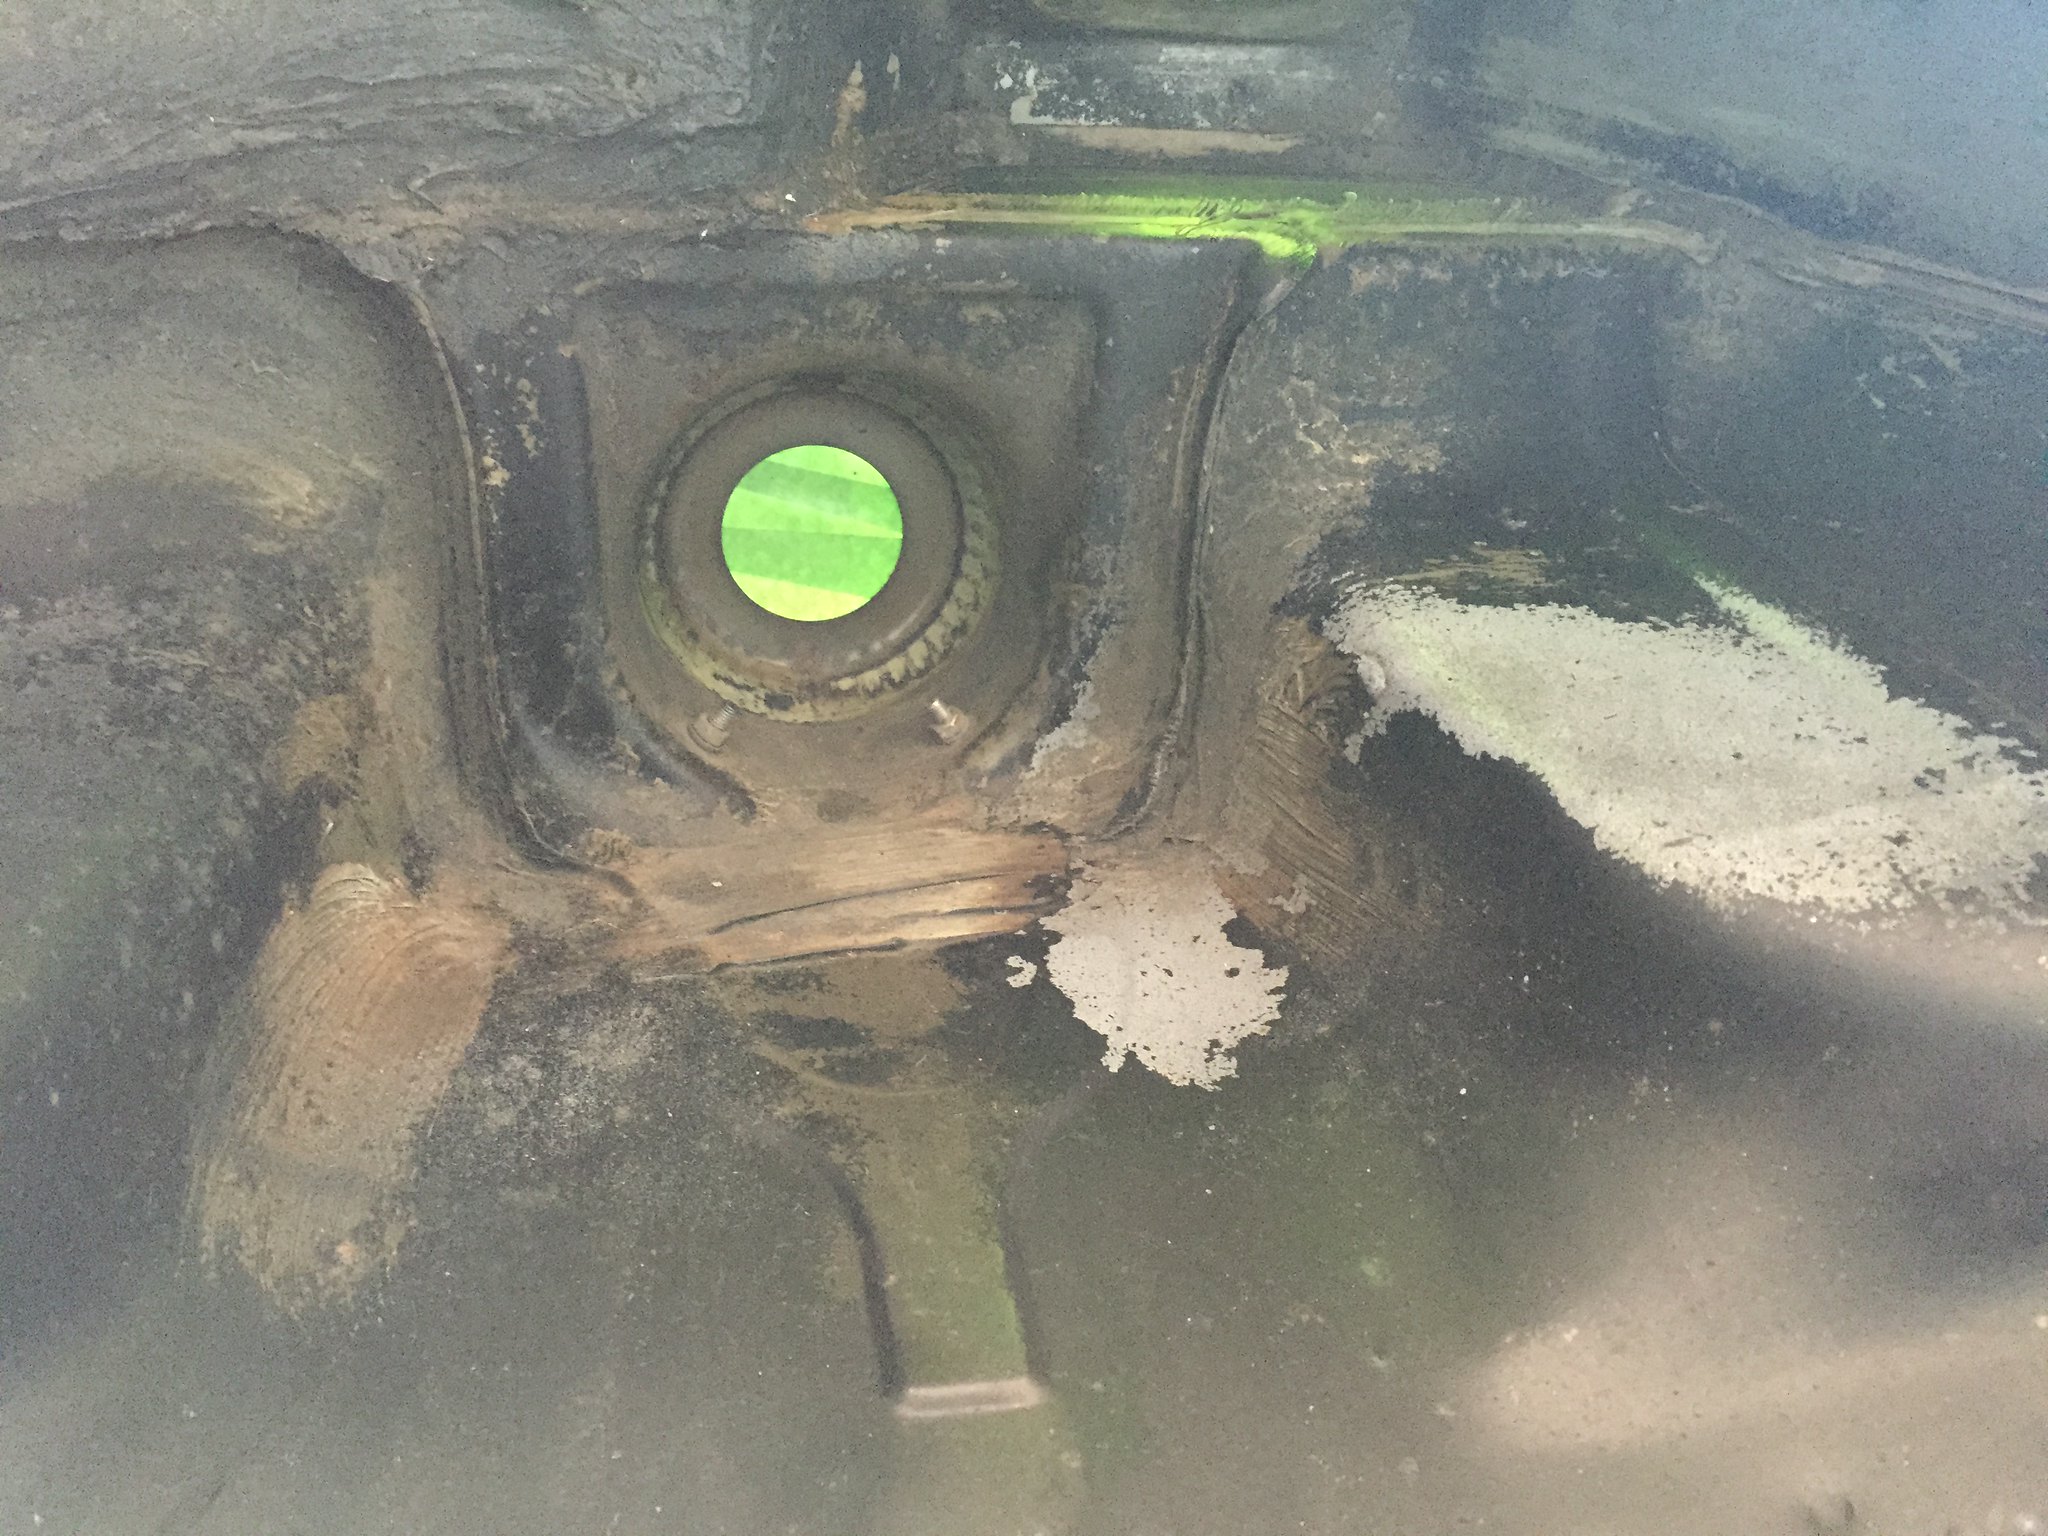
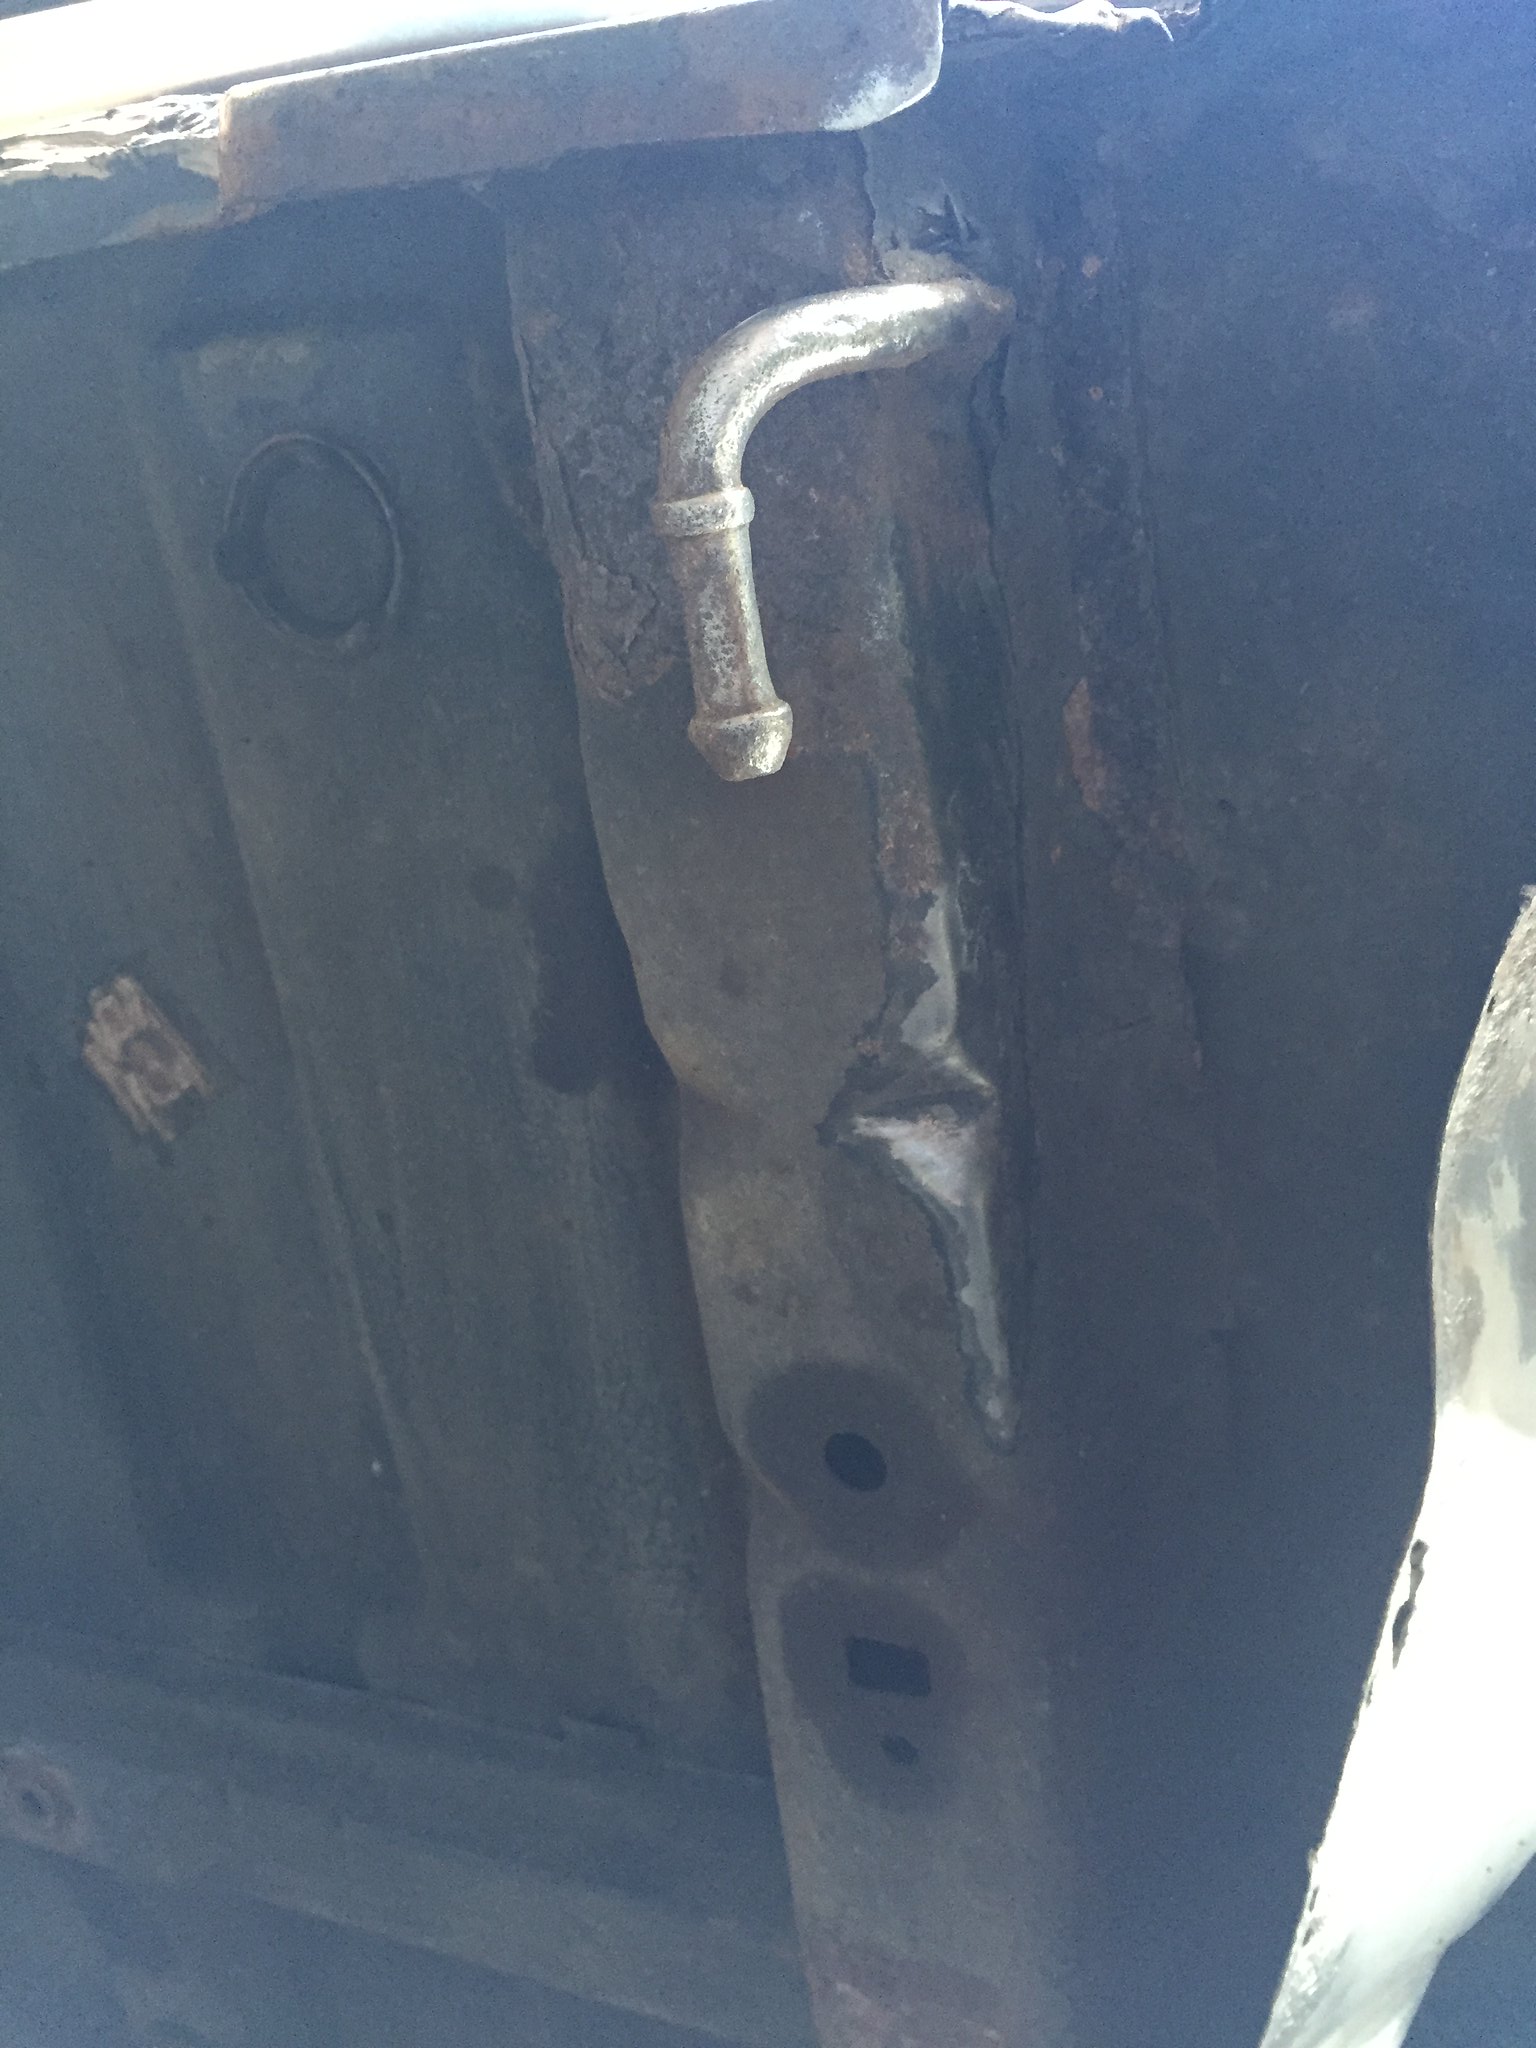
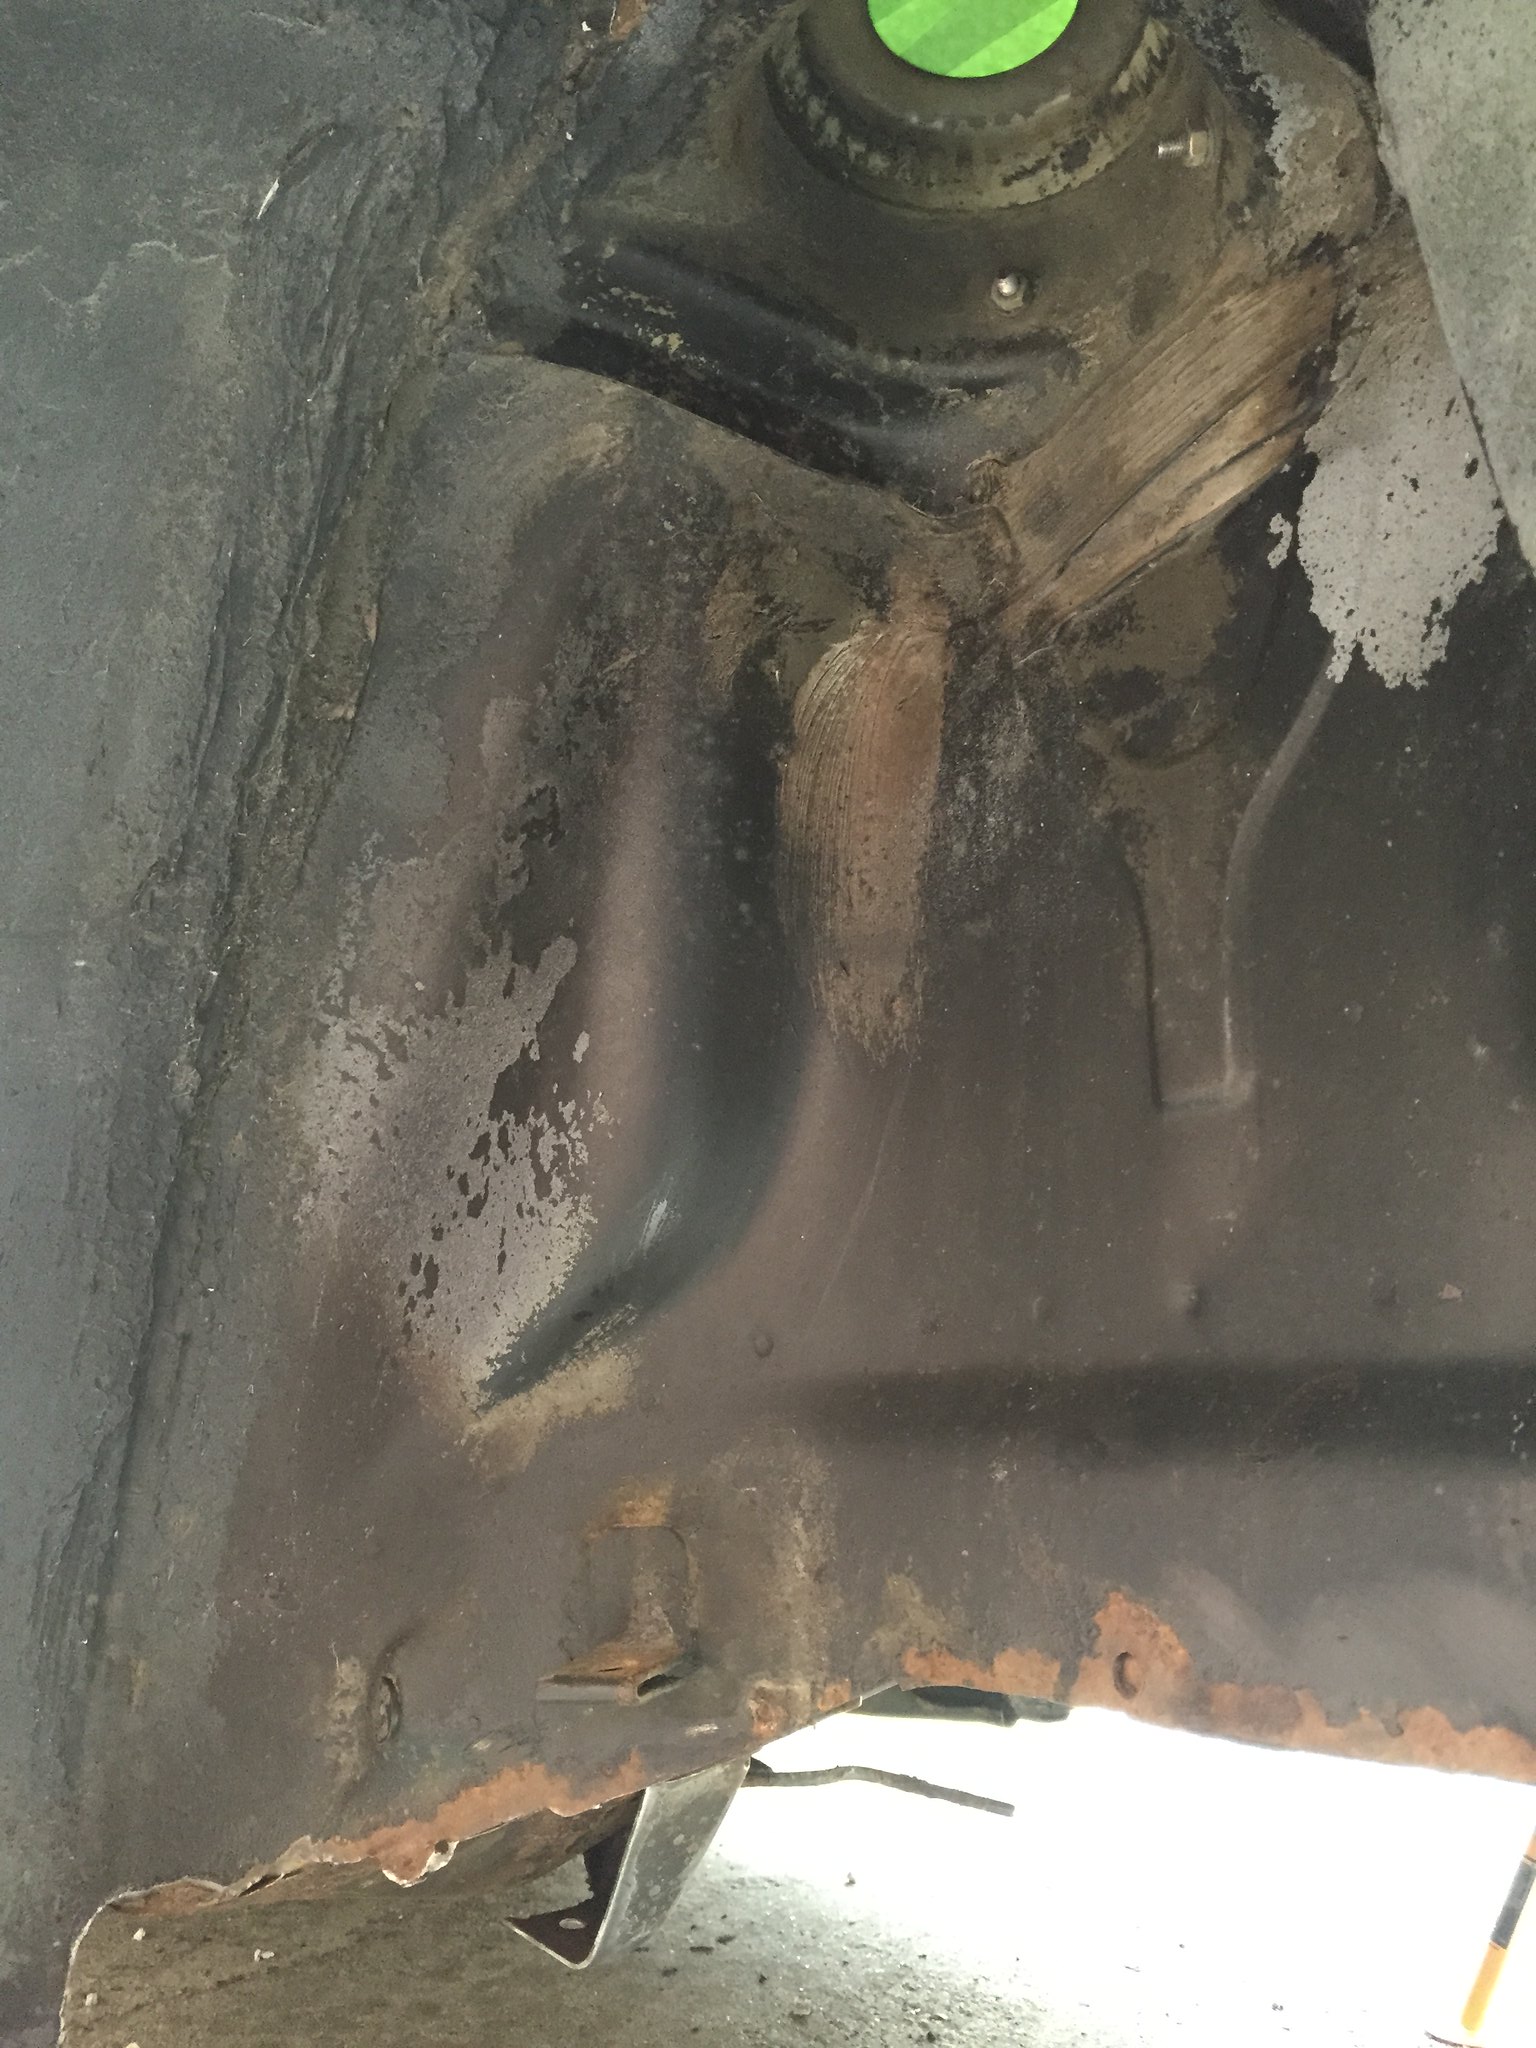
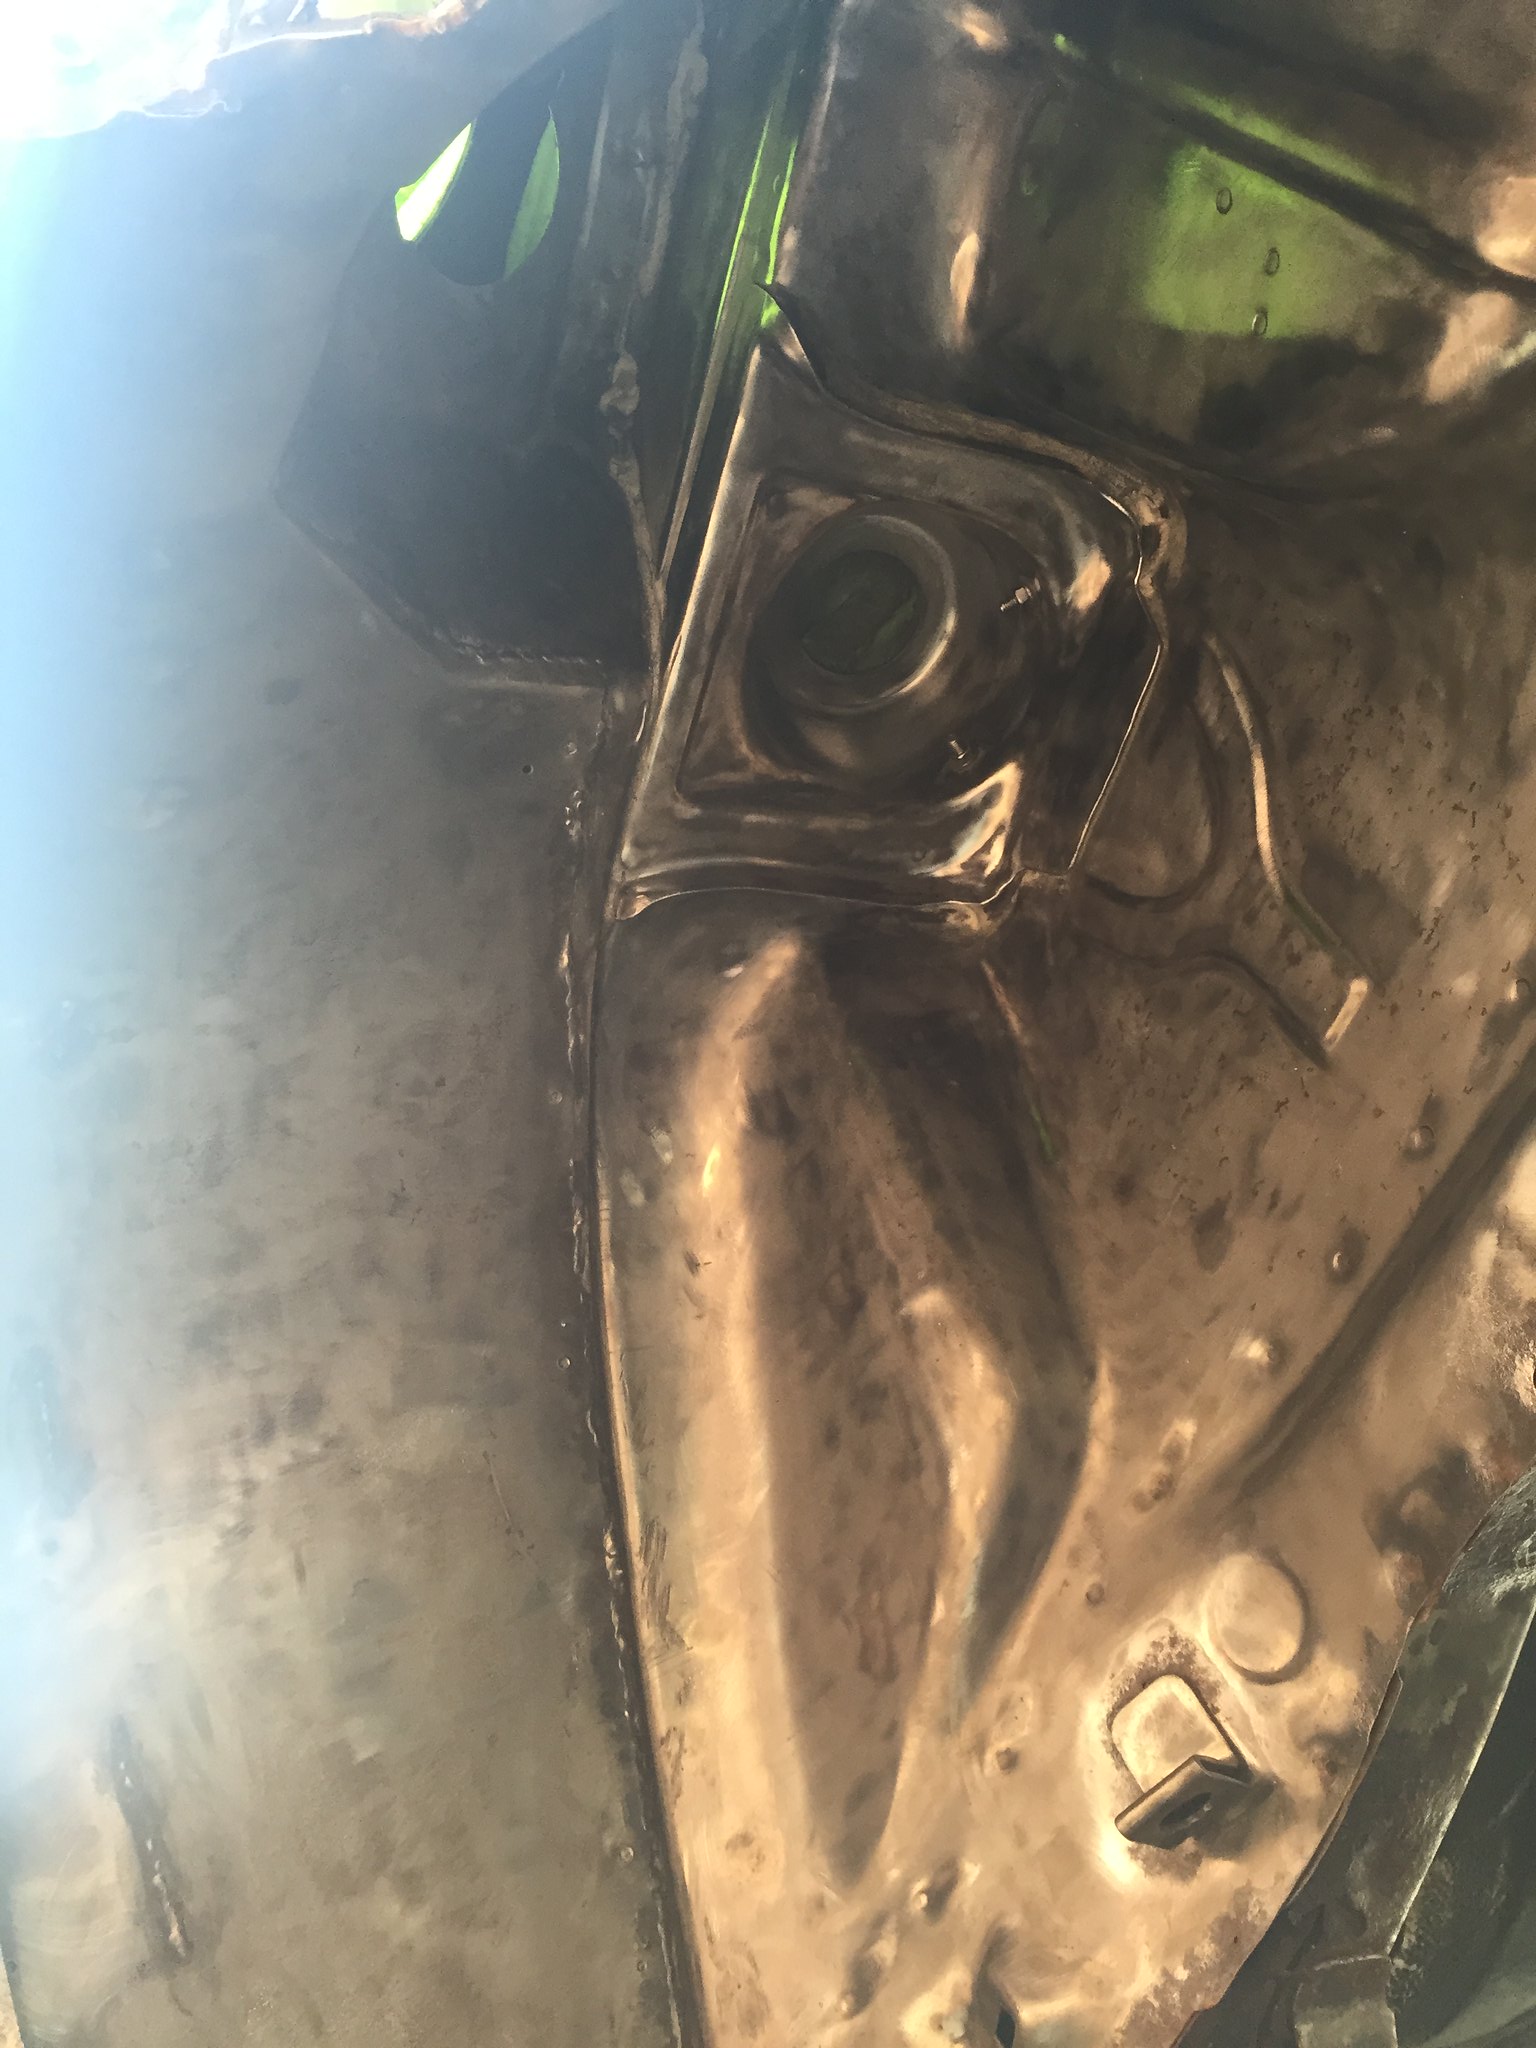
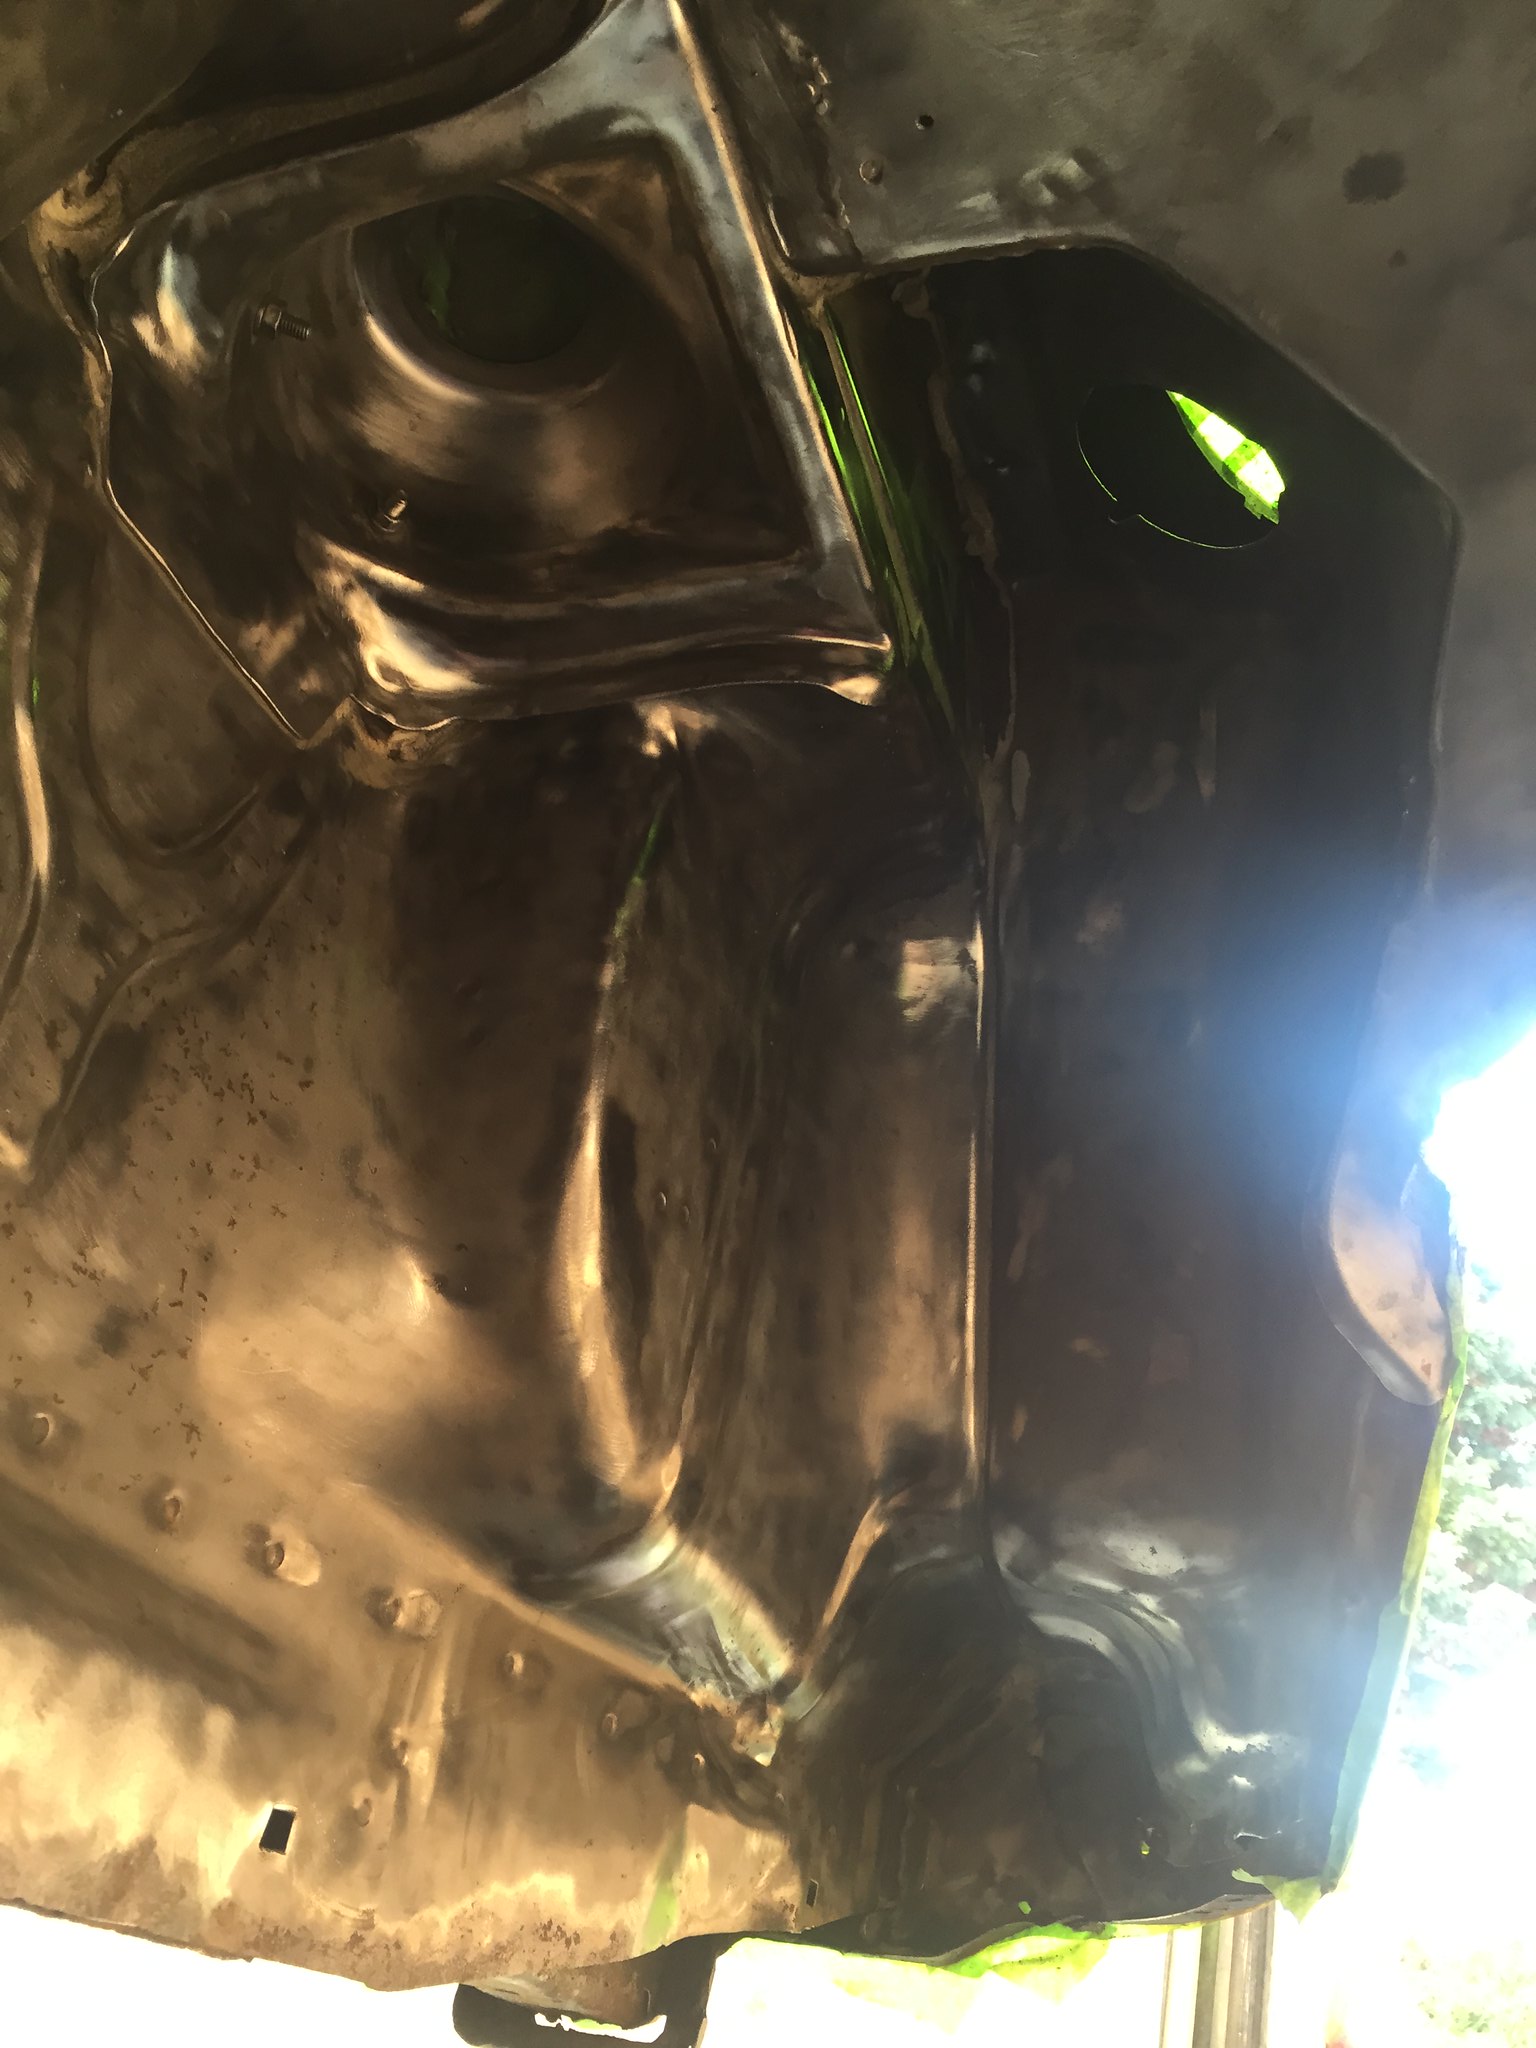
rear beam mounts
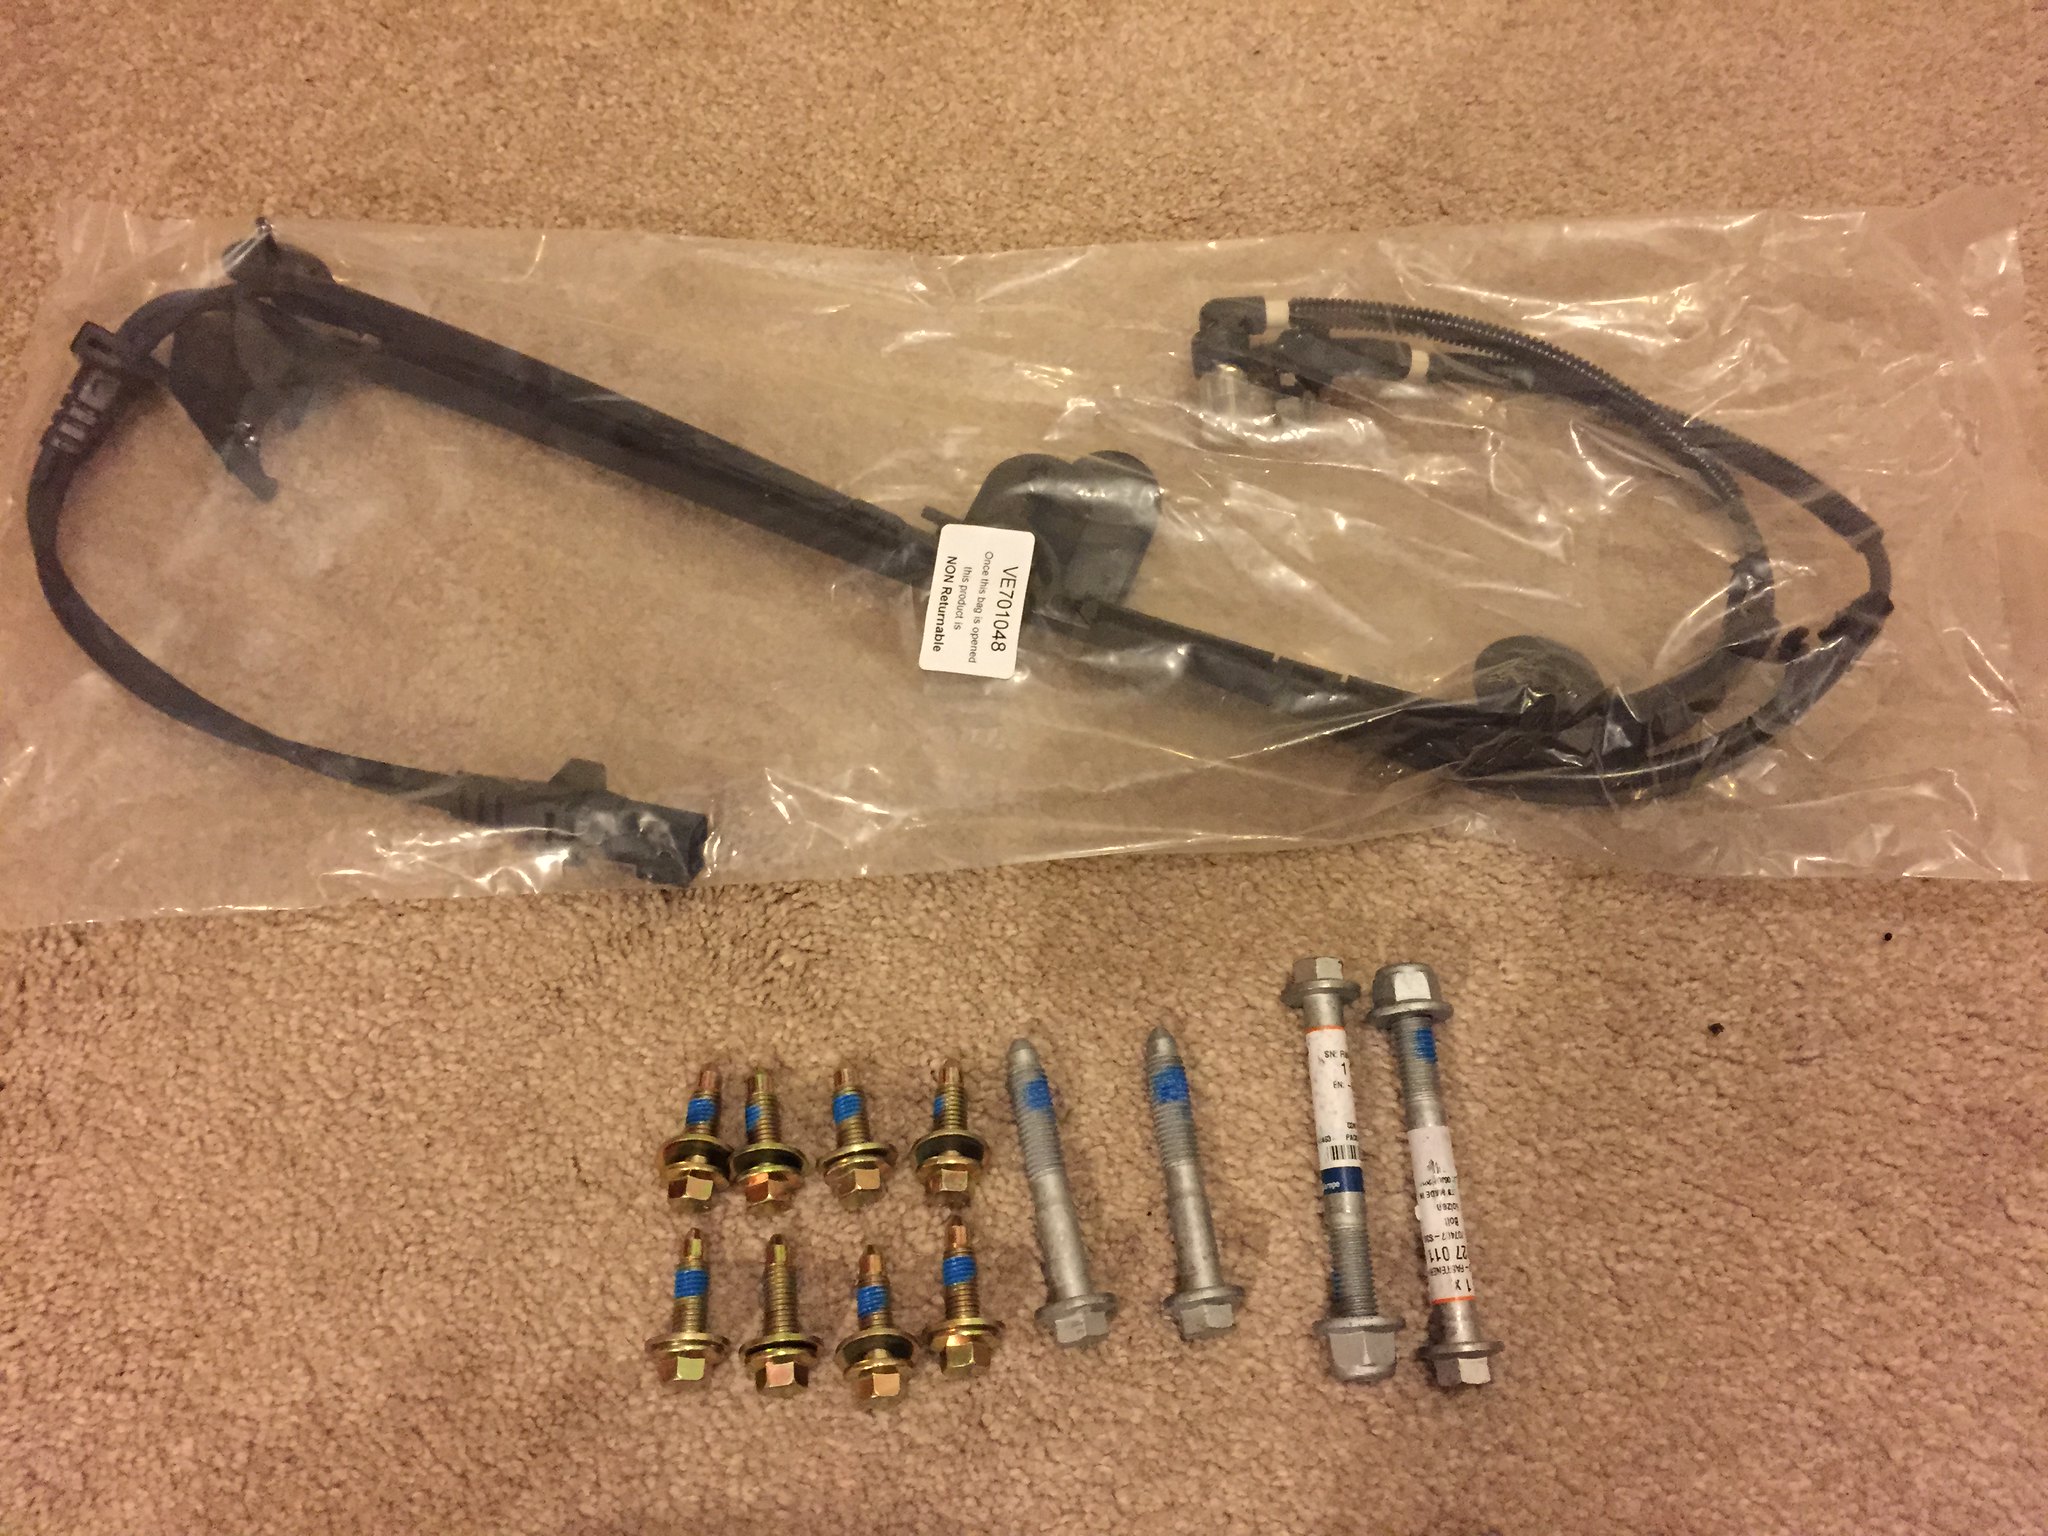
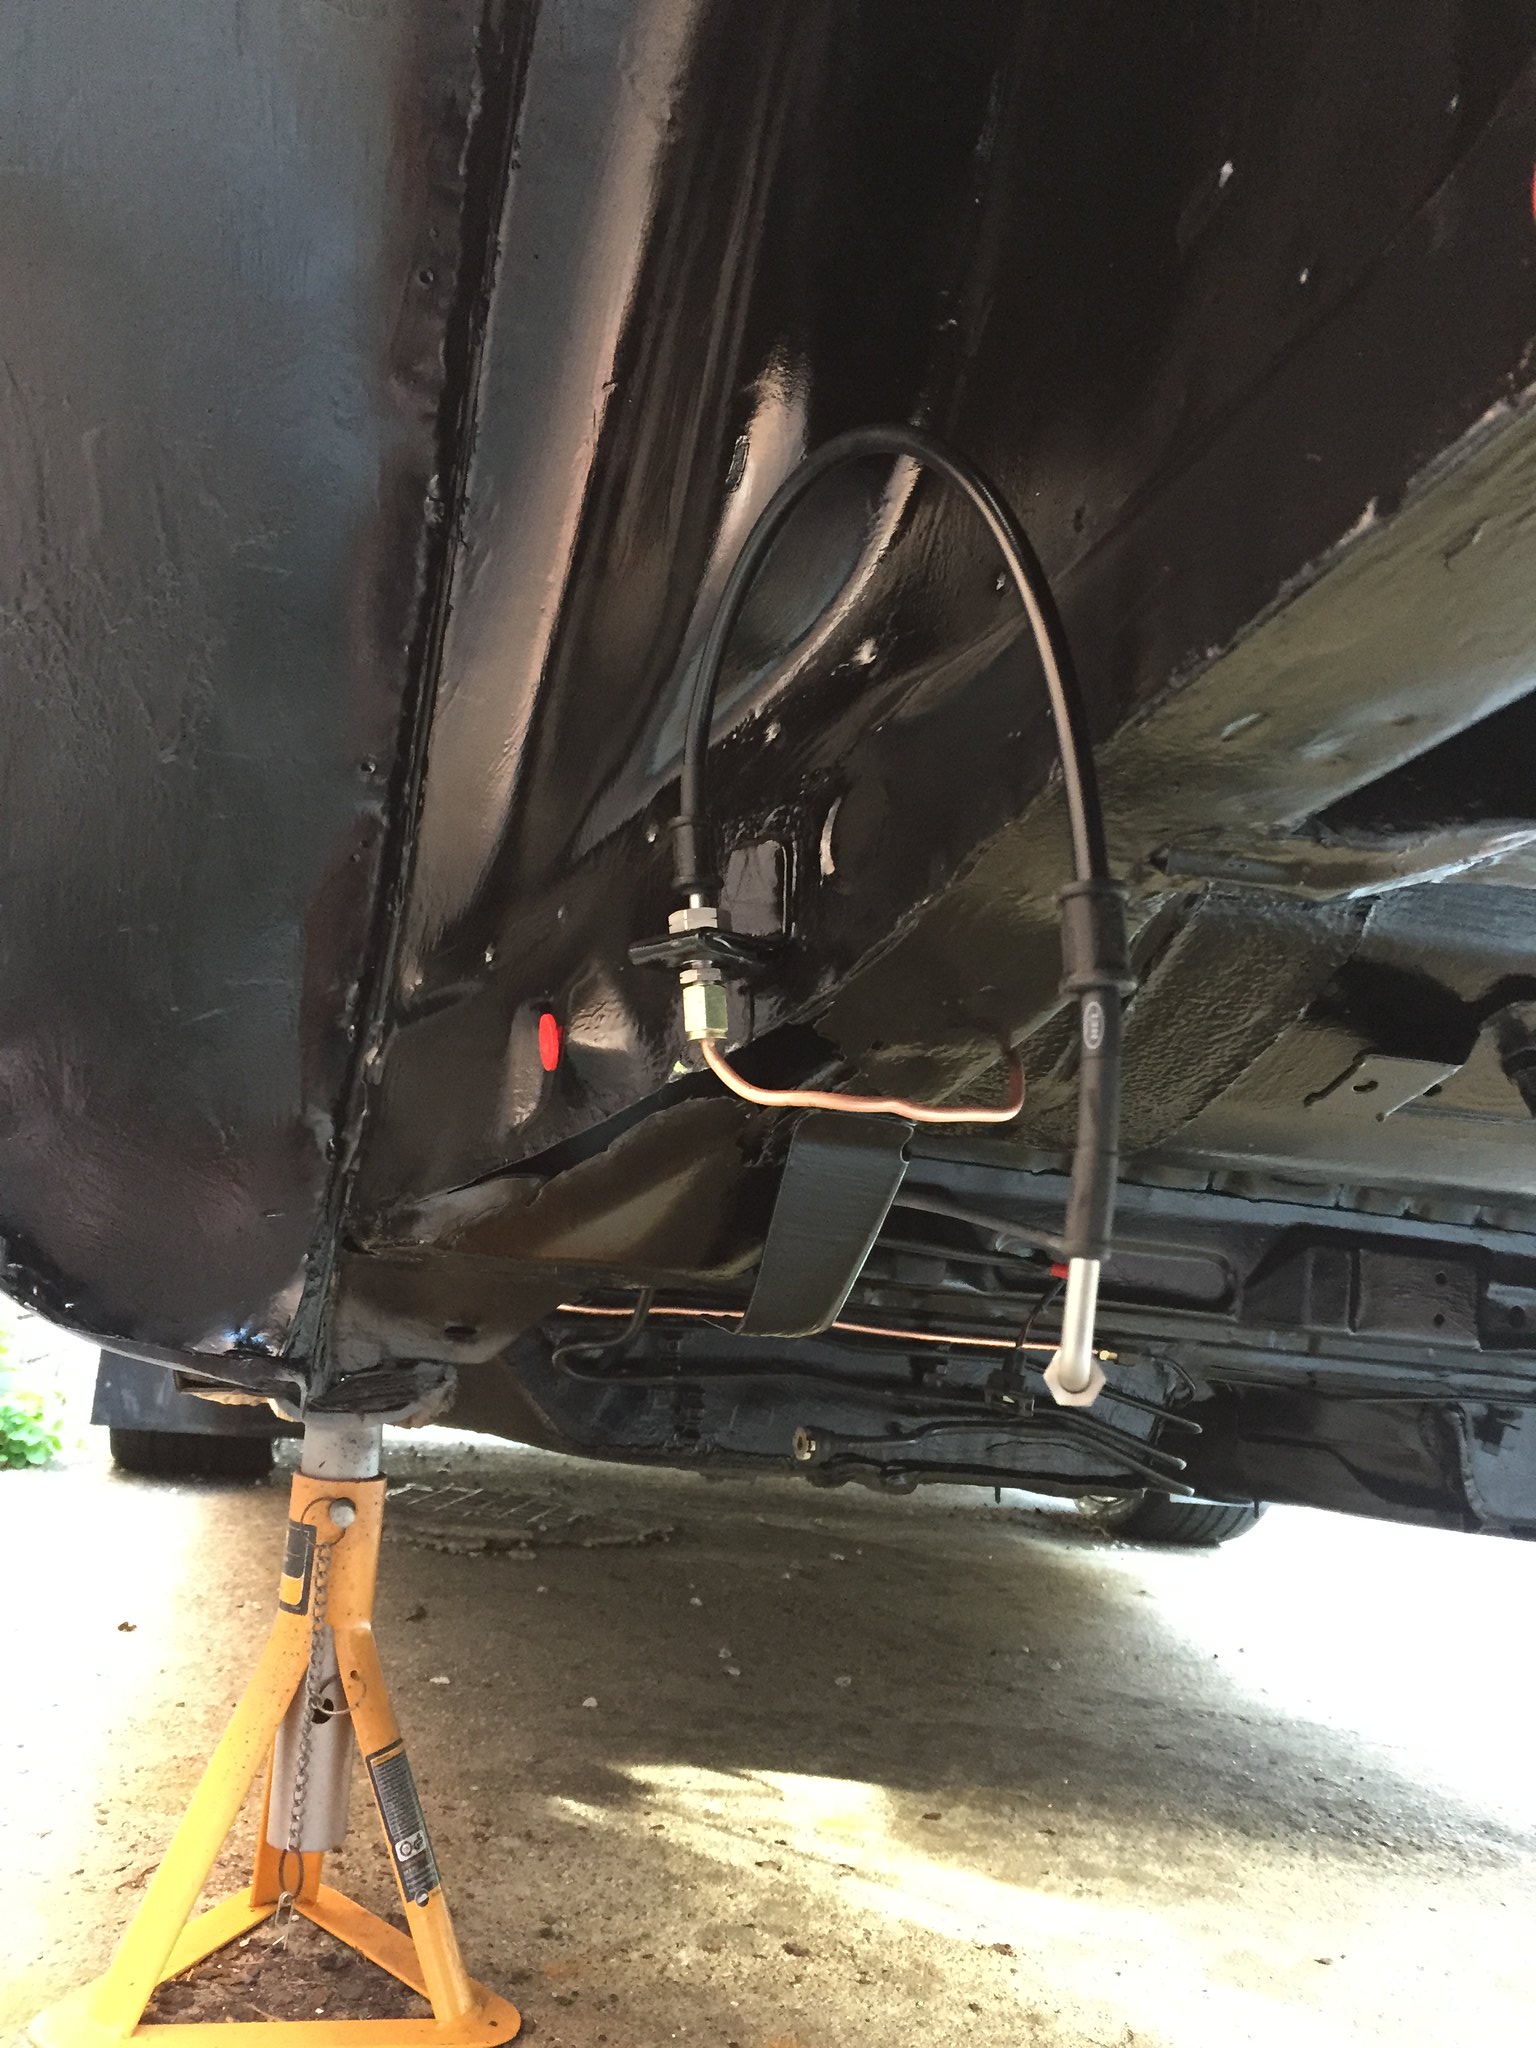
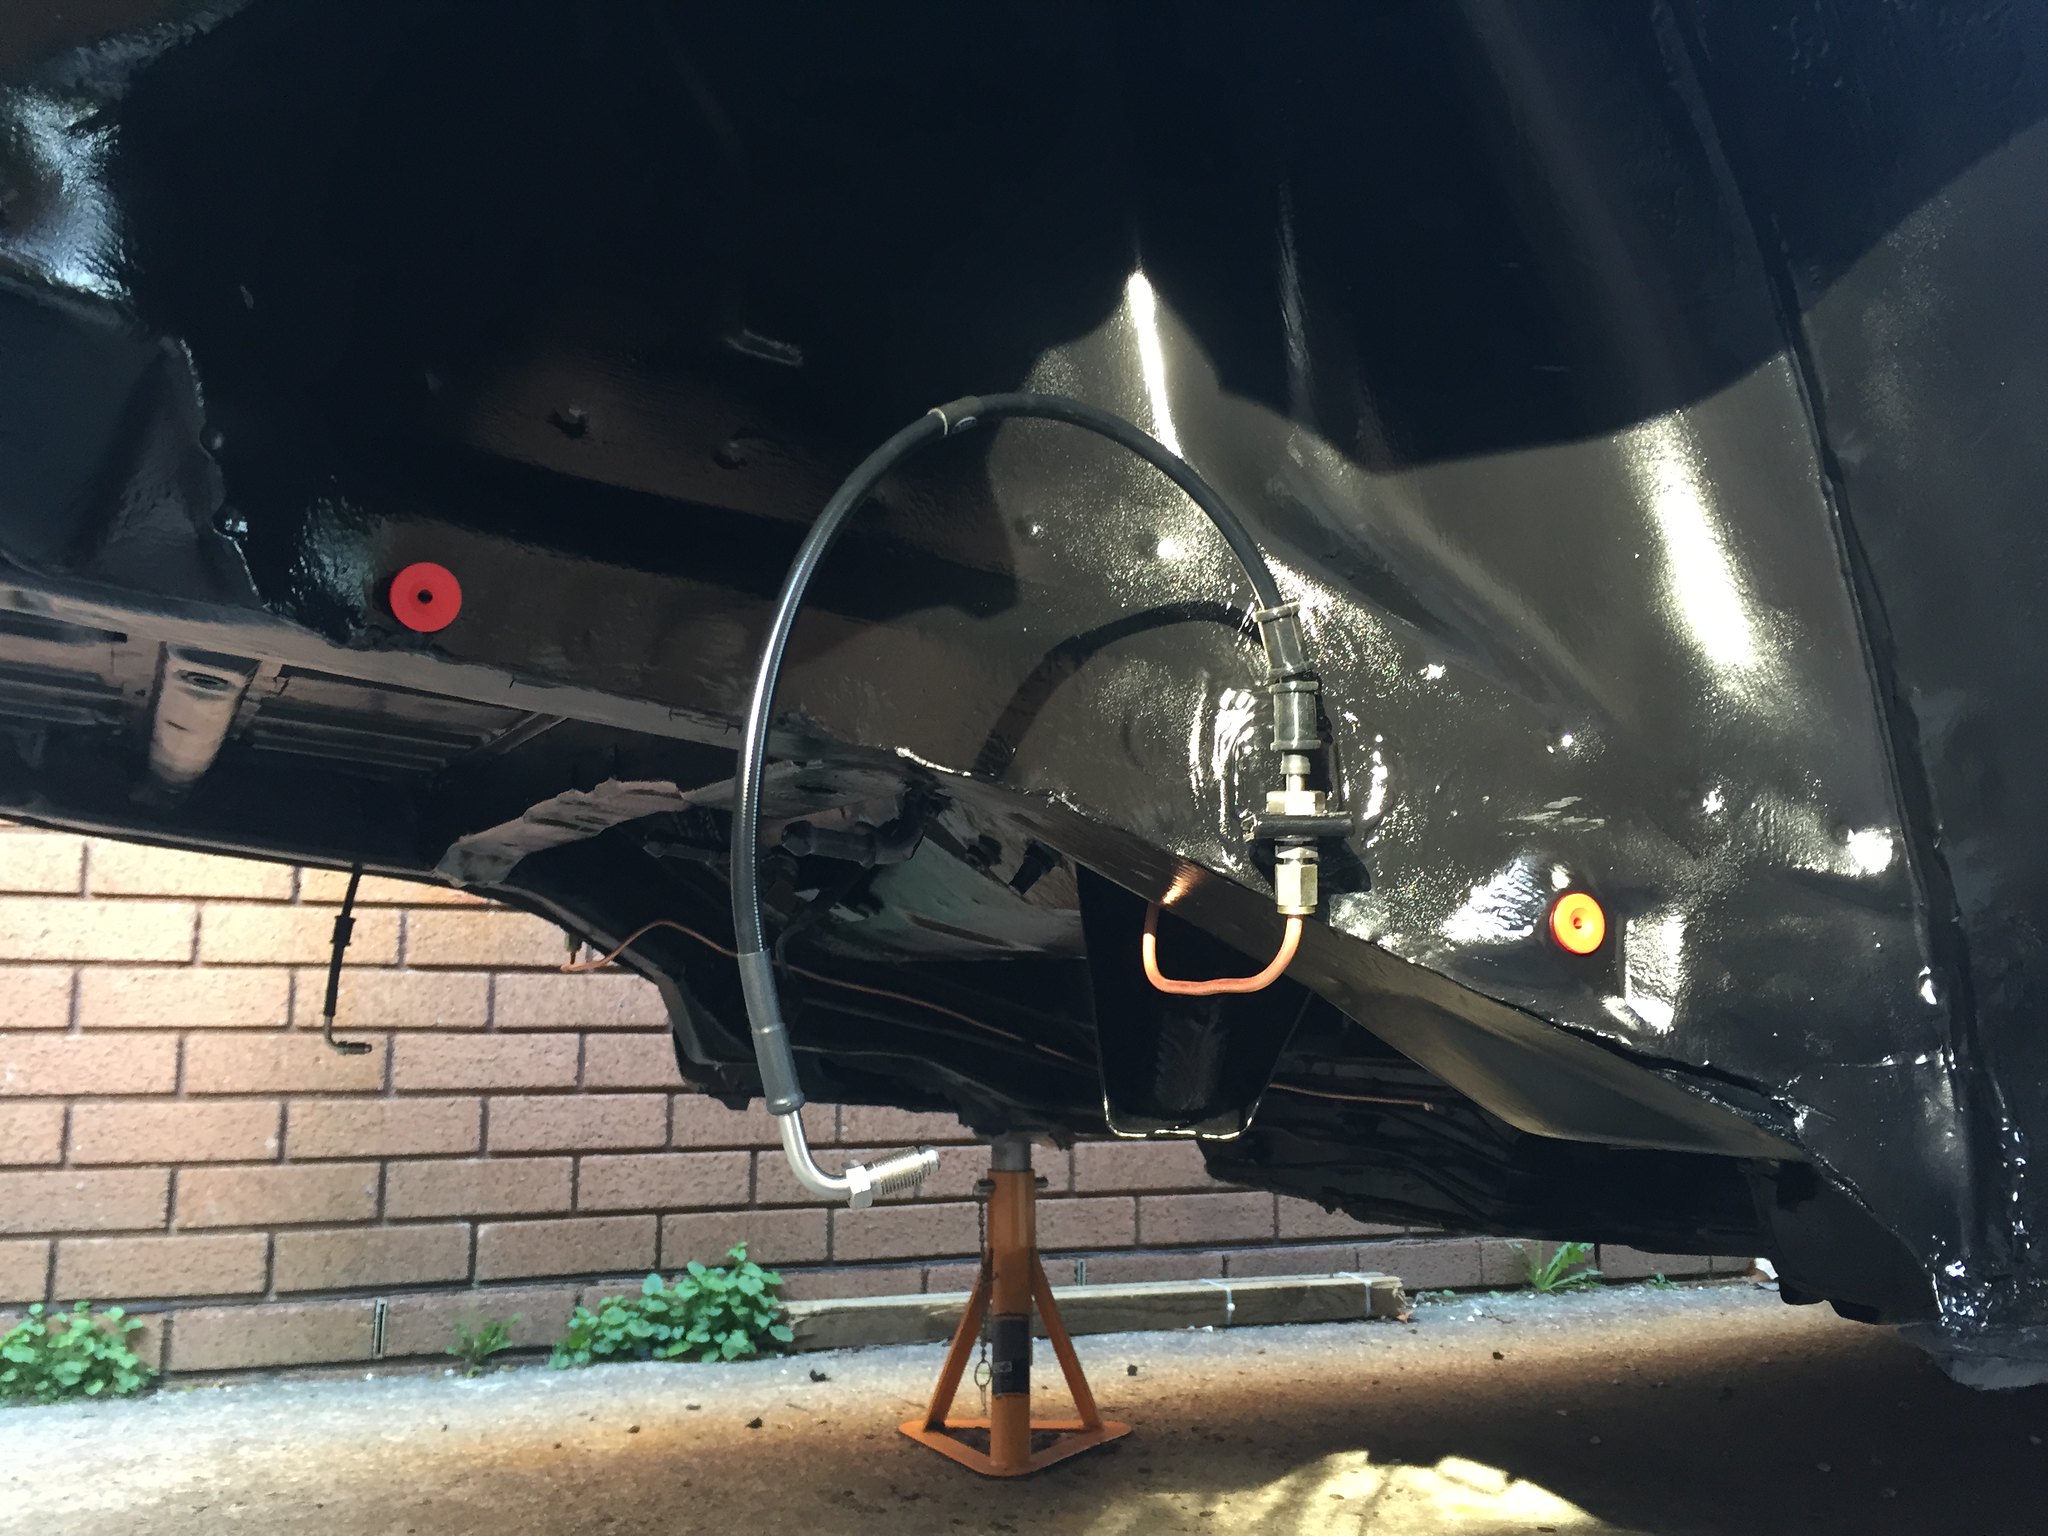
rear ABS sensor and all new beam/mount/shock bolts
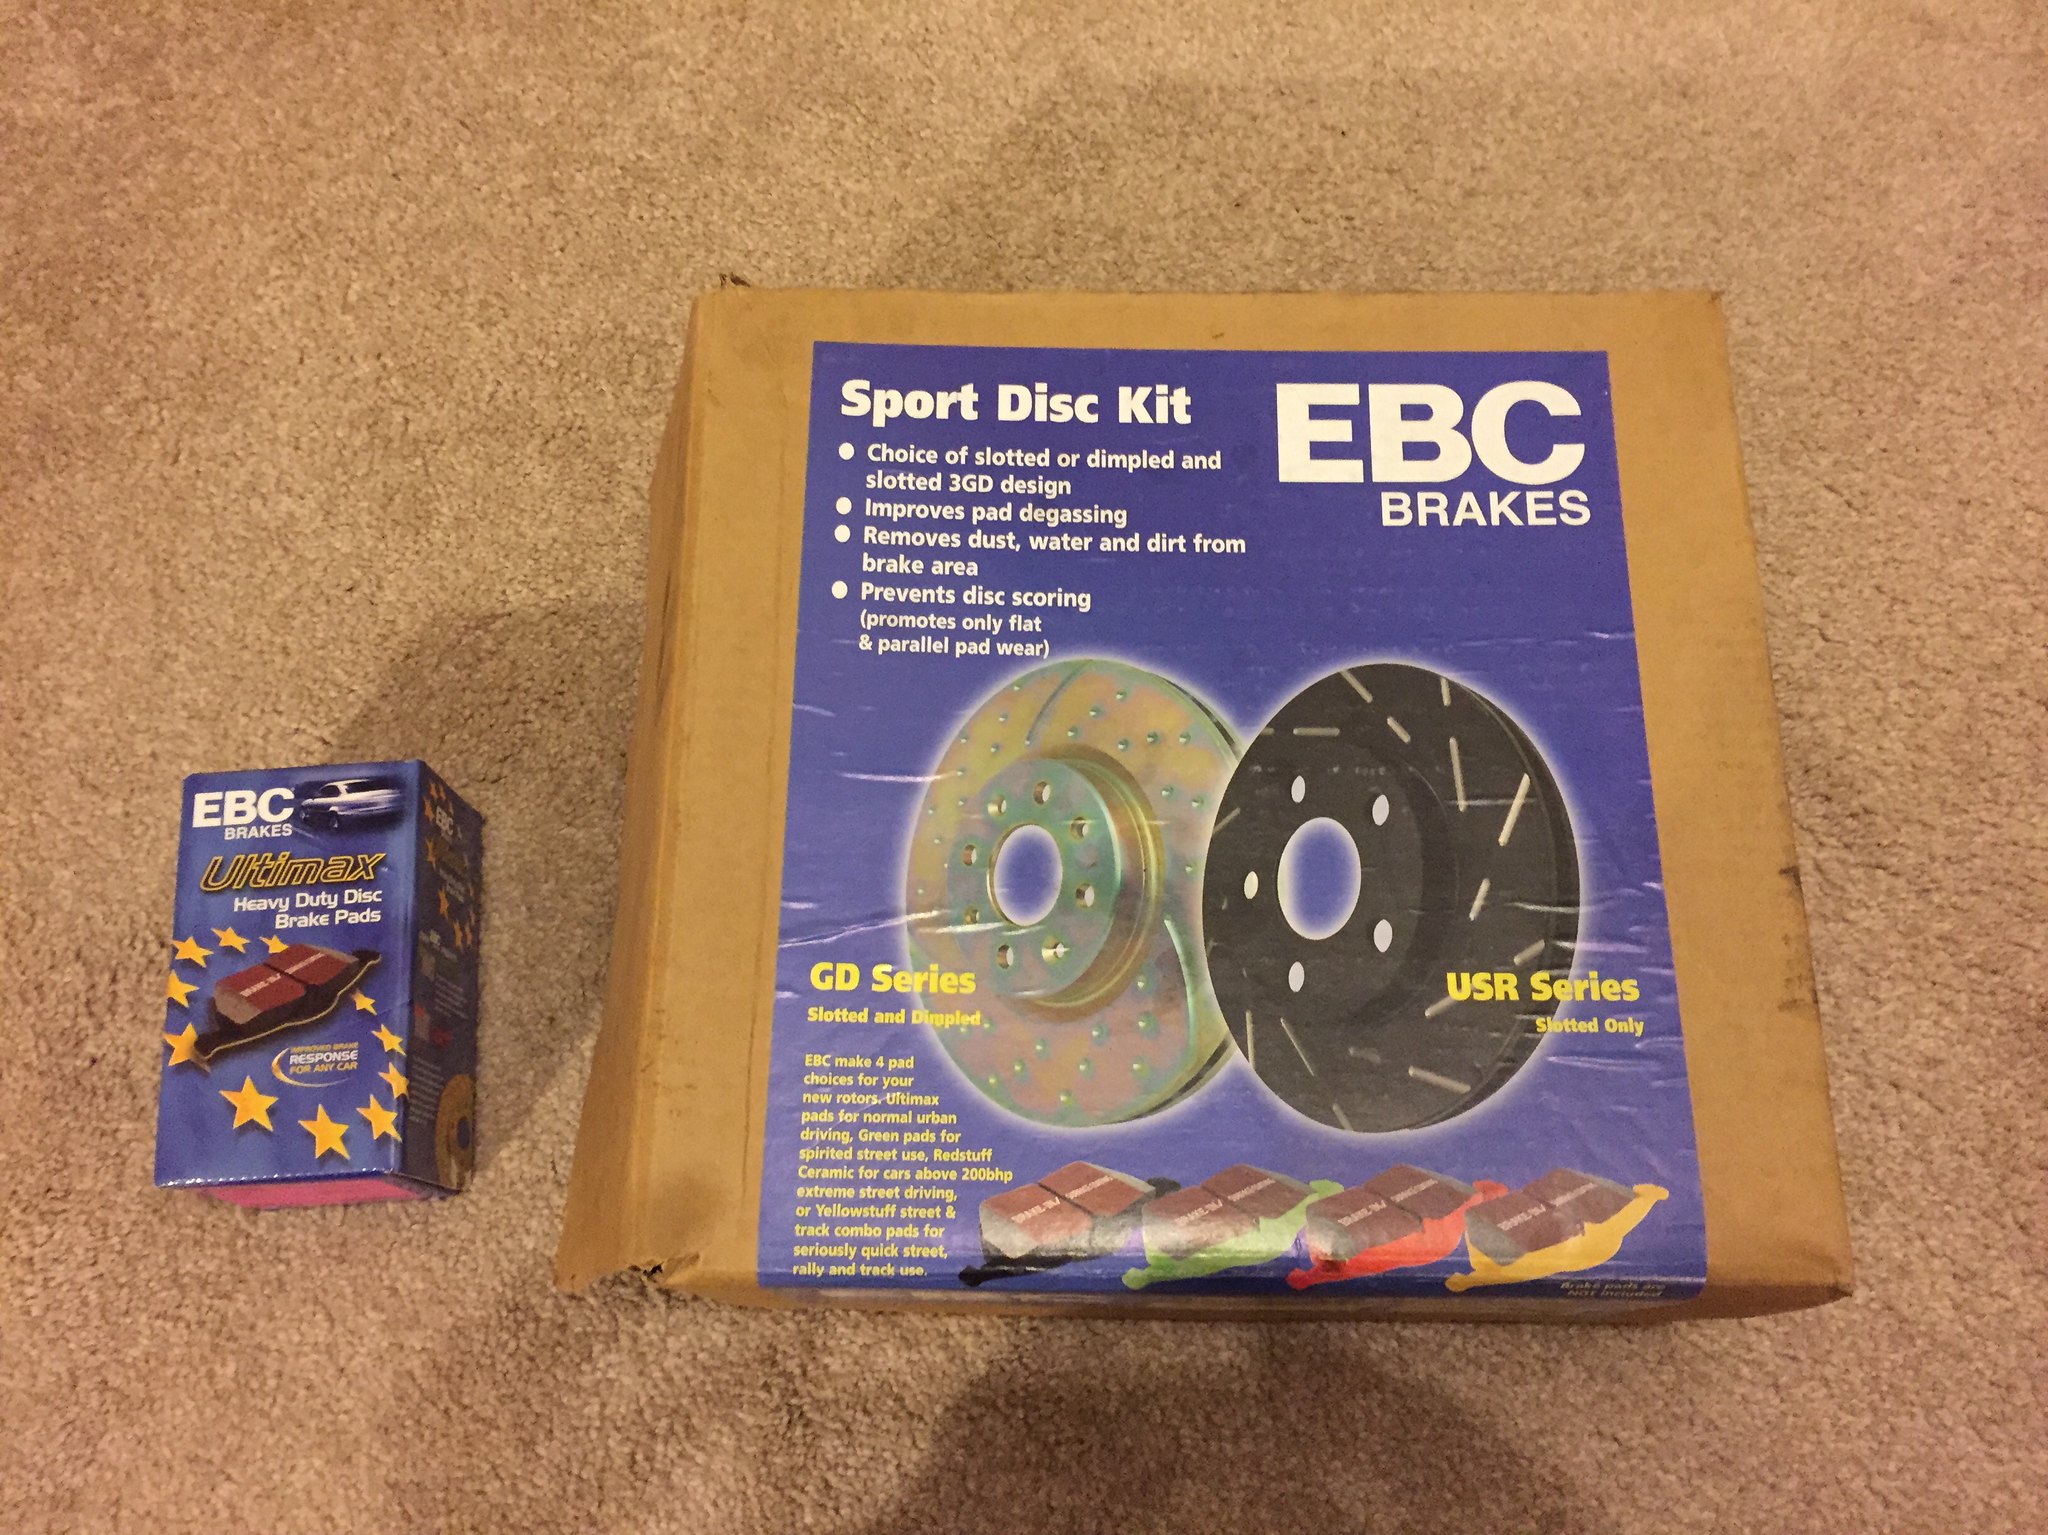
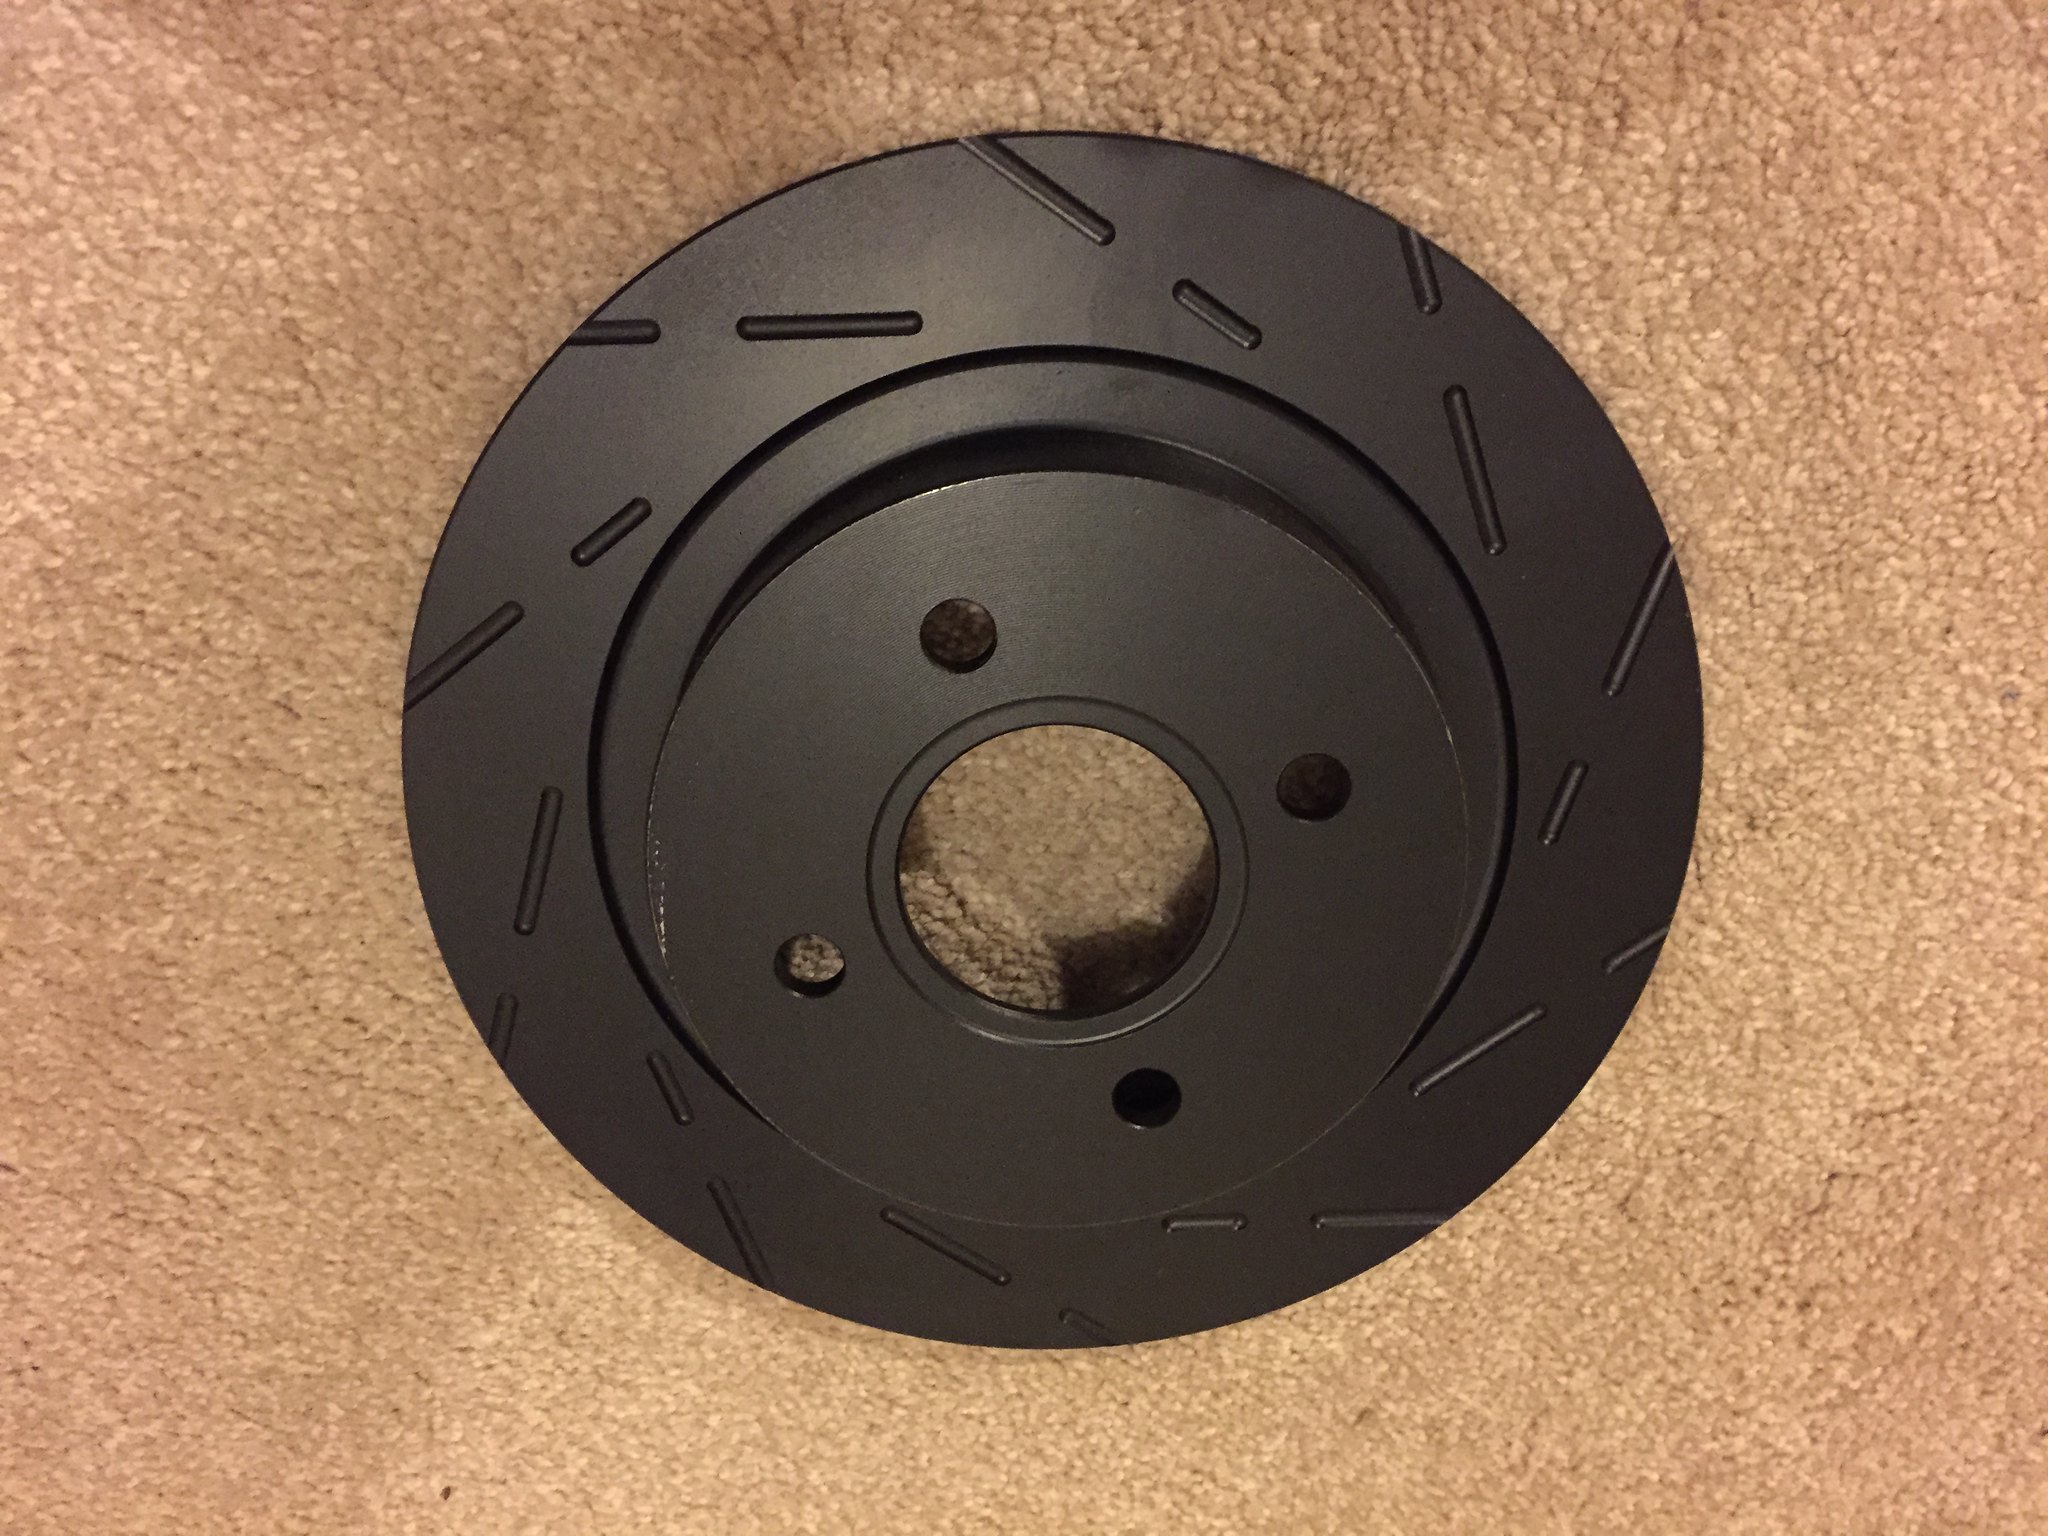
New EBC Ultimax discs and pads to match the front
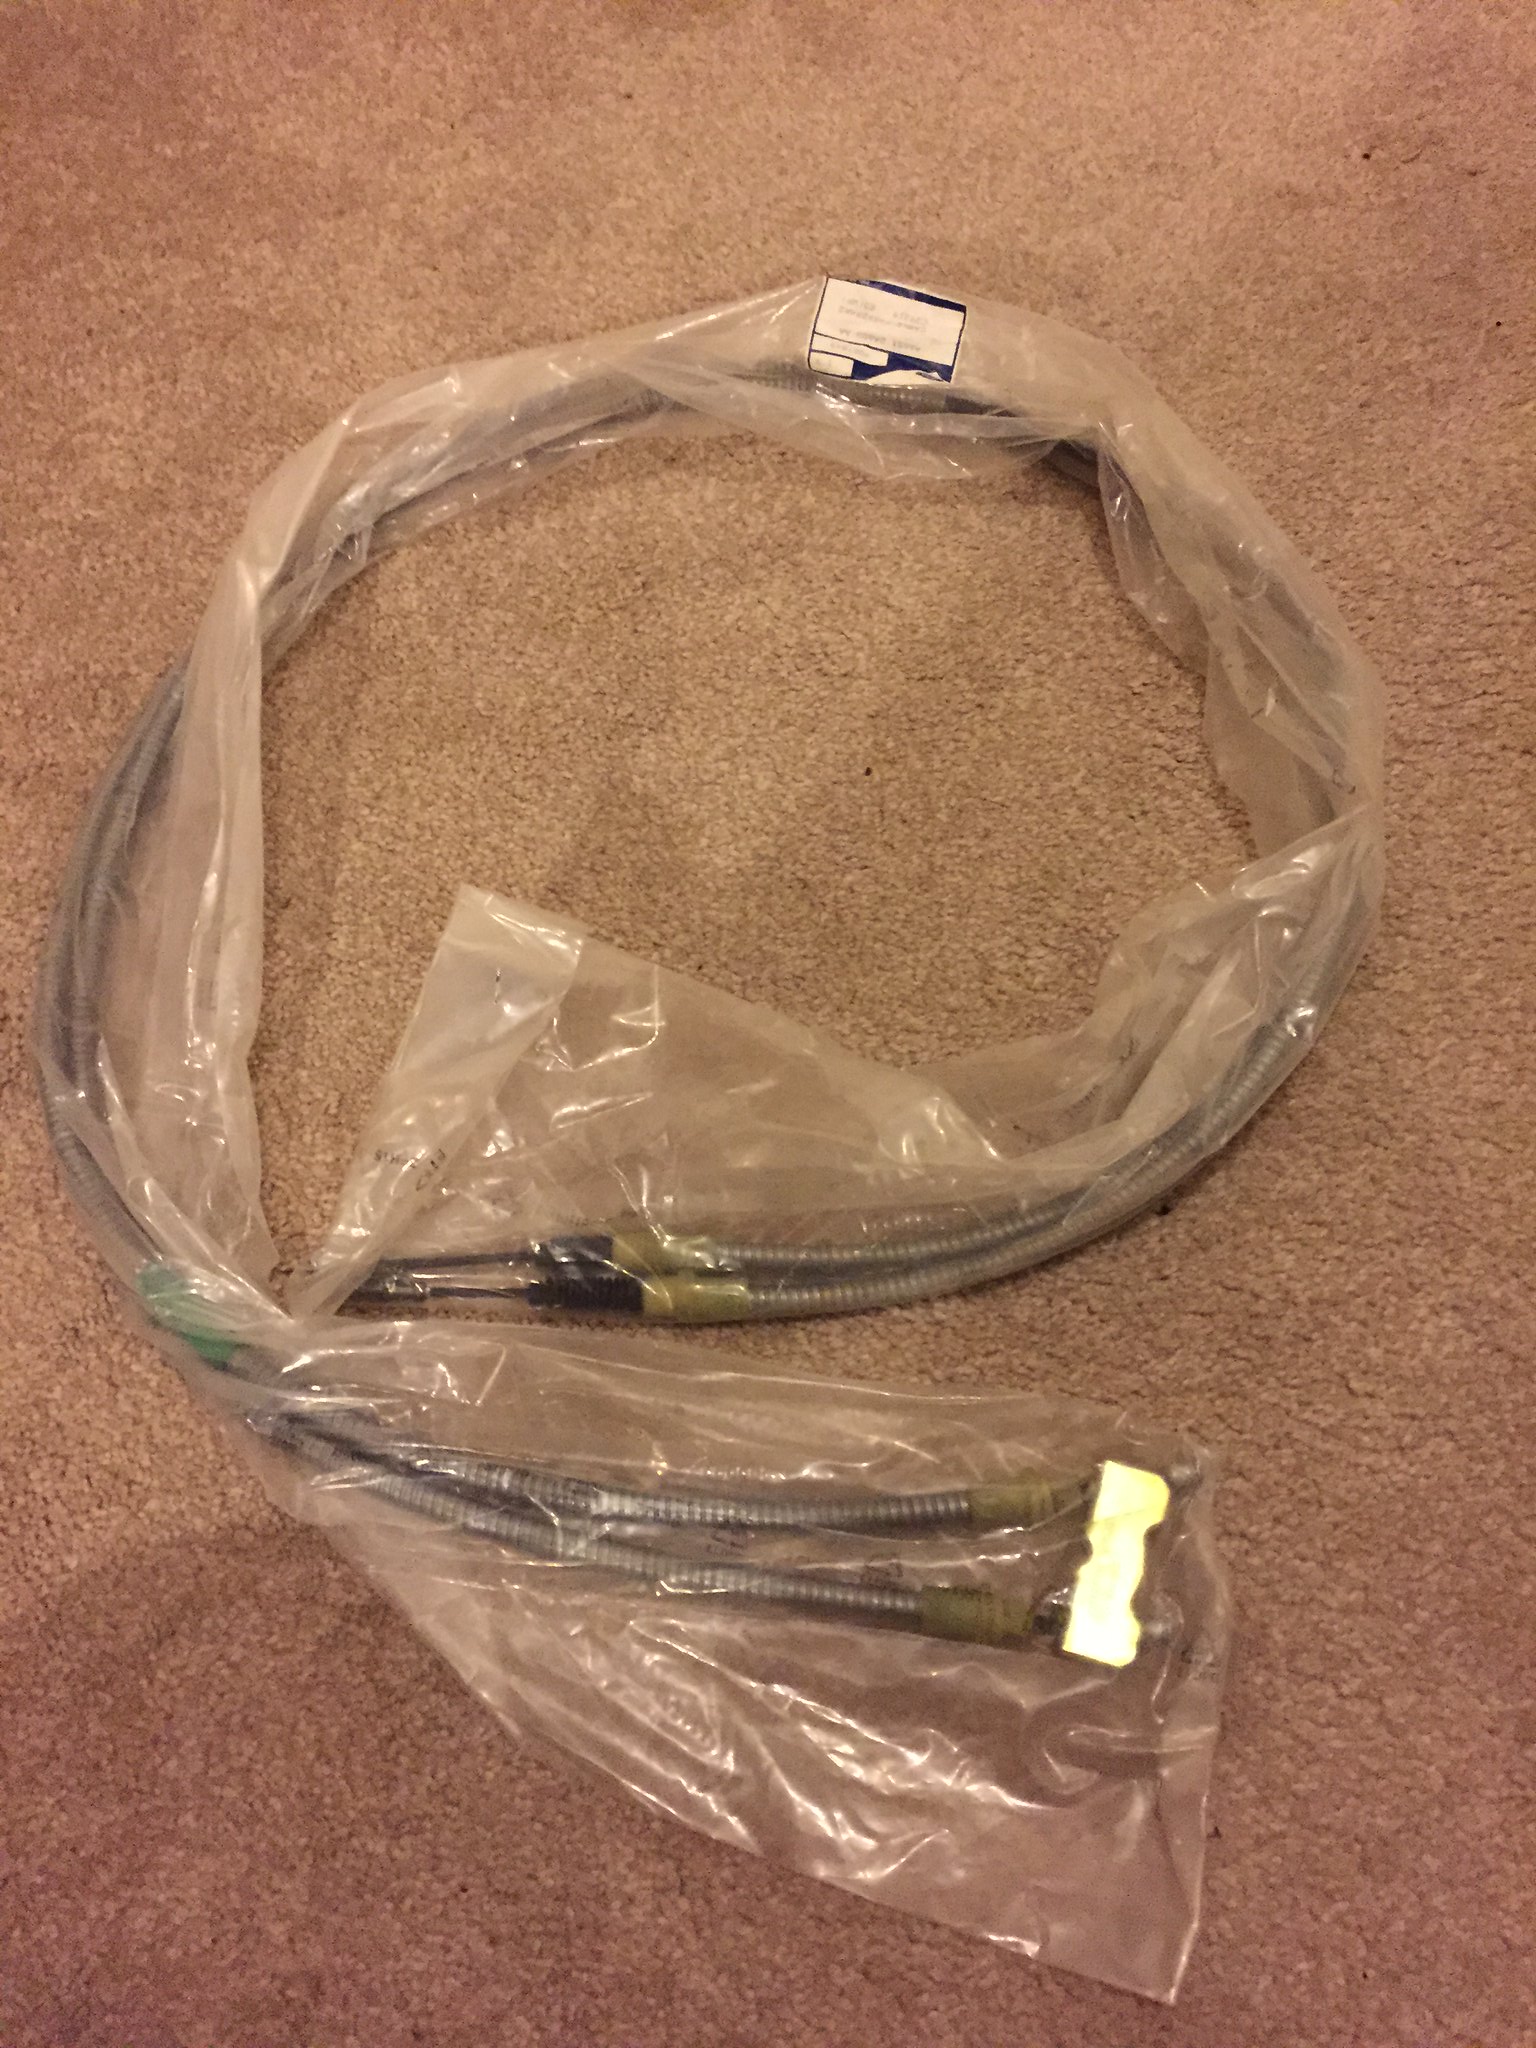
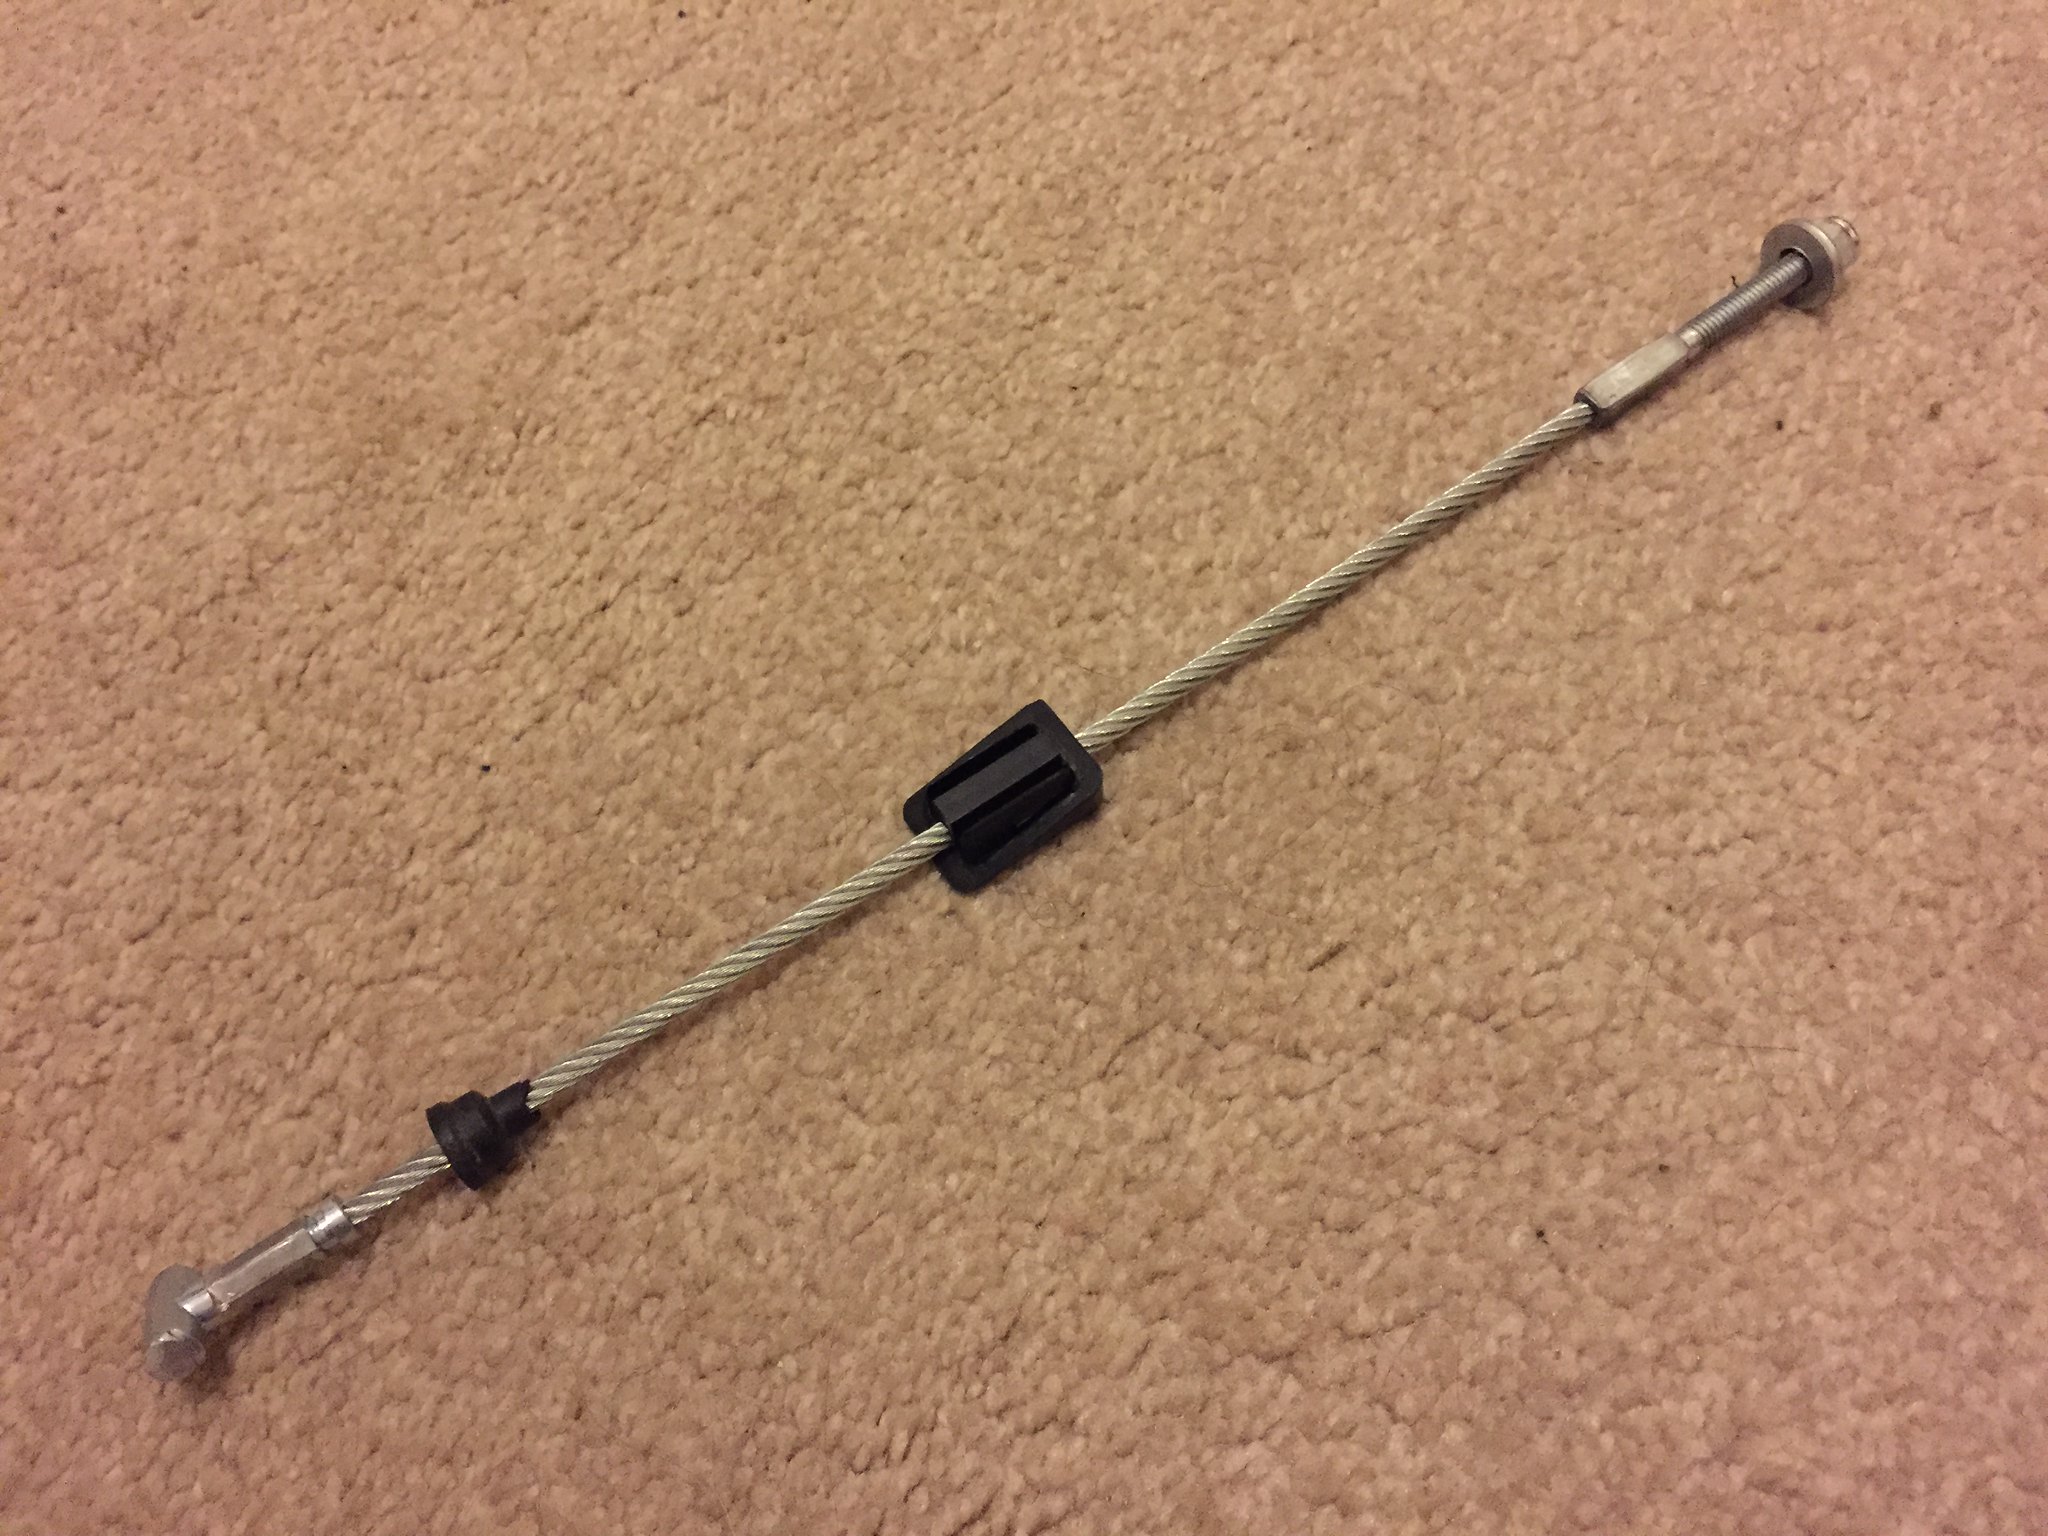
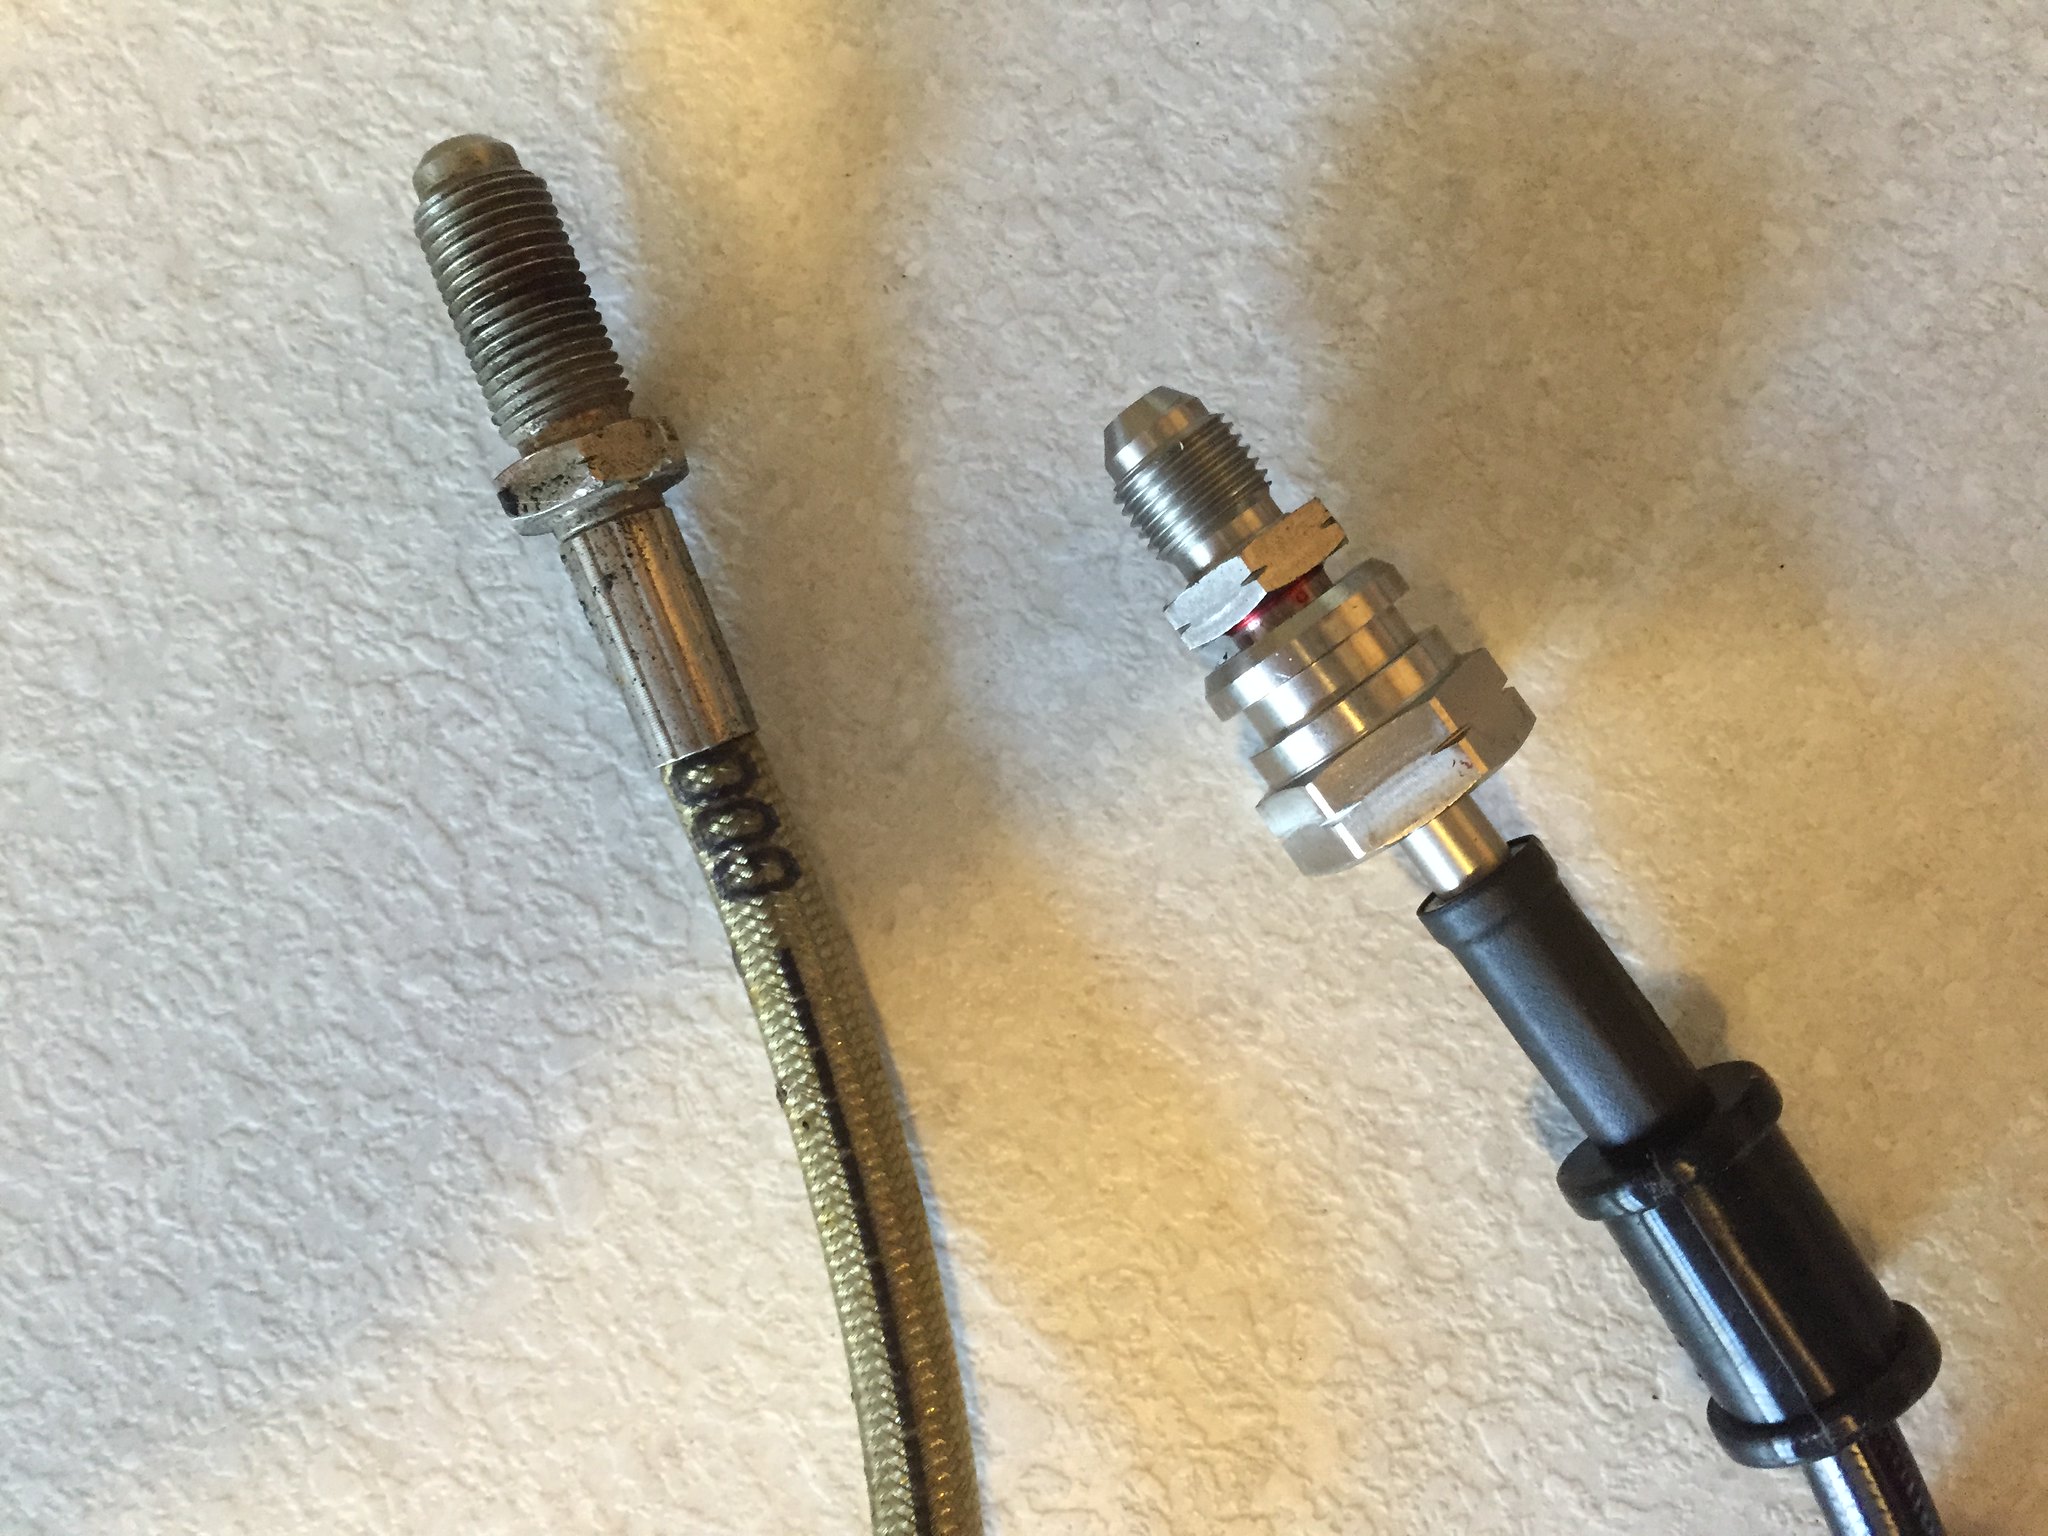
new hand brake cable courtesy of pumabuild
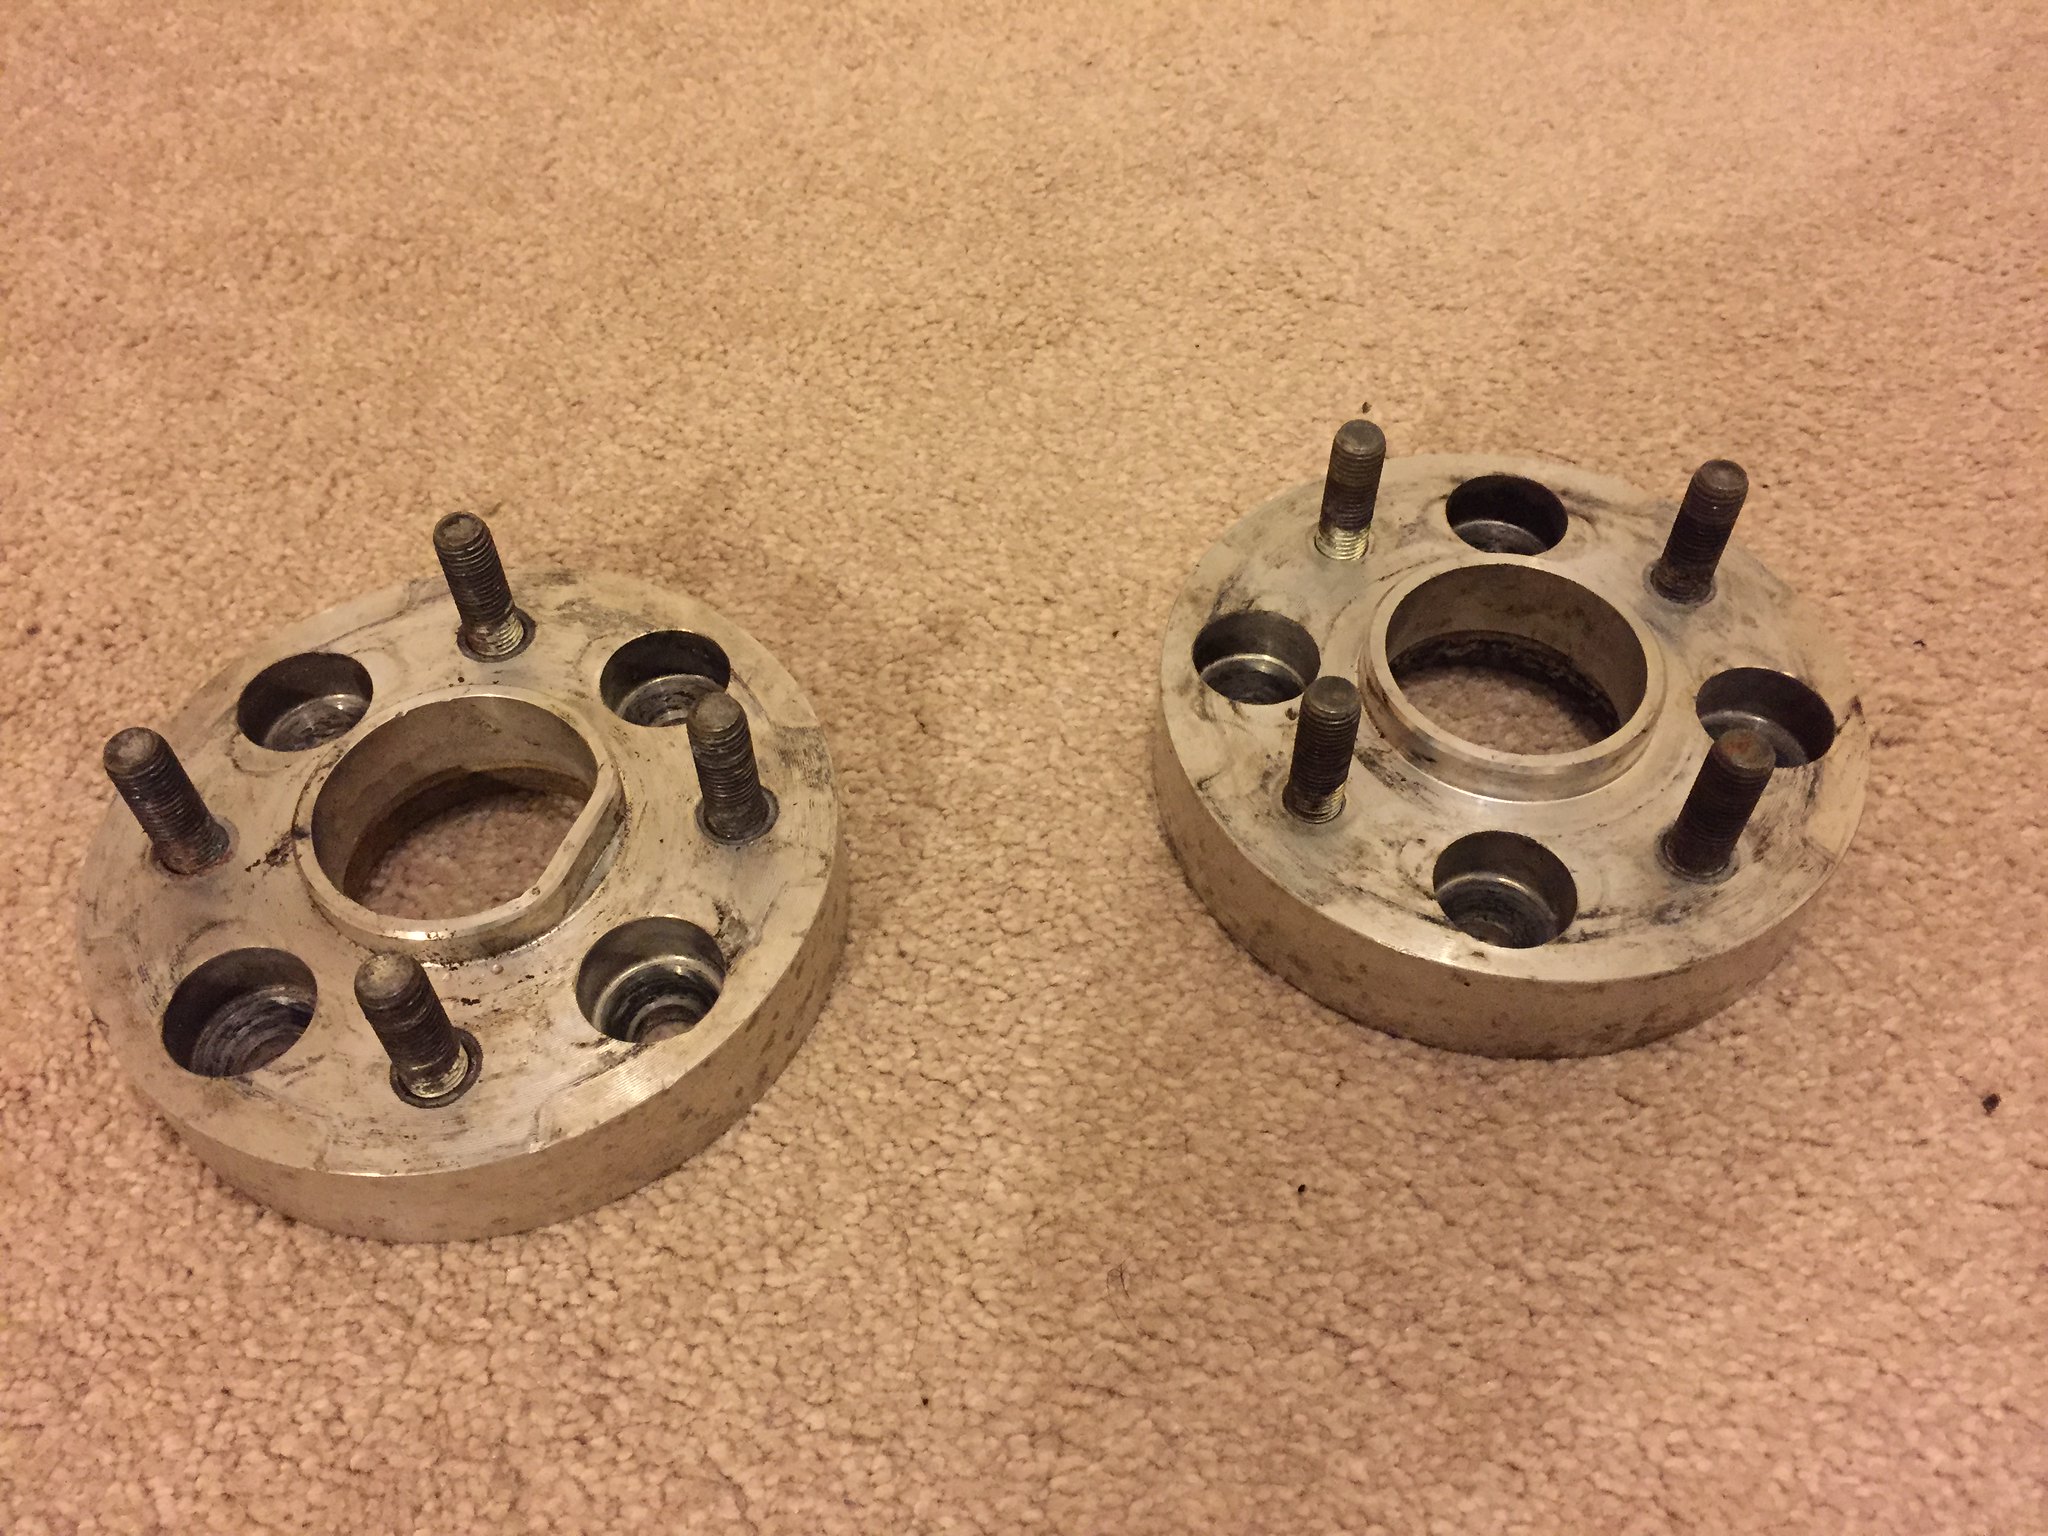
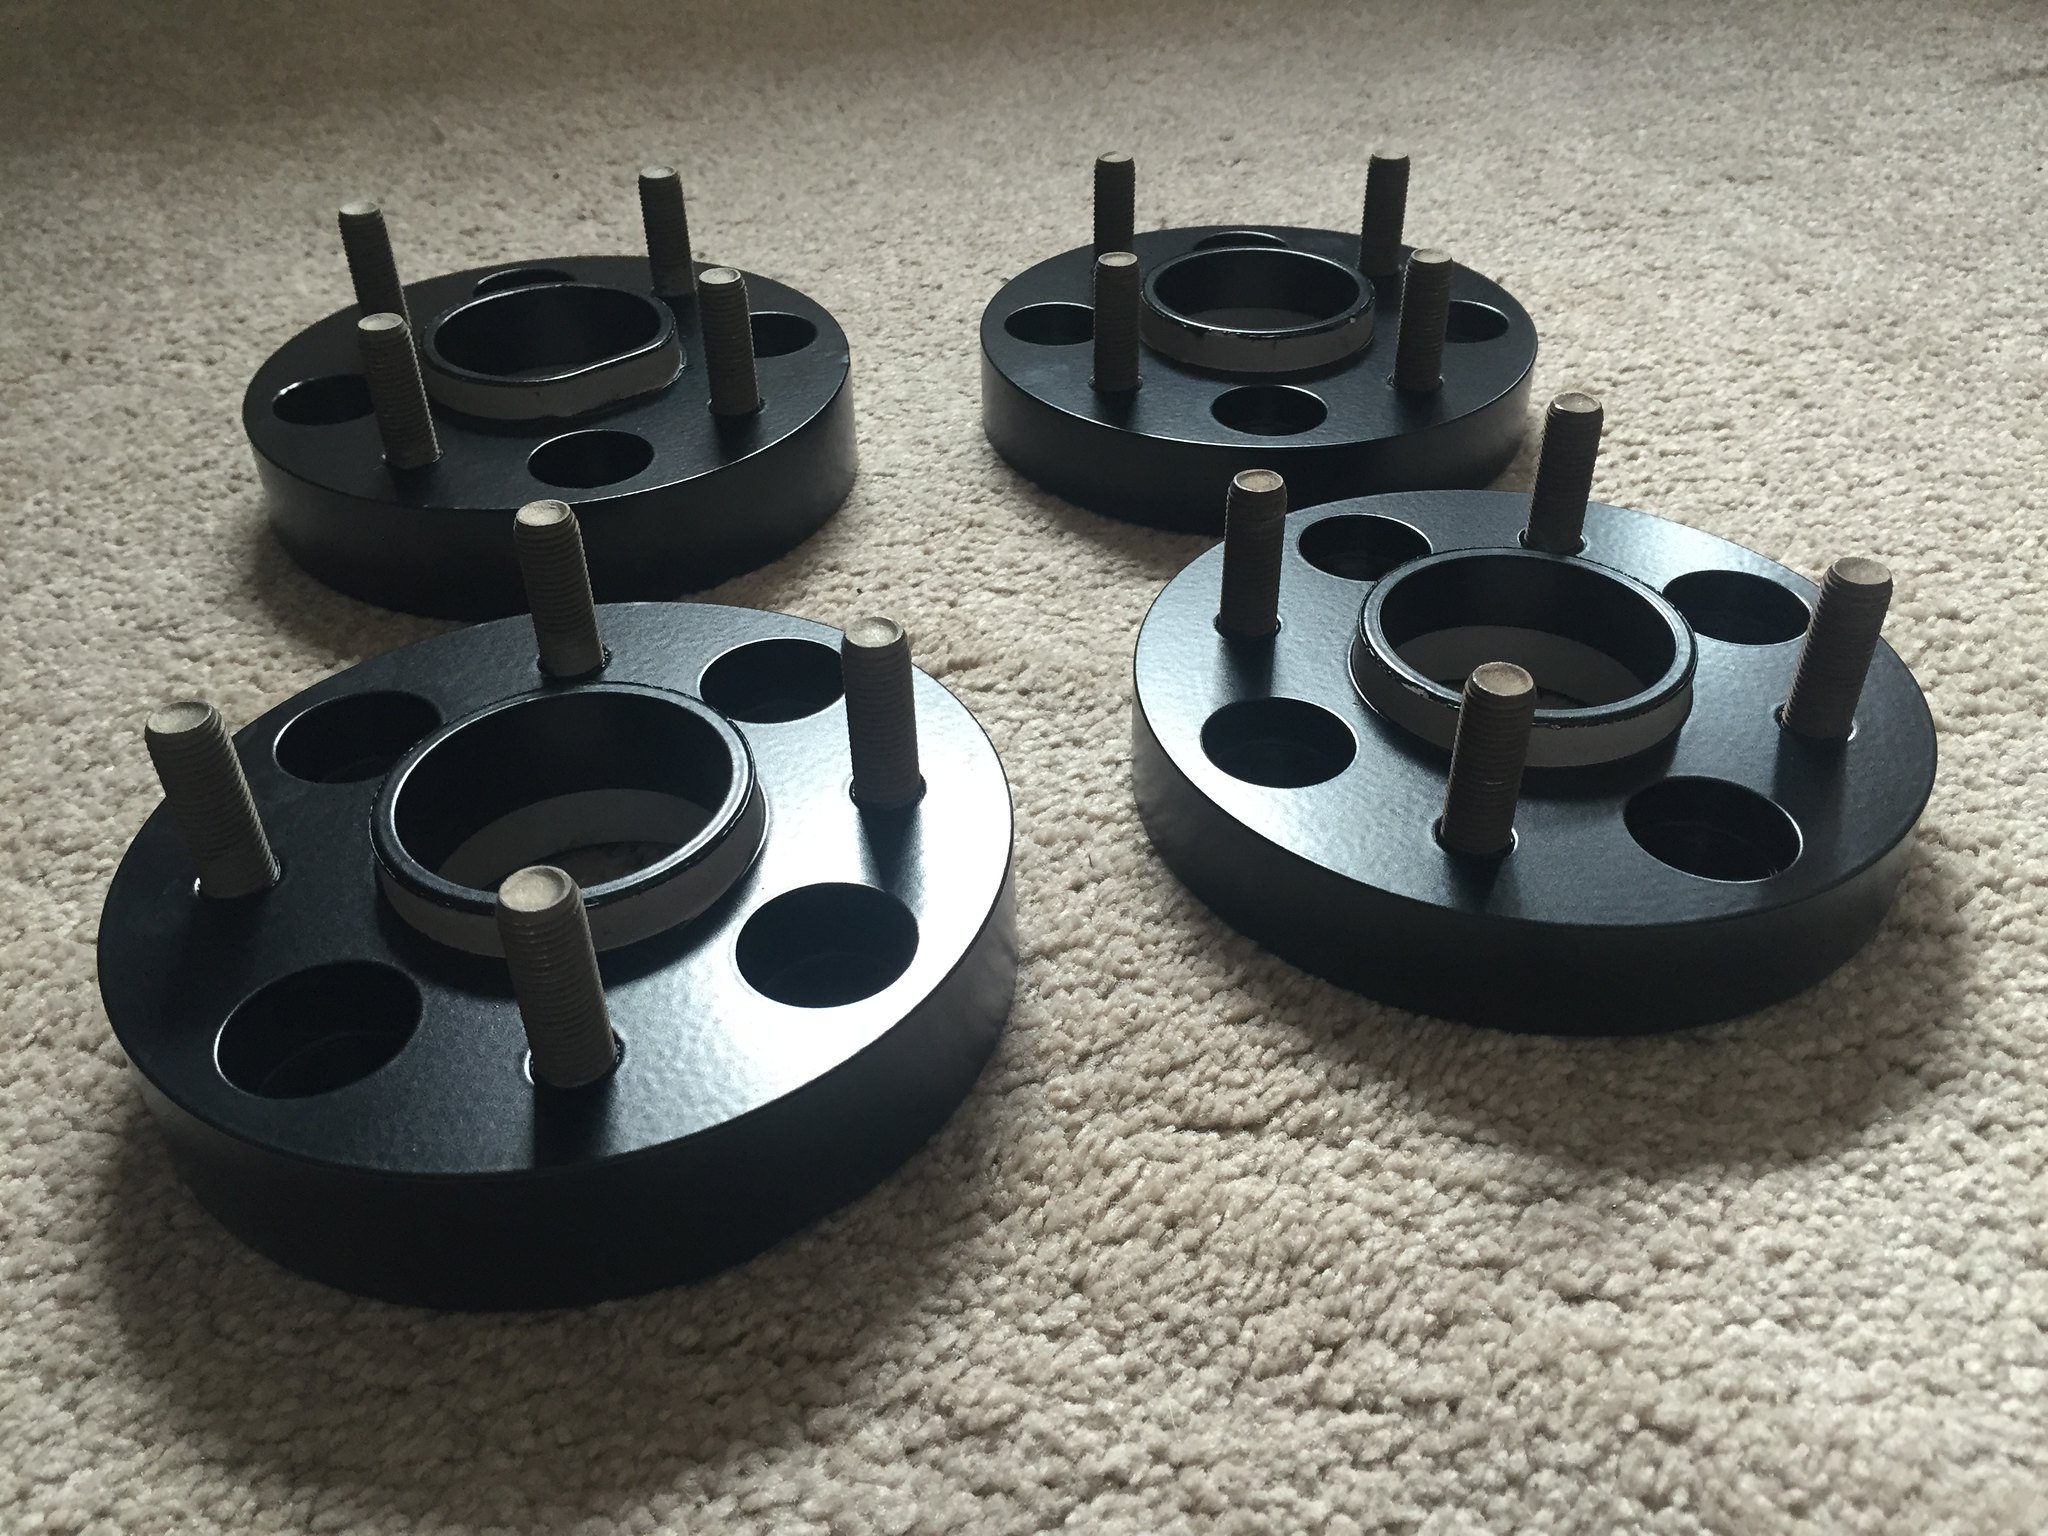
hub spacers are going to get powder coated satin black to match the wheels, these are the rears i need to get the fronts off yet
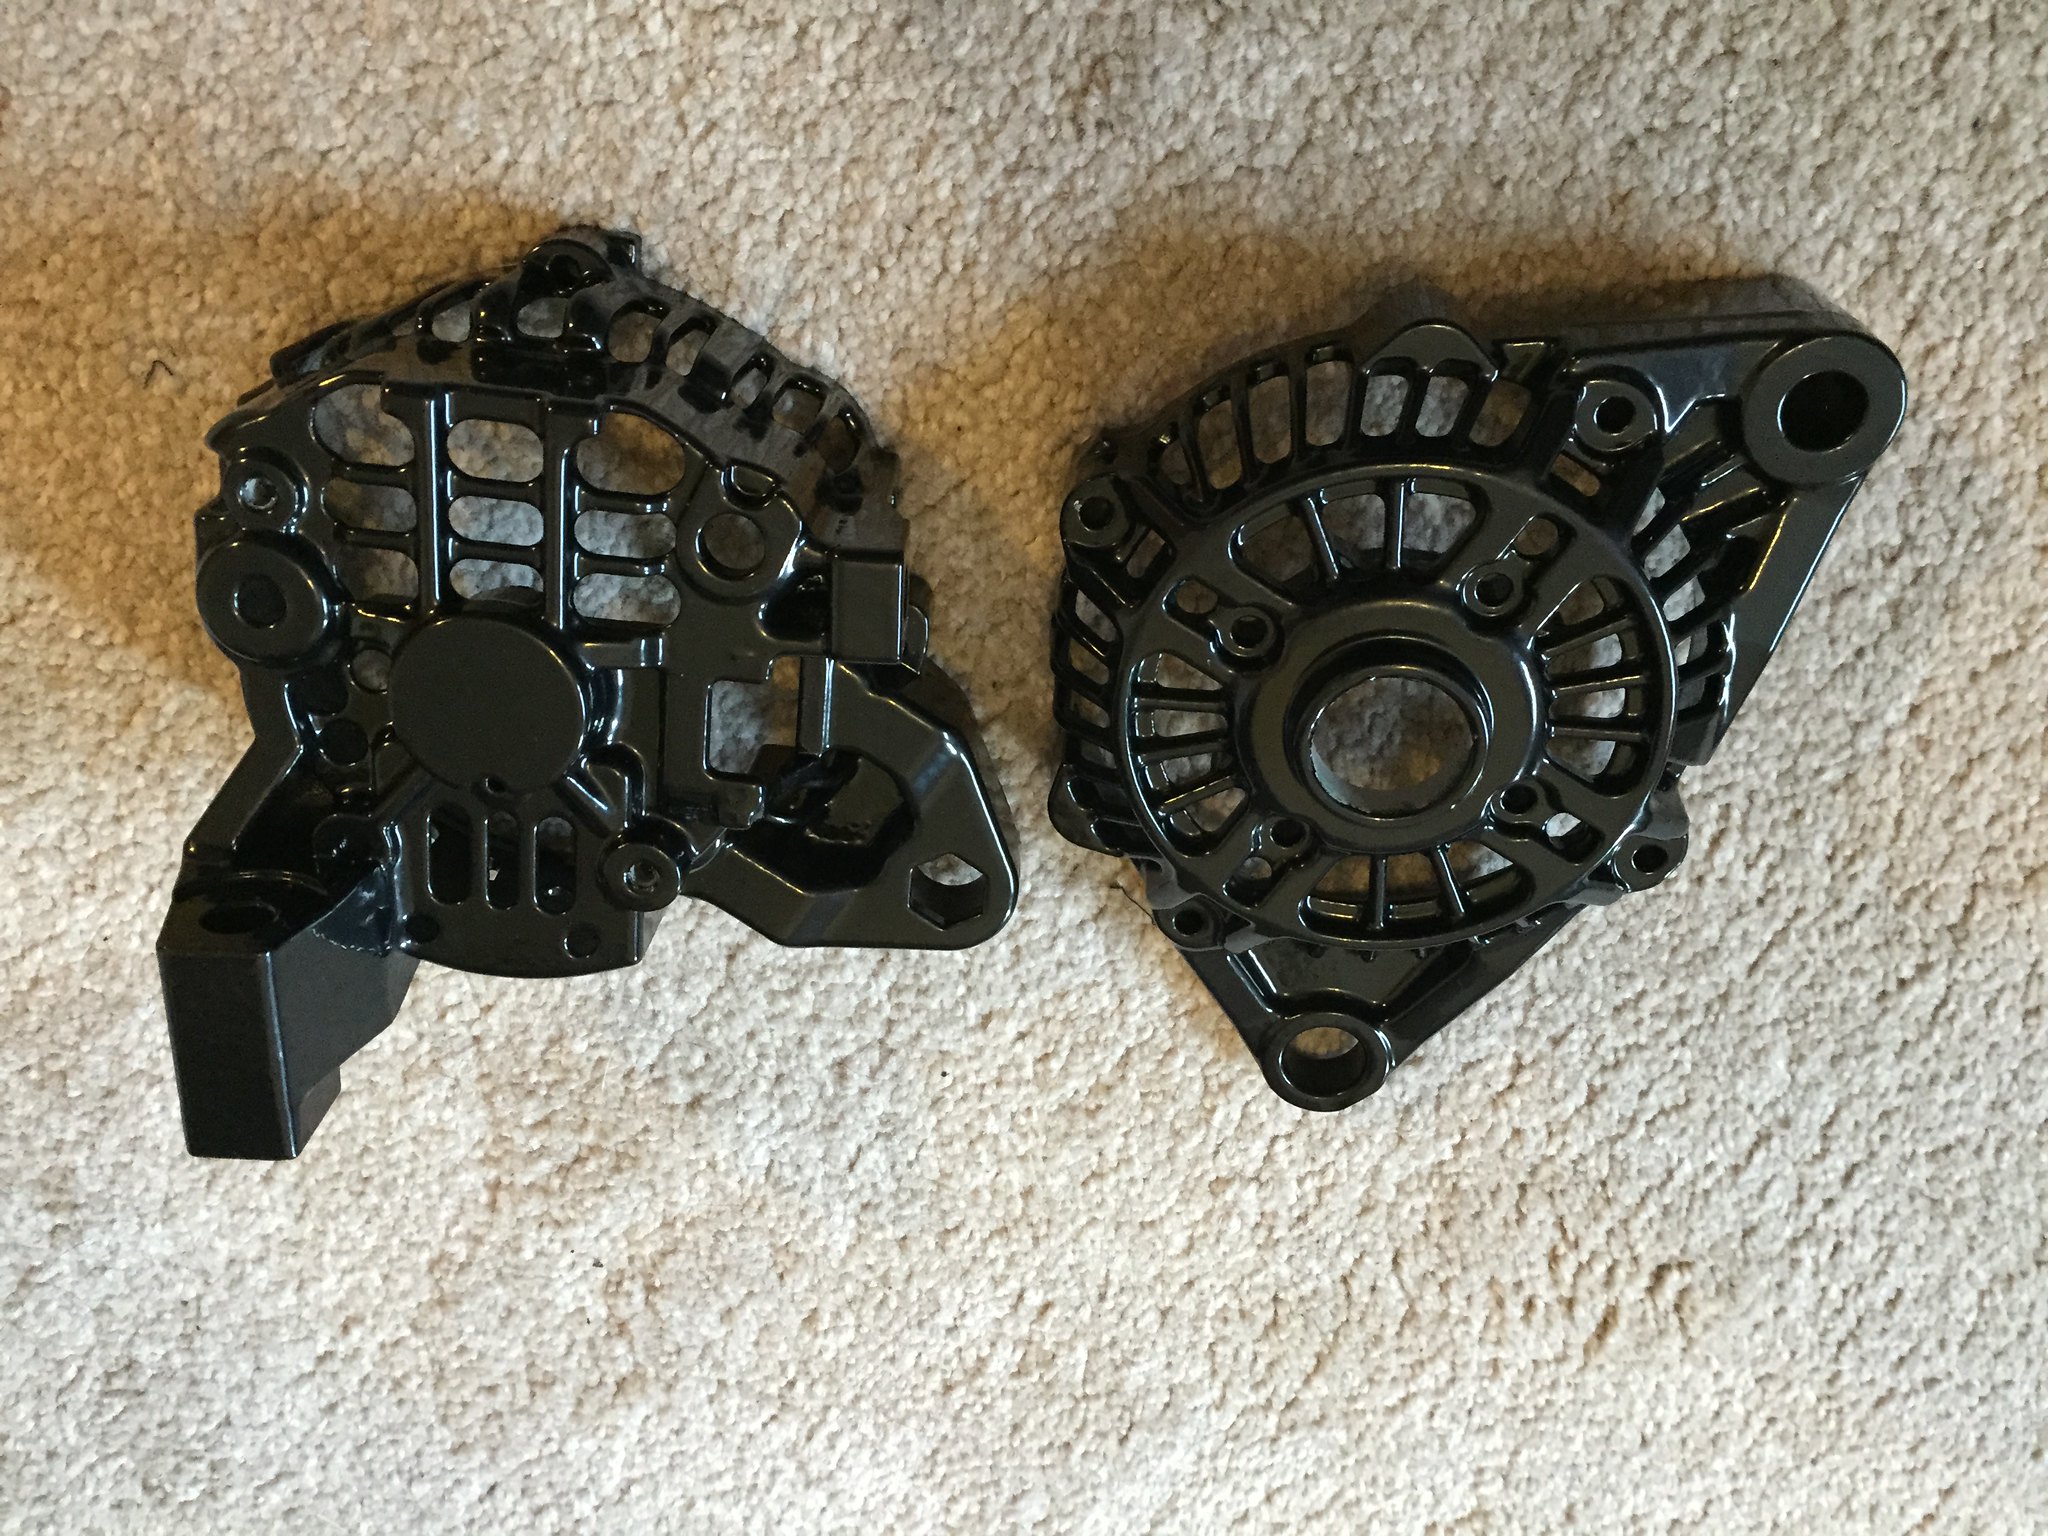
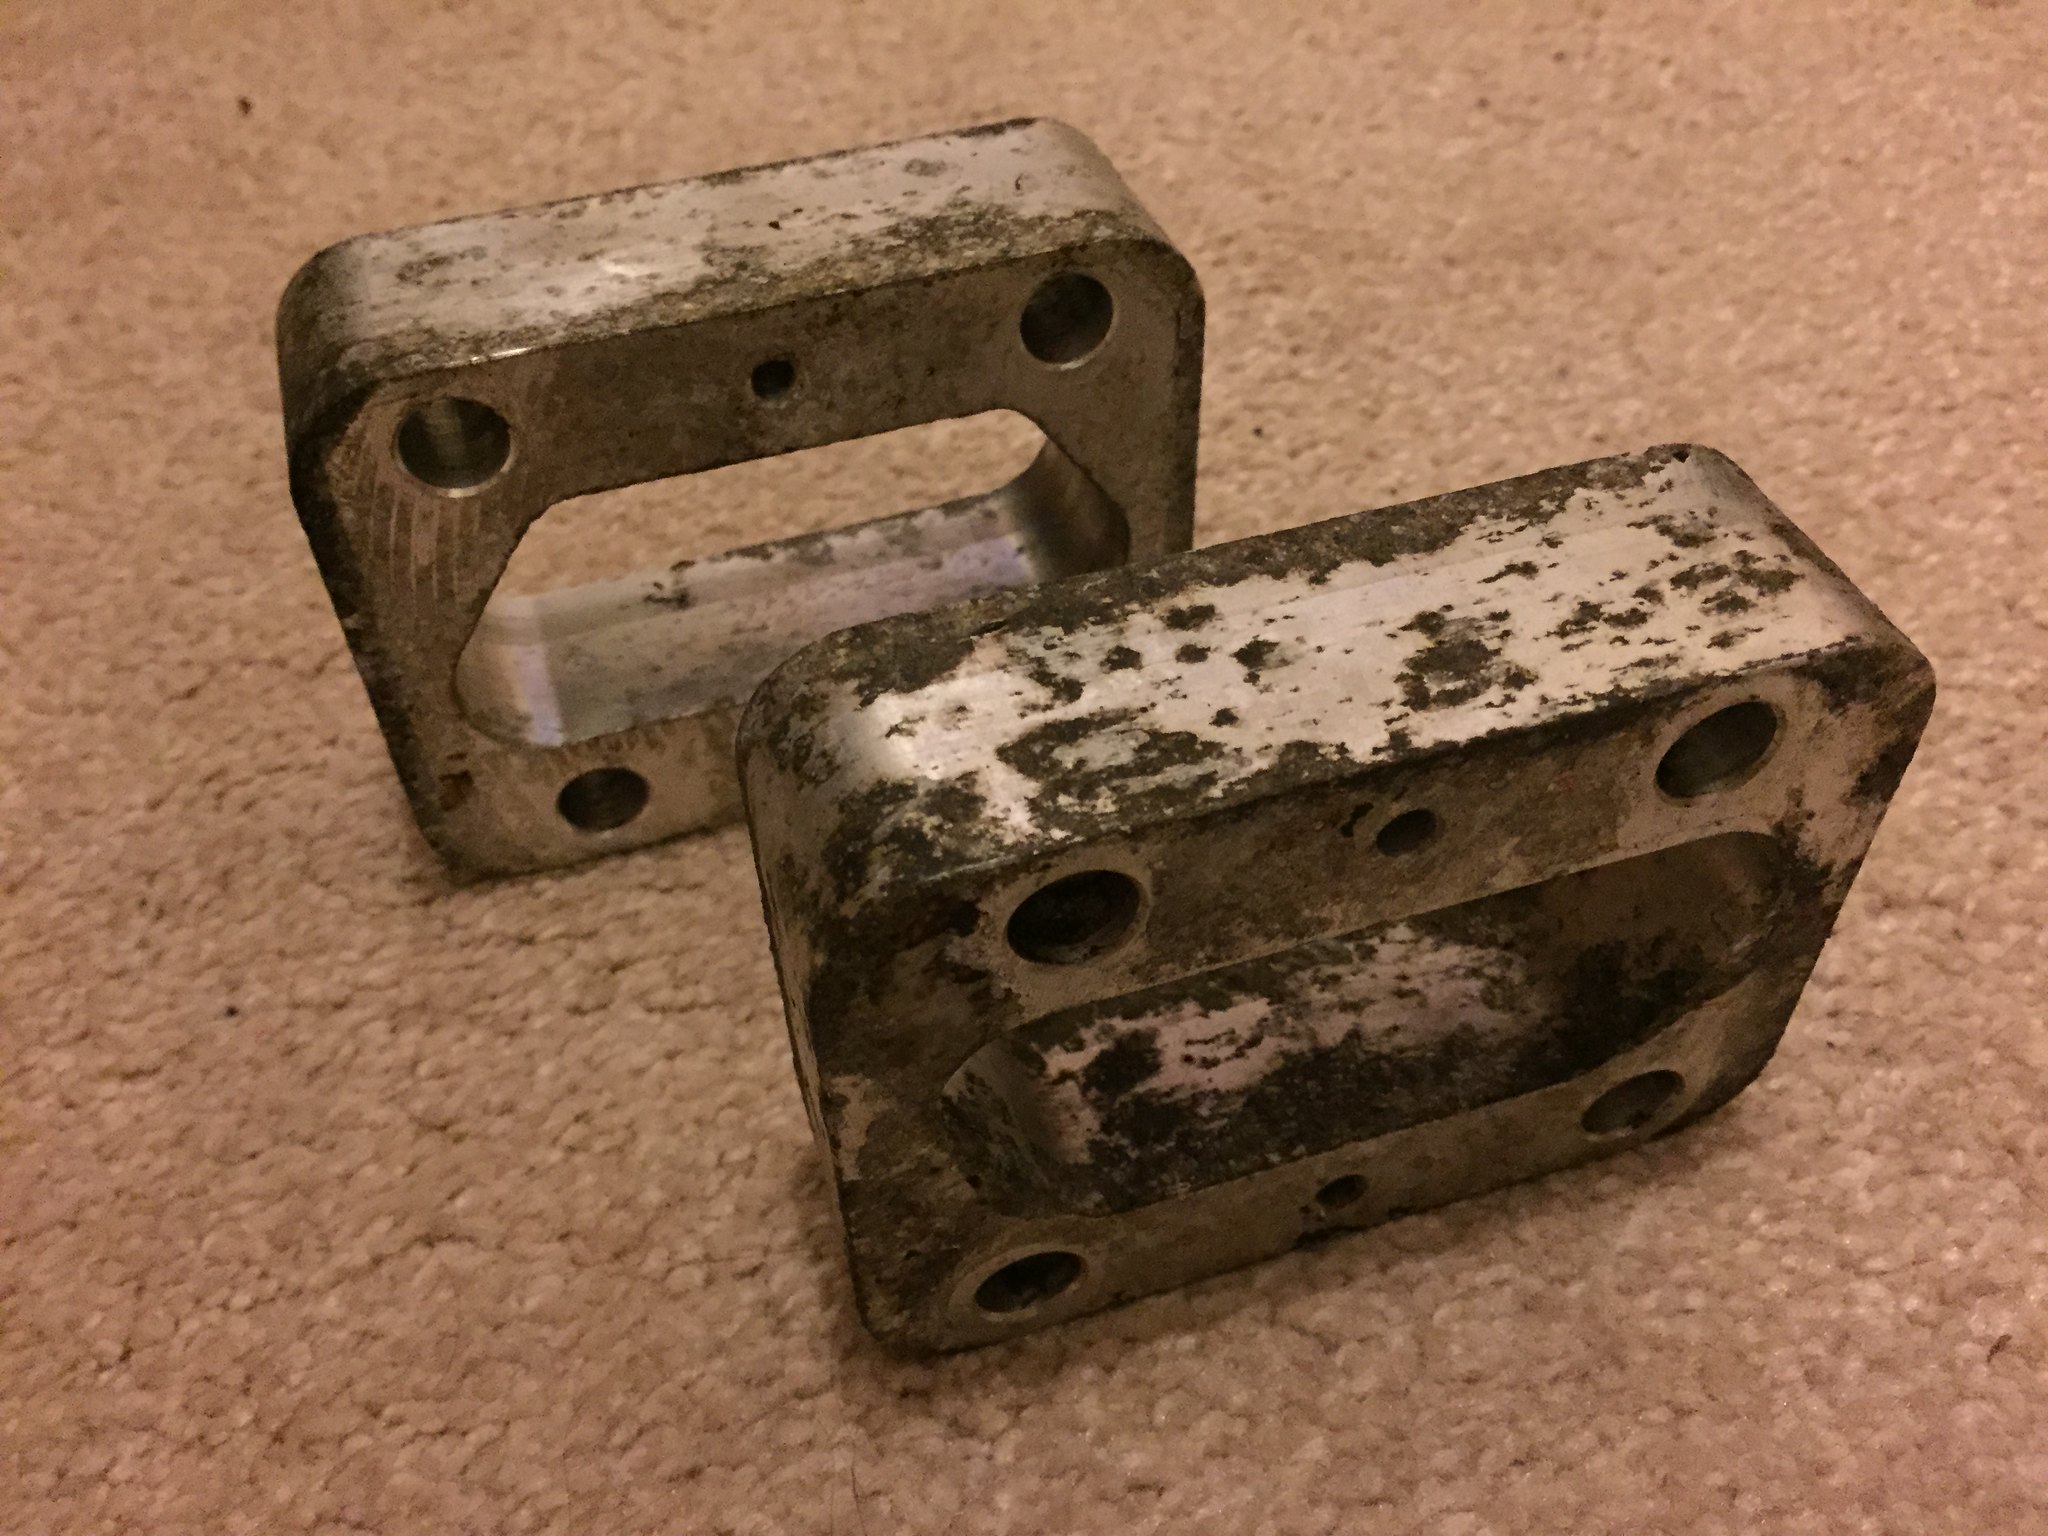
two halves of the alternator cage, it was originaly powder coated silver but the quality was pants so i got it redone at this new company i have found and they have done a much better job!
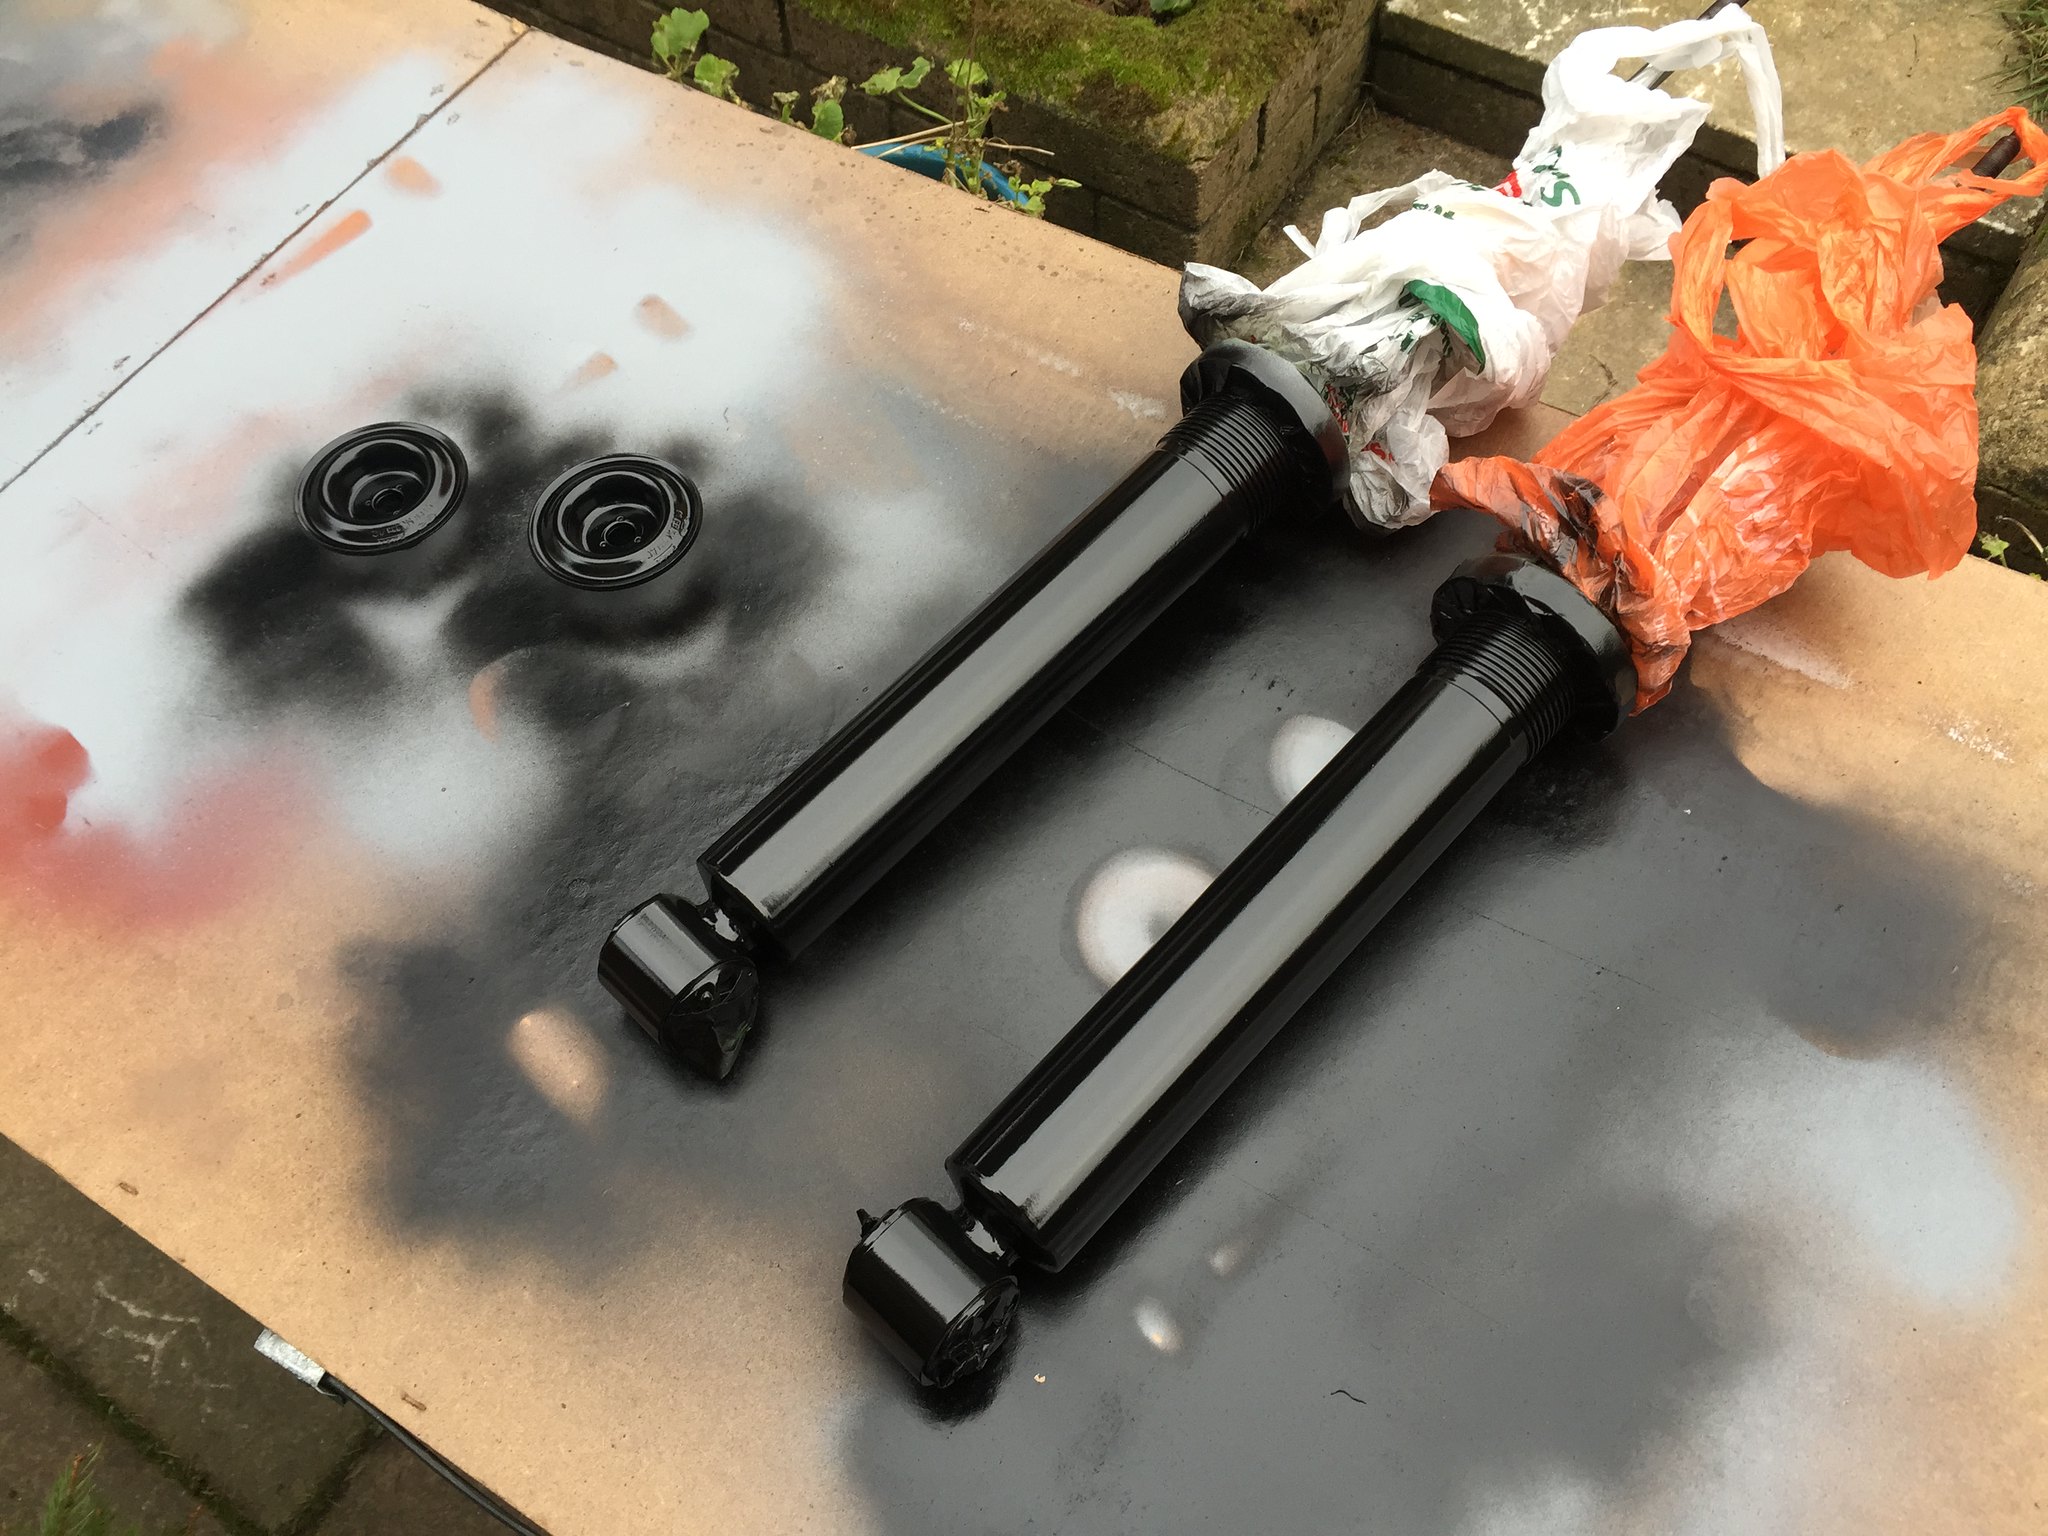
fresh rear beam

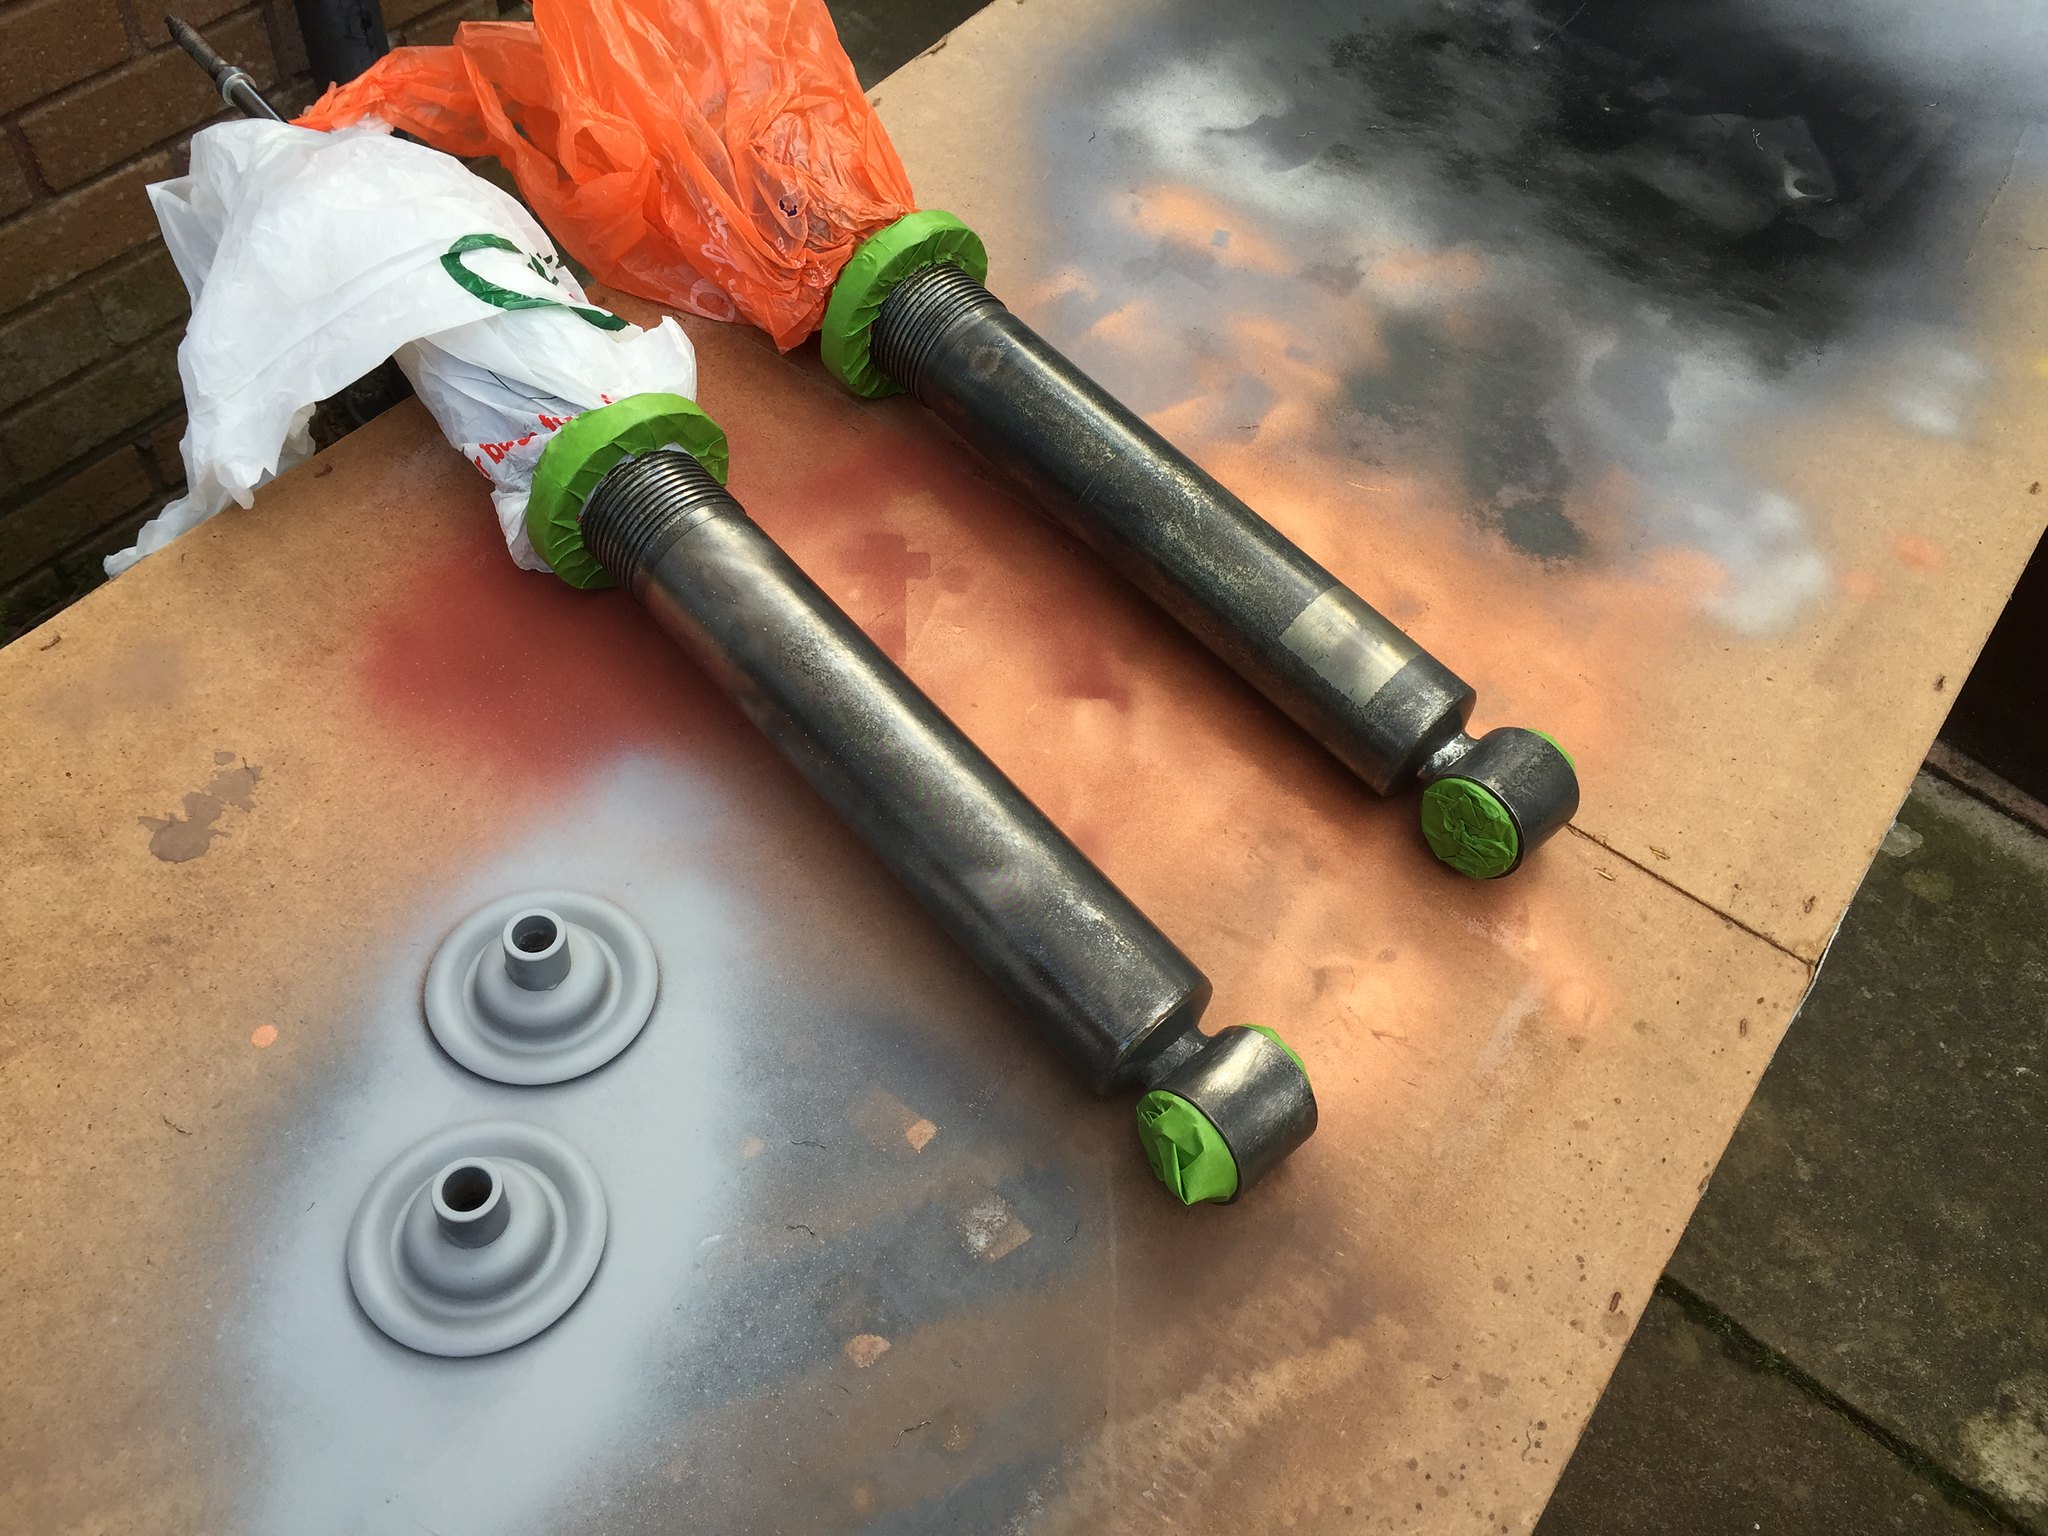
grotty old splash guards, axle spacersand rear powerflex bushes removed
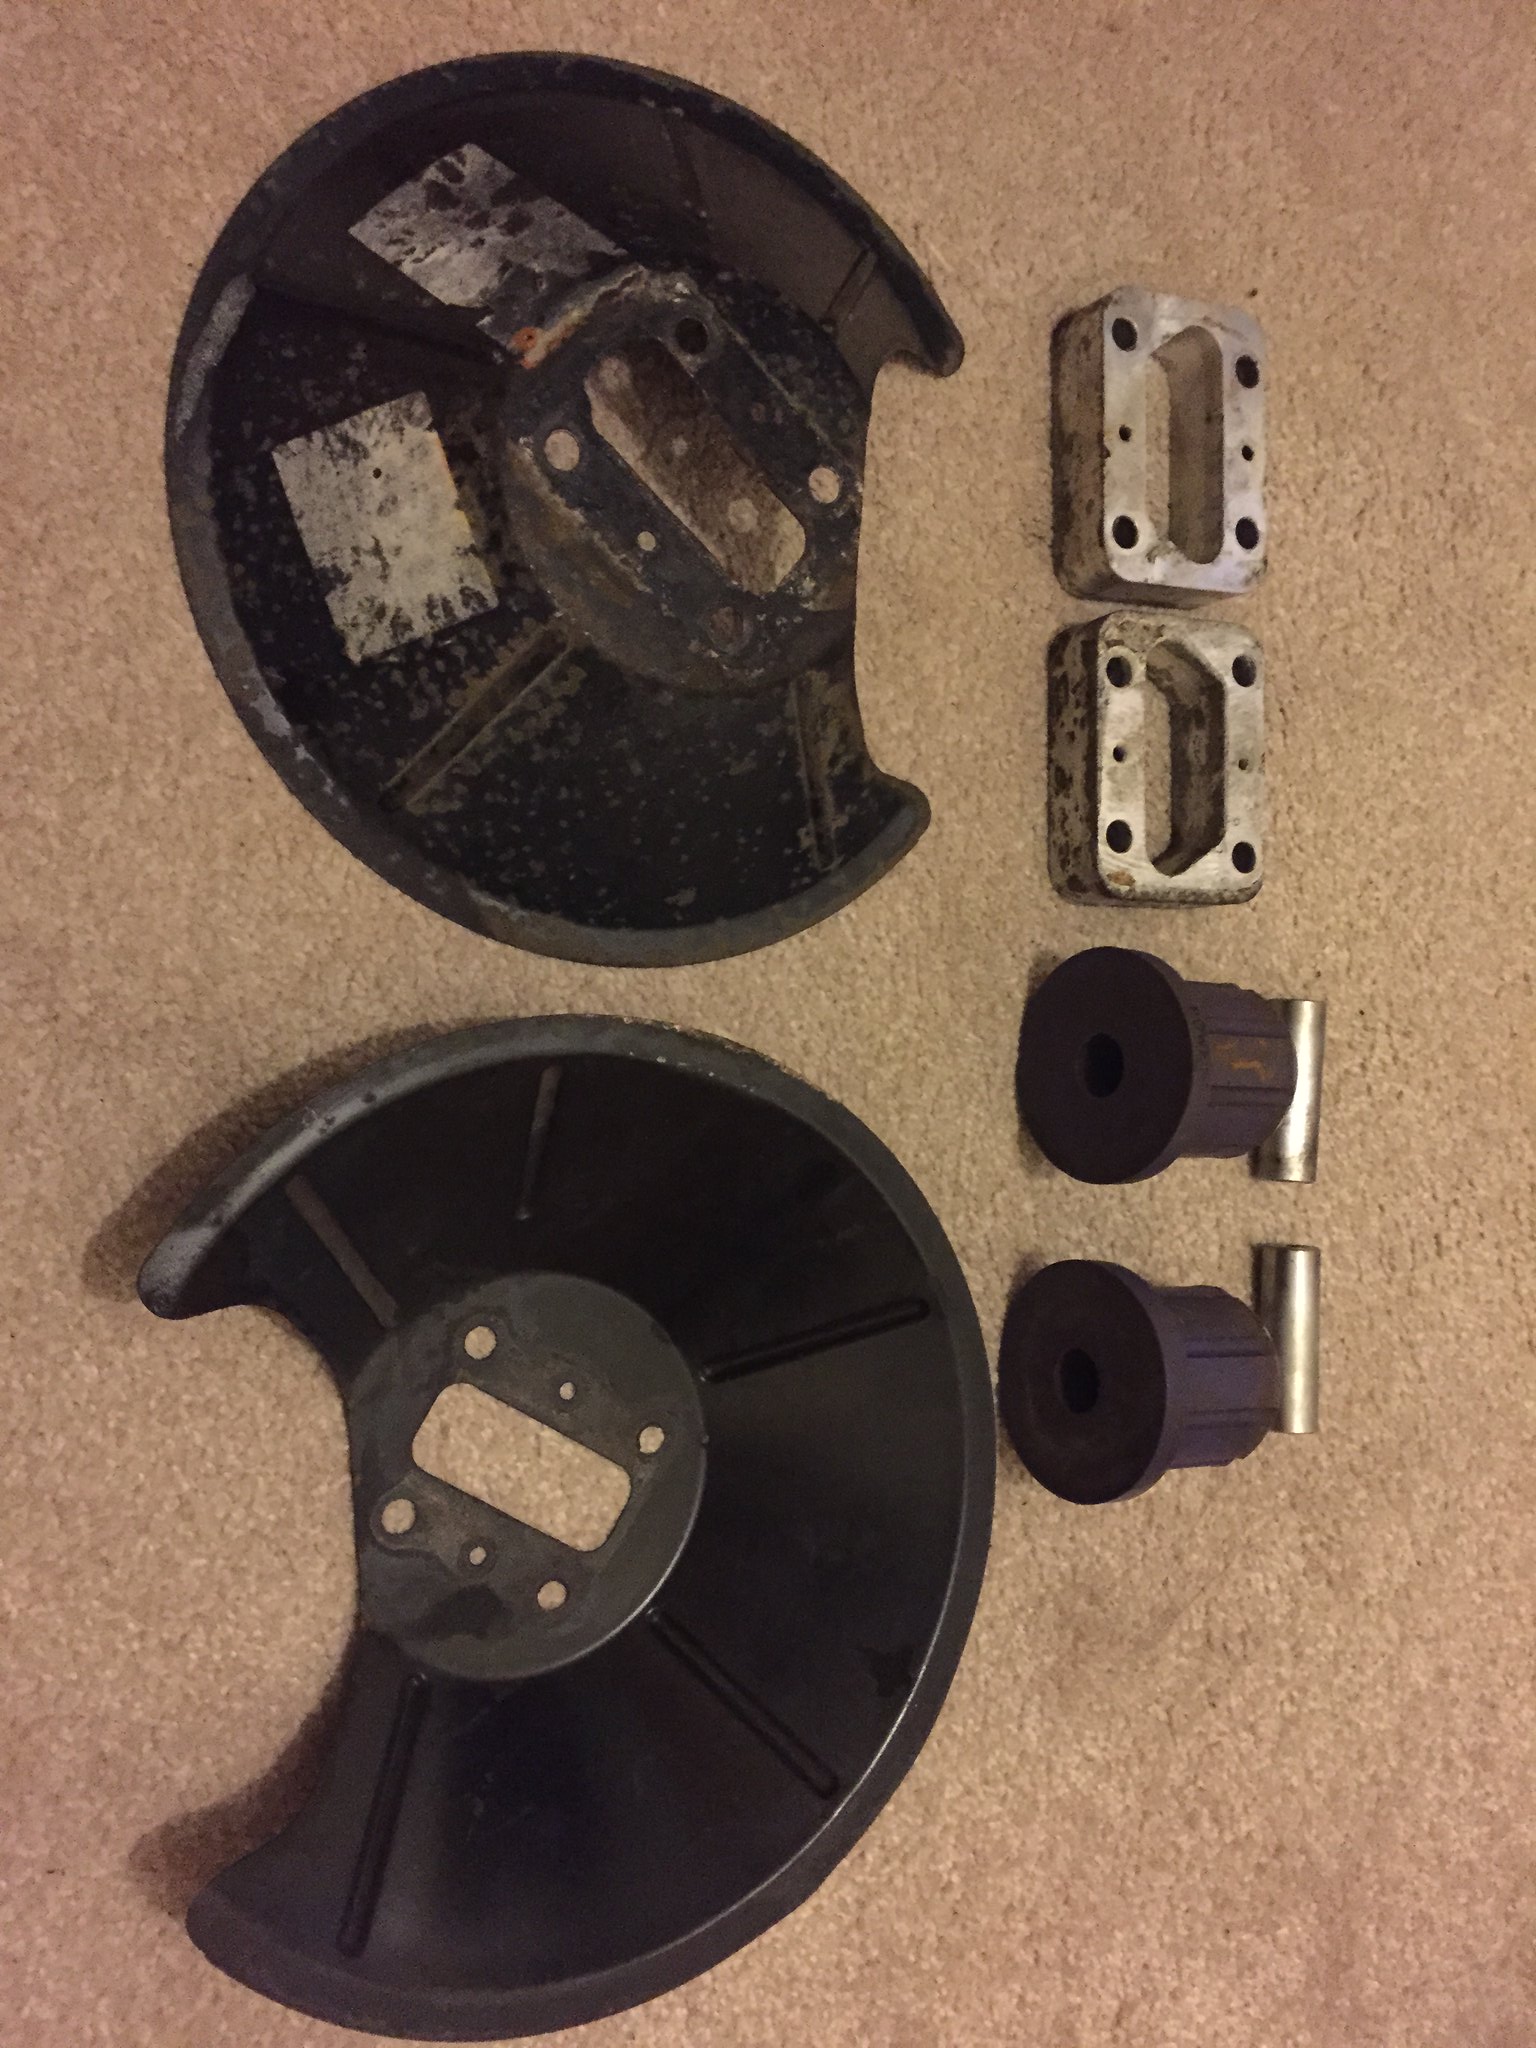
rear spacers need some love!
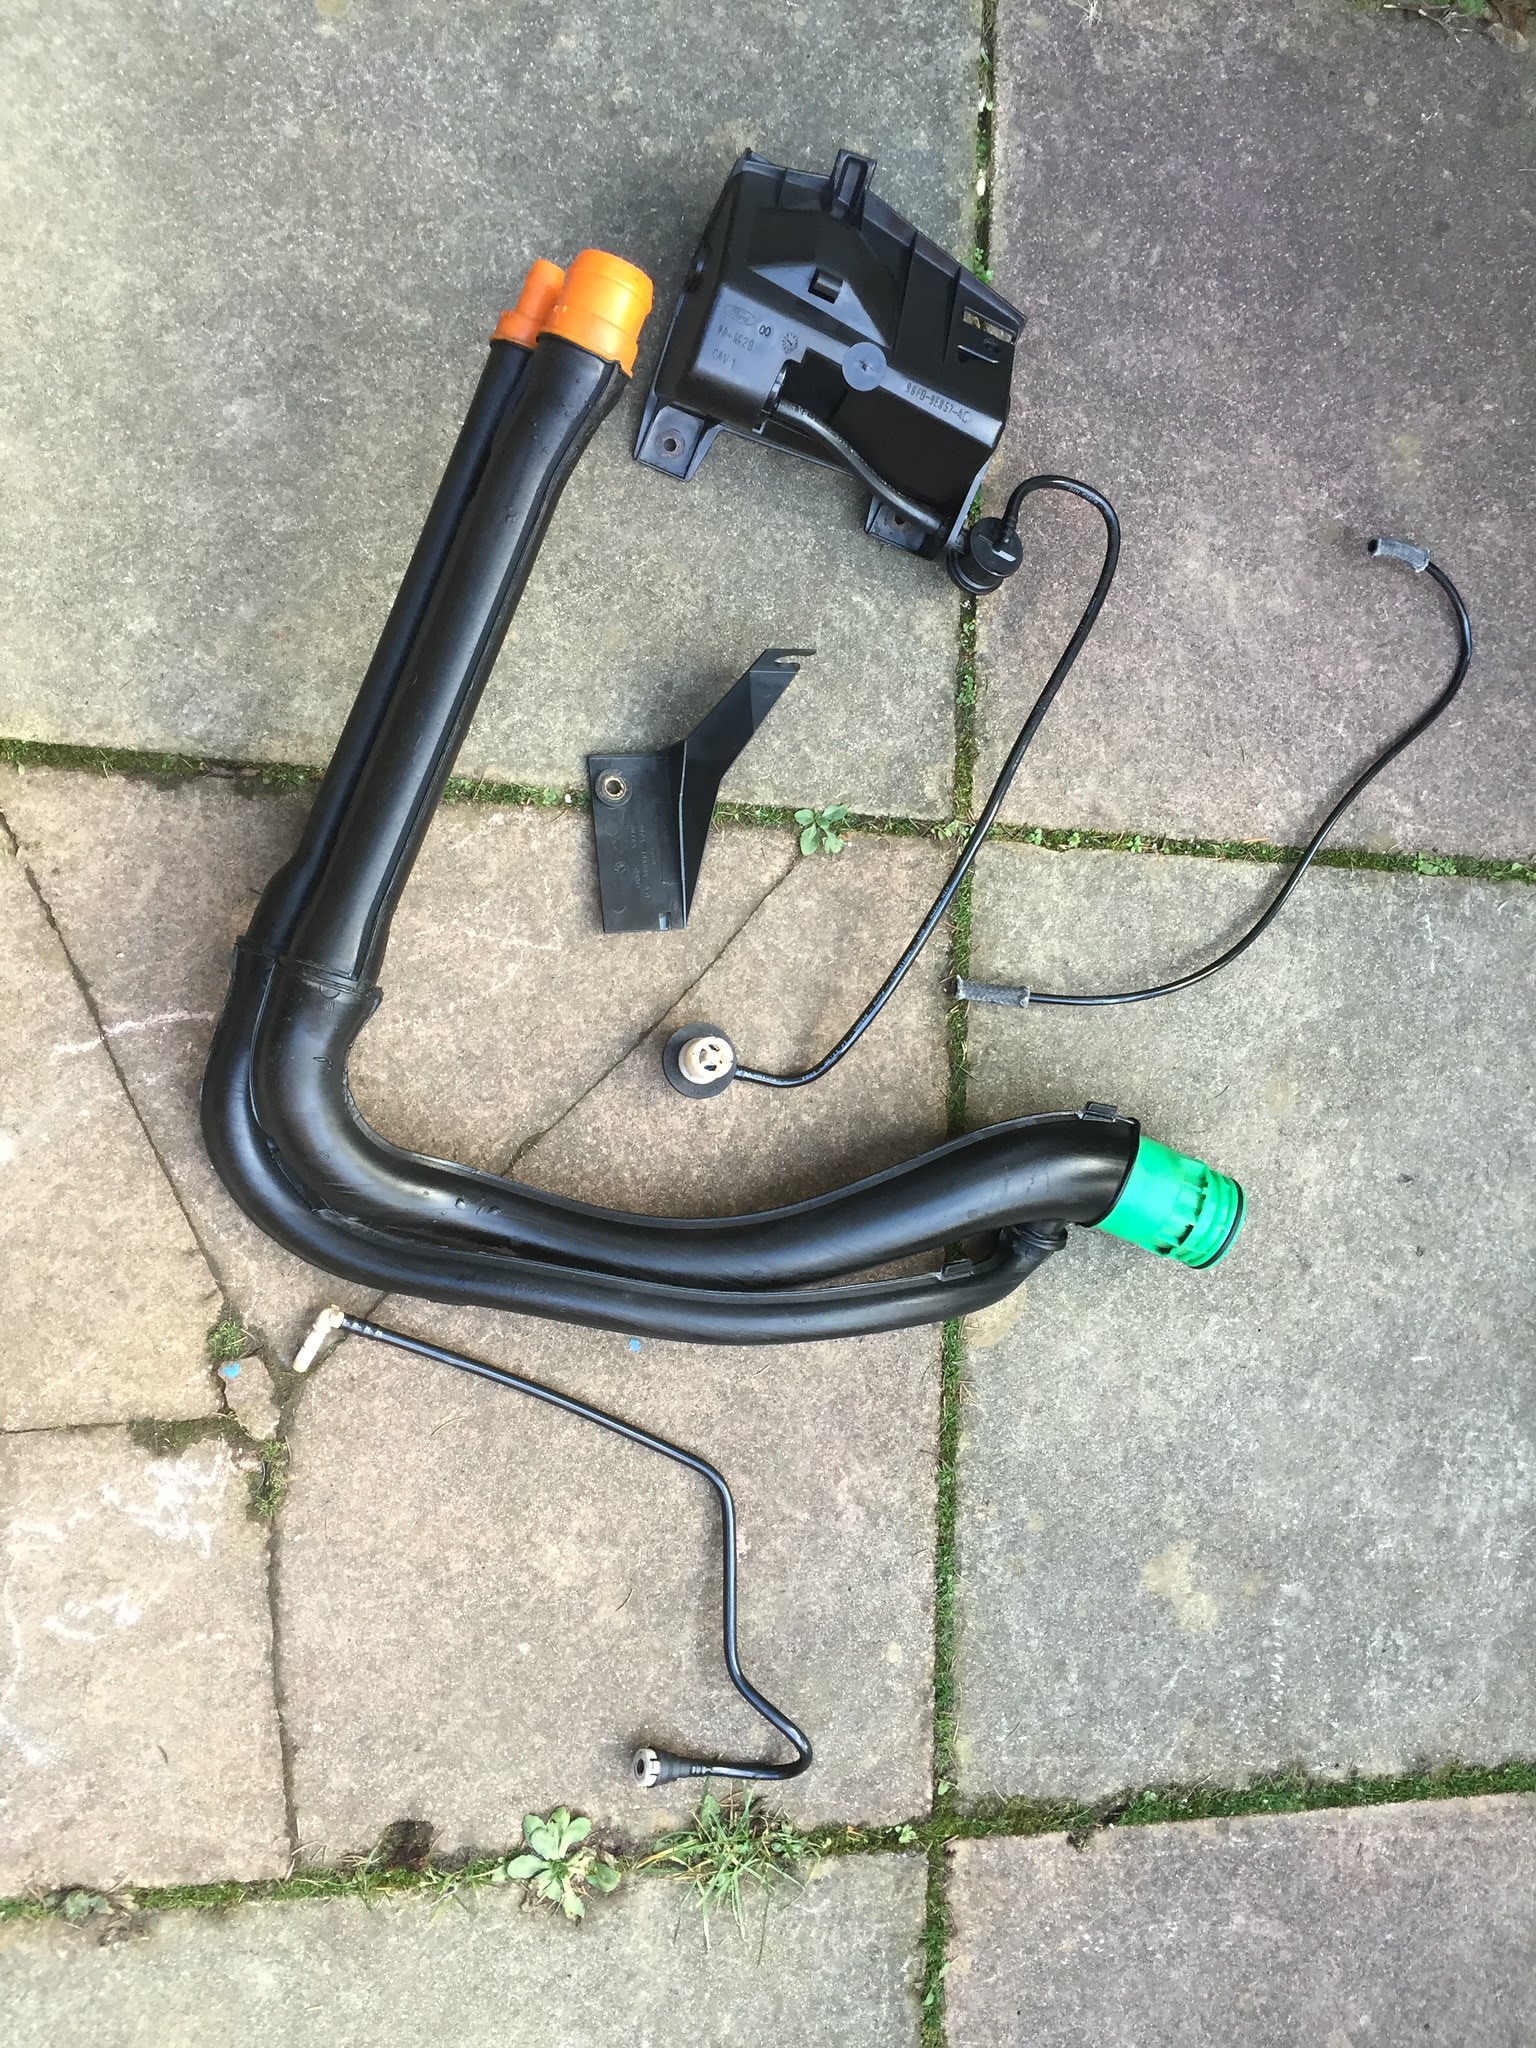
front part of hand barke
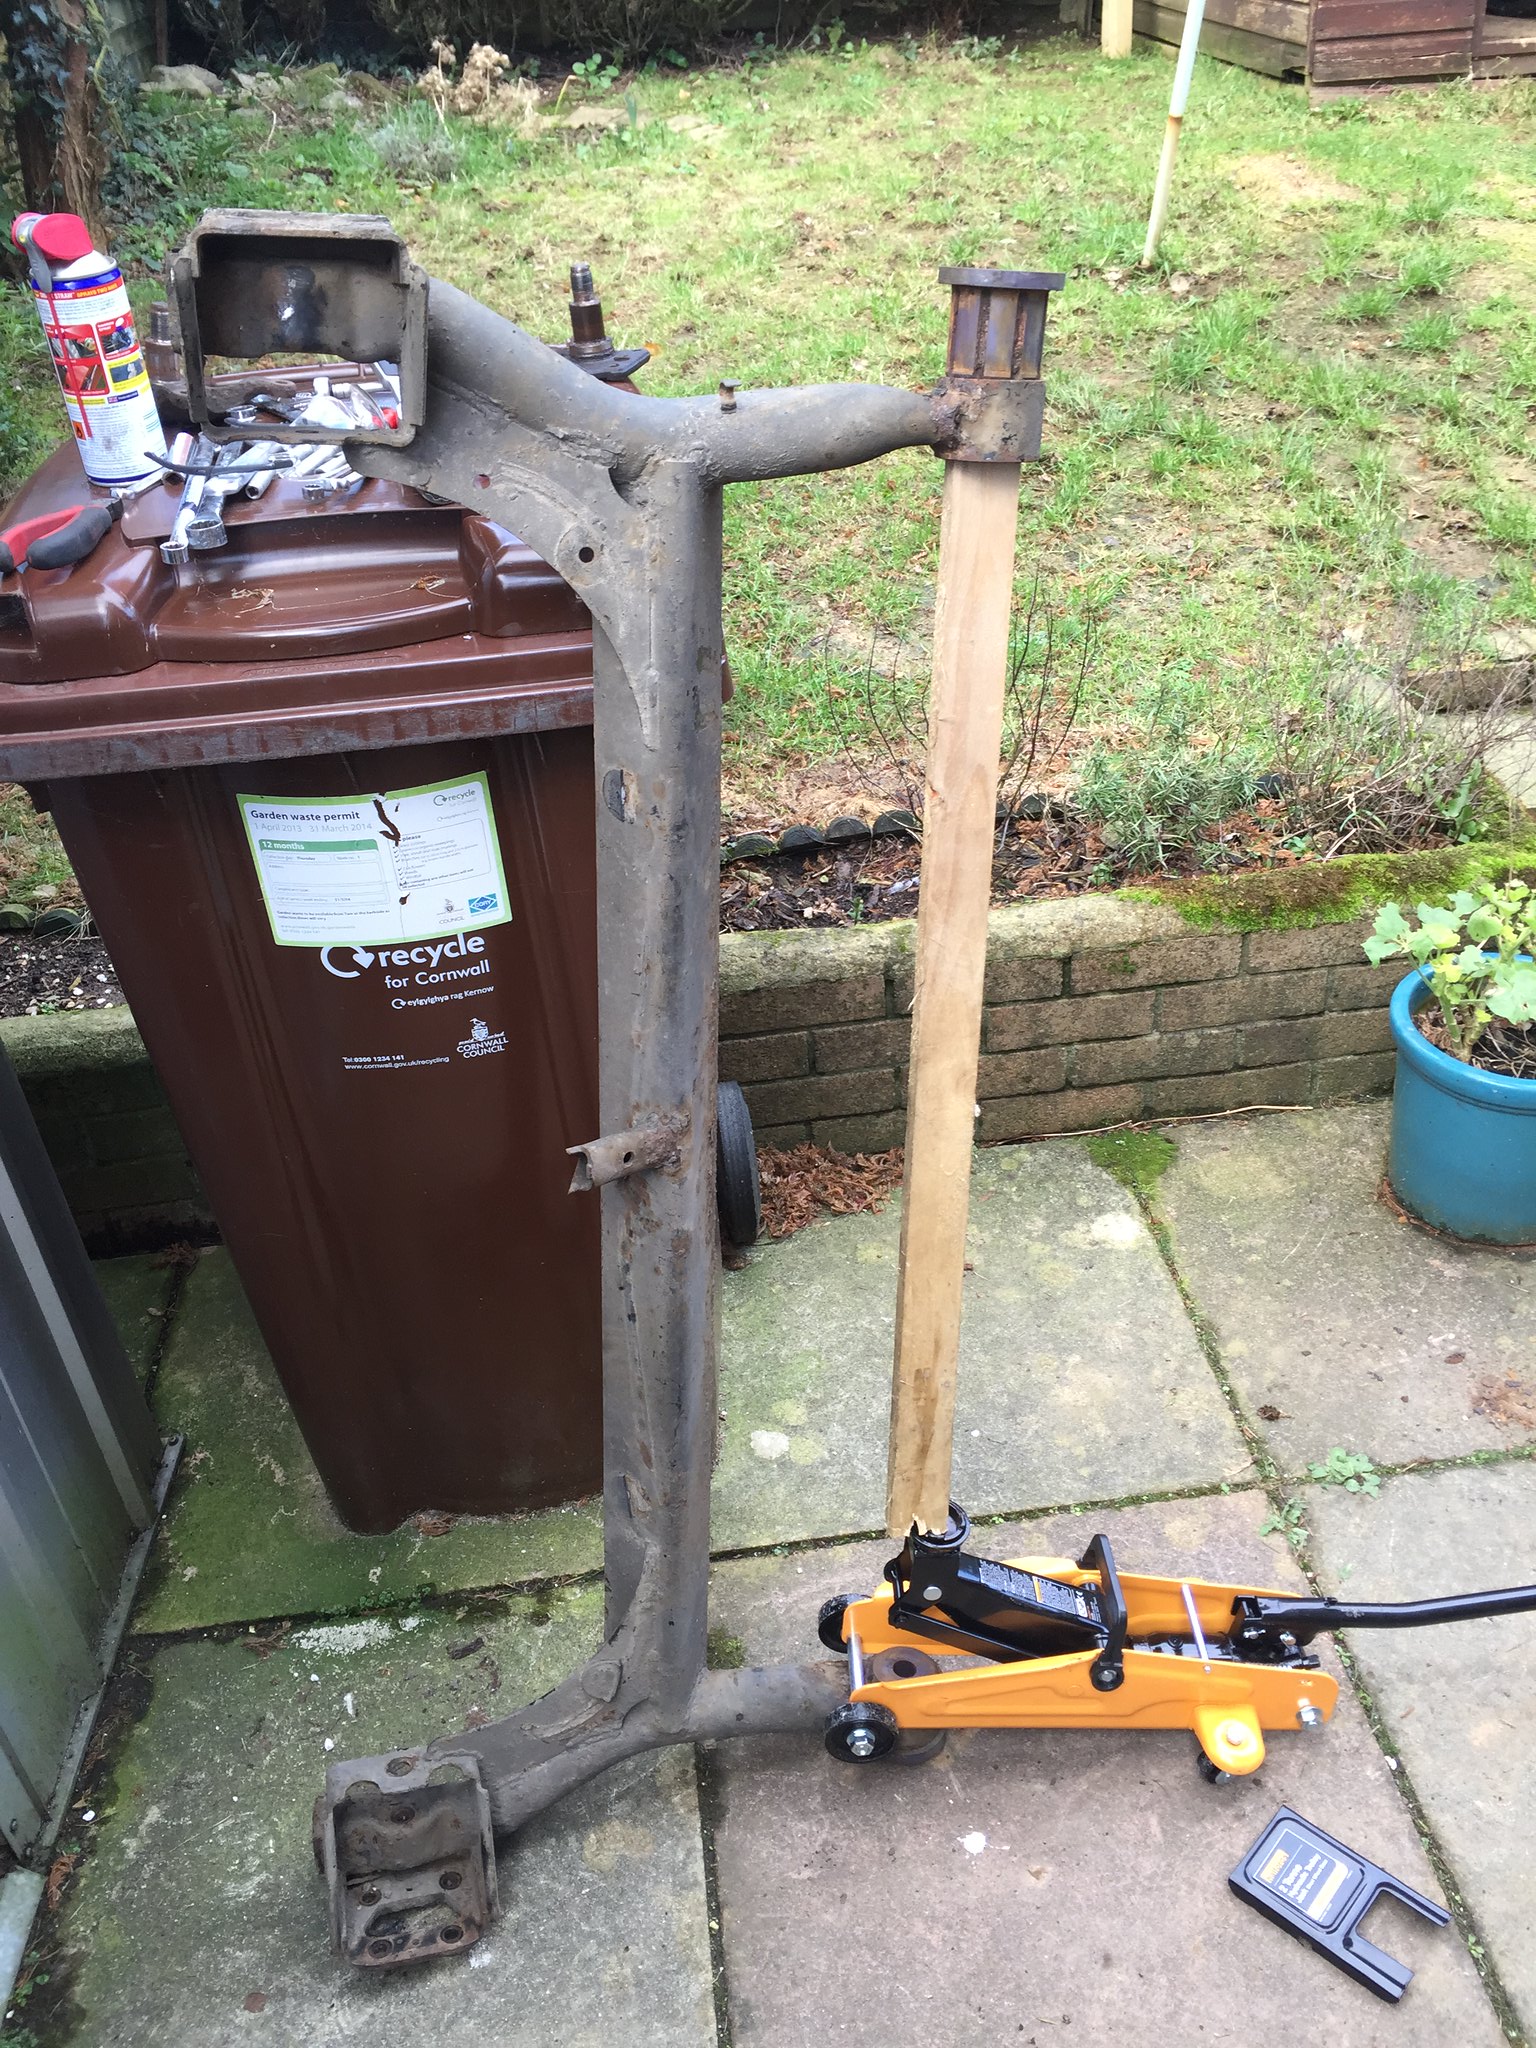
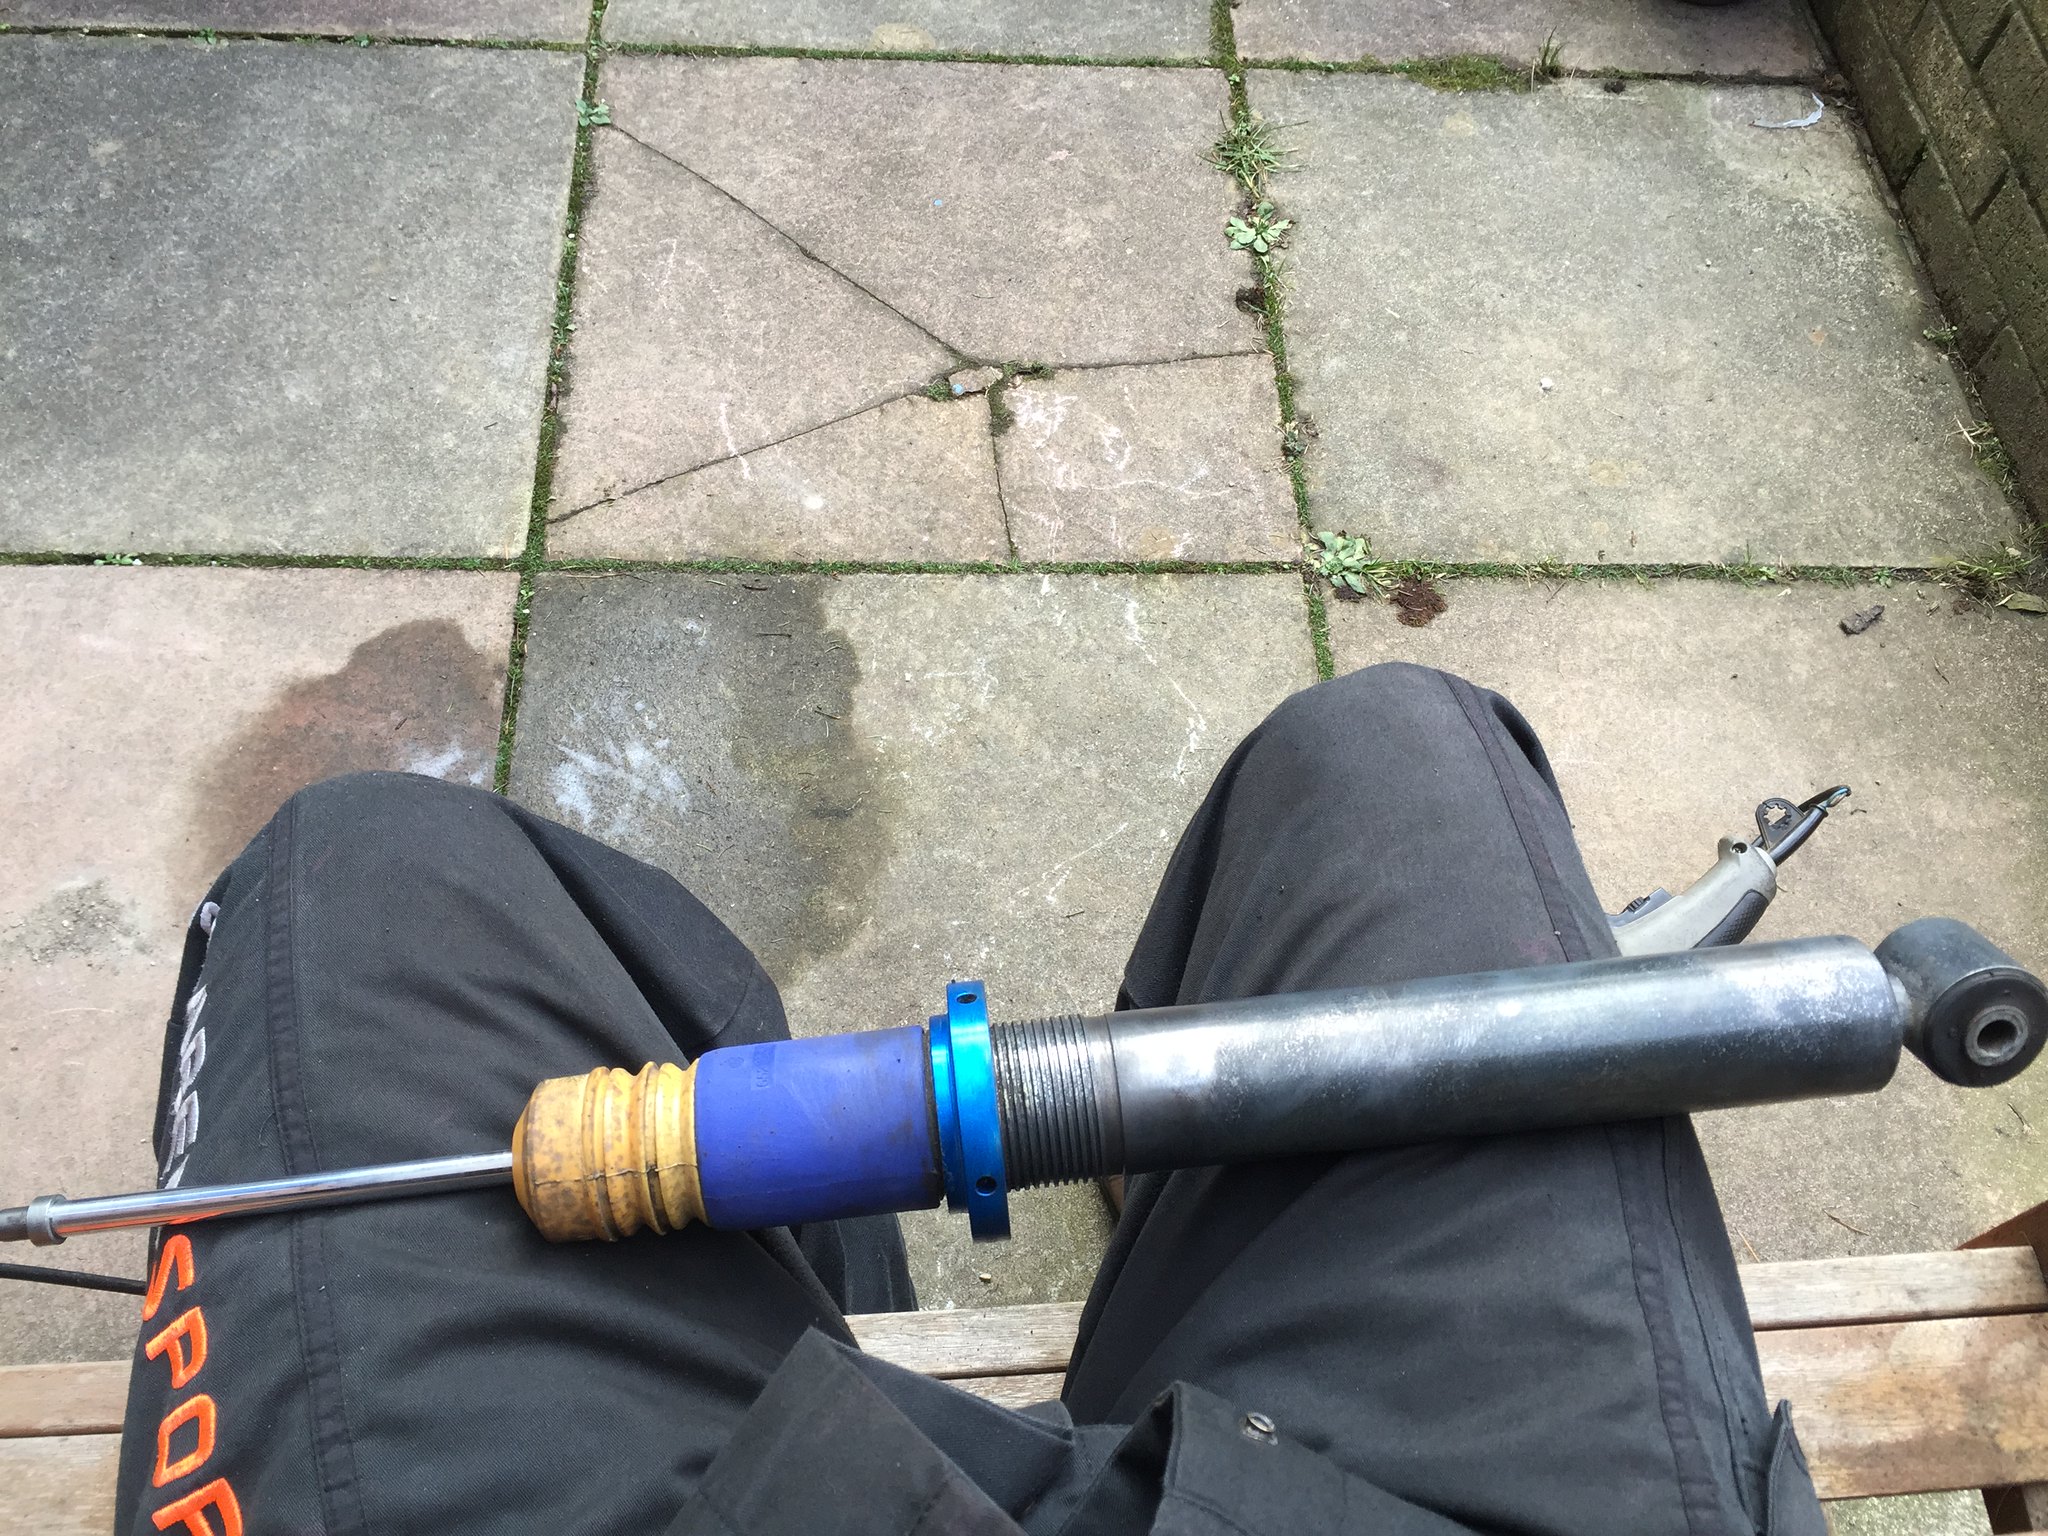
i had to get creative to get the bushes out so i came up with this new tool for removal of powerflex bushes, note the crusty old beam before its make over
il post up some more pics over the next few weeks as i get time to work on her


